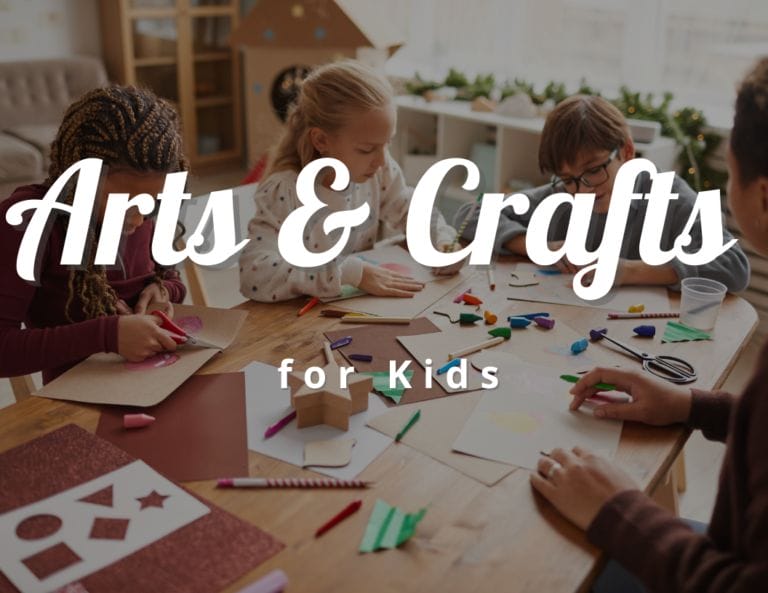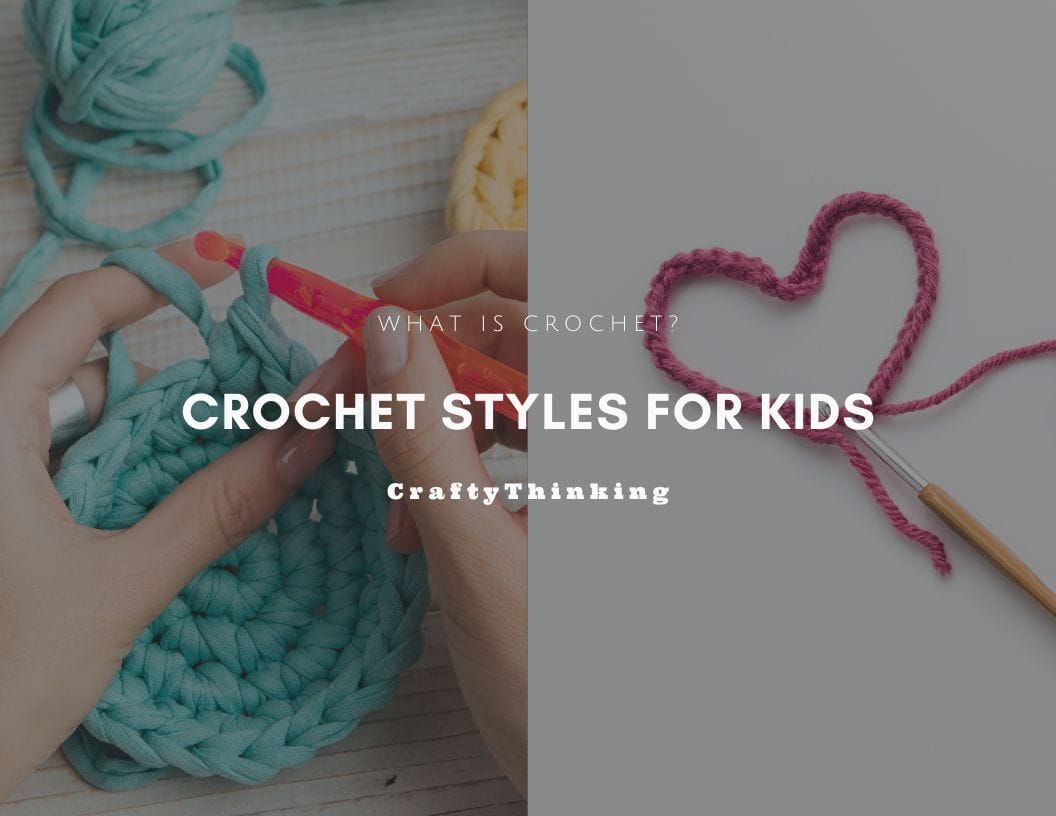
Crochet Styles for Kids
Crochet Styles for Kids is in a fashion that will help to enhance your child’s fine motor skills. Knitting has become a fun method for lifelong learners to create your clothes, dolls, or toys, and it is also a form of relaxation. So that you can practice crocheting with children, we propose four ideas for knitting. You can go for homemade looms, easy crochet, or decorative crochet ideas.
In addition to these ideas with crochet, you can make creative crafts with wool or these ideas to make with felt, a nursery with which you can also make puppets. The work of the home has gone from being a profession performed by women for years to becoming a leisure activity and a real hobby for a good part of the population.
Among the tasks, crochet – also known as crochet work – is one of the most popular today, thanks to its modernization, leading to the design of beautiful items such as bags, dresses, and even funny dolls. Crochet. Next, we will tell you what a crochet project is for children, and this renewed technique consists of a brief outline.
What is Crochet?
Crochet, also known as crochet, is a technique of hand-weaving with working yarn or wool using a specific needle known as a crochet hook, from which this work takes its second name. Like other skills, it is one of the best skills.This artisan technique creates a fabric mesh bypassing one ring of thread over another, intertwining them until creating a crochet fabric.The main difference with the point or tricot is that in crochet, you only work by interlacing one of the rings at a time, not two as in double-needle knitting.
It allows the loops of chunky yarn to be interlaced with each other since it is designed to pull the yarn in the direction that interests us, thanks to its hook shape at the tip.
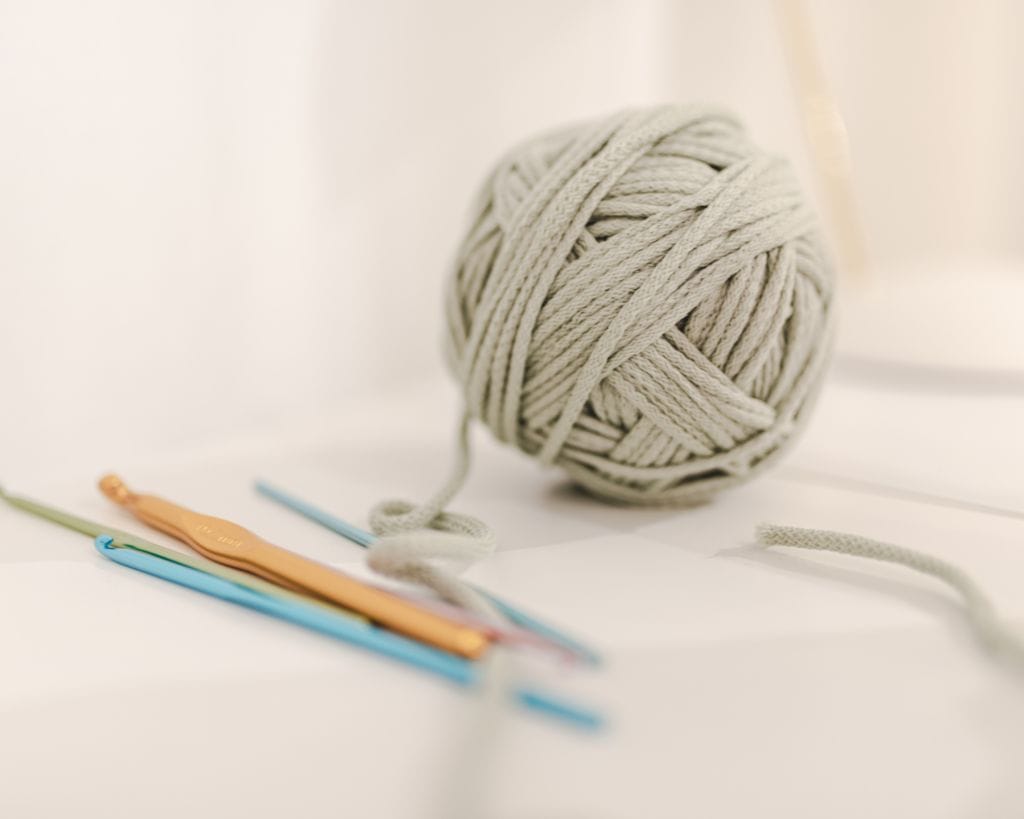
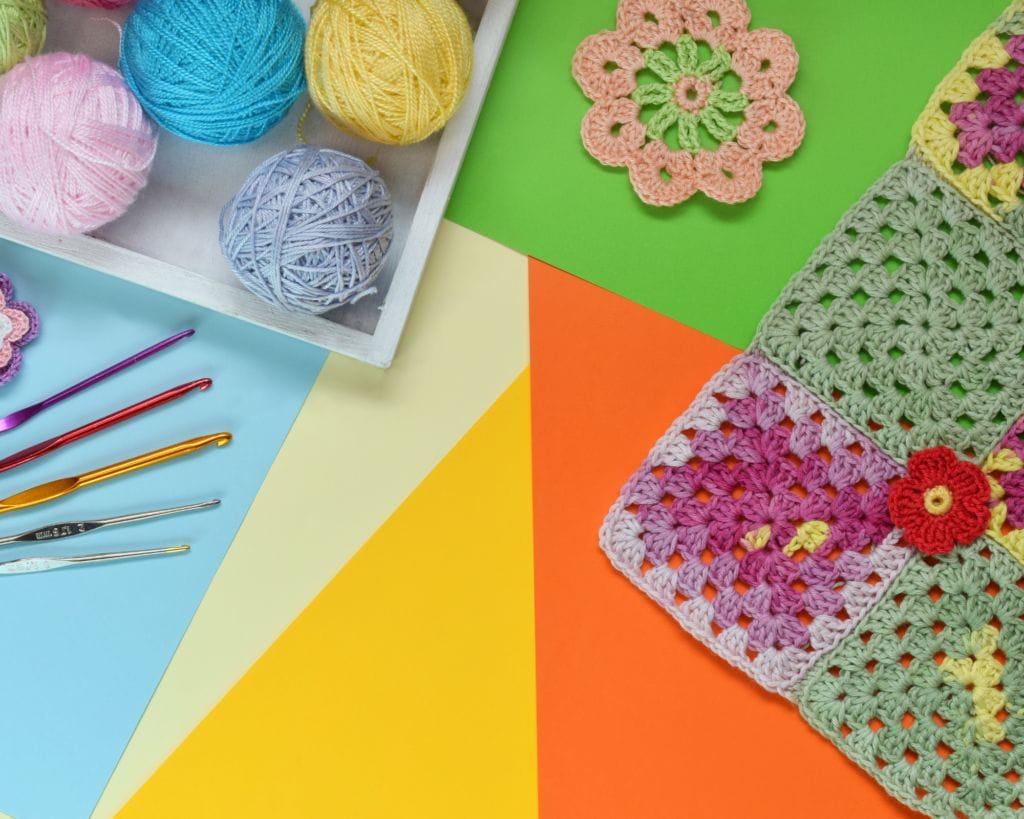
Crochet Hook
To start teaching children how to crochet, we recommend buying crochet hooks that offer greater smoothness which unfortunately changes according to the materials and the yarn used (aluminum and steel generally do not betray). Also, to start, I prefer crochet hooks with an intermediate number, so not too thin and not too thick. In the future, if you see that you like to crochet, you can buy all the numbers and types of crochet you want.
As for the shape and the materials, I believe that everyone should have their own experience. Some prefer ergonomic crochet hooks because the grip is more comfortable, and they tire the handless and those who prefer the classic smooth and straight ones.But beyond the shape, you will find on the market crochet hooks in aluminum, plastic, wood, bamboo, steel.
Teaching Children
Teach crochet is a fun activity that is very effective for children to learn, lesson plan, boost self-esteem, and enjoy childhood. It can be used to create various projects, such as necklaces, blankets, friendship bracelets, and more.
Aspects to consider to teaching children
1. What to expect from each age group.
To start teaching children becomes easier as they get older and according to their class size. But generally, if they can hold a pencil and stand still for a few minutes, they are old enough to learn to knit. At the ages of 4 and 8, most children are still developing their motor skills. Therefore, you will need to use an active teaching method and give students time to learn each skill.
Younger children between the ages of 9 and 12 can now start learning and practicing independently. But it is best if you are around so that they can answer any questions and demonstrate new techniques. Once they become teenagers or at a young age, they can learn independently and are more comfortable working unsupervised.
2. Demonstrate each technique.
Regardless of age, it is usually easier for teaching children a new skill if someone else demonstrates how to do it. If you can’t demonstrate the technique yourself, try to find the instructional video or detailed images that clearly show how it’s done.
3. Each term as you use it.
Whenever you use crocheting terminology, you should explain what each term means. Some kids have difficulty asking questions, so it’s best to anticipate potential trouble spots and clarify them as you discuss the topic.
4. Repeat the rows.
Beginners often forget how to start a project once they have finished what they wanted to do. When the child you are teaching finishes his first row, encourage him to unweave it and recreate it. Another option is to start a new row at the end of the first one instead of continuing with the just finished one.
5. Allow children to express themselves.
Crochet helps let the child you are teaching exercise their creativity and work at their own pace. Let’s teach kids to choose from a wide variety of wool colors and simple materials. Encourage him to think about the different projects he can create with single stitches and chains.
Some children may enjoy repeating the same technique, while others will want to learn a new one right away. Generally, if they can move at the pace they want, the activity will seem more fun.
6. Be positive and show your pride.
When you praise a child’s work, you start teaching him to be proud. This sense of accomplishment can make this learning experience more enjoyable for a child.
Verbal praise is great, but you can add more excitement by taking pictures of the child’s completed projects.
Get organized before you start.
1. Choose a hook.
A large hook will be easier to hold and manipulate, so this will be your best option as you learn the basic techniques at different ages. Look for a hook of size H, I, or J. The equivalents of these hooks, according to their measurement, are 5 mm, 5.5 mm, and 6 mm, respectively. There are options of large hooks or small hooks, but make sure it fits your hand.
2. Choose a ball of yarn.
Find some thick wool and choose the color that you like. When learning to knit as a child, it is best to use a solid-colored yarn. Once you have learned the basic techniques, you can use patterns or designs. Medium and bulky yarn is the easiest to handle, especially for beginners. They also work best in combination with a thick hook.
Also, the wool of bulky yarn should be fairly smooth. For now, it is best to avoid hairy wool, as it can be more difficult to hold and handle.
3. Sit in a clear and lighted area.
Your worktable should be in a well-lit place. Remove everything on it except the yarn, the crochet hook, and a pair of scissors.
Create a slip knot
1. Wrap the yarn around your fingers.
For slip stitch, with your left hand, take the loose end of the yarn and wrap it around two or three of the fingers of your right hand to create a loop.
2. Pass the yarn through the loop.
Use your left hand to grasp the end of the yarn just before the loop. Then, pass it through the loop from the bottom (where the palm is) up (where the thumb is).
3. Now the hook will insert into the second loop.
Slip the curved end of the hook into the second loop you created. In the slip knot pull the loose end to wrap the yarn around the hook. Once you adjust the yarn, the first loop will become a knot, and the second will be hooked. Once the yarn is securely attached to the hook, you are ready to start knitting the stitches with a slip knot.
Single Crochet
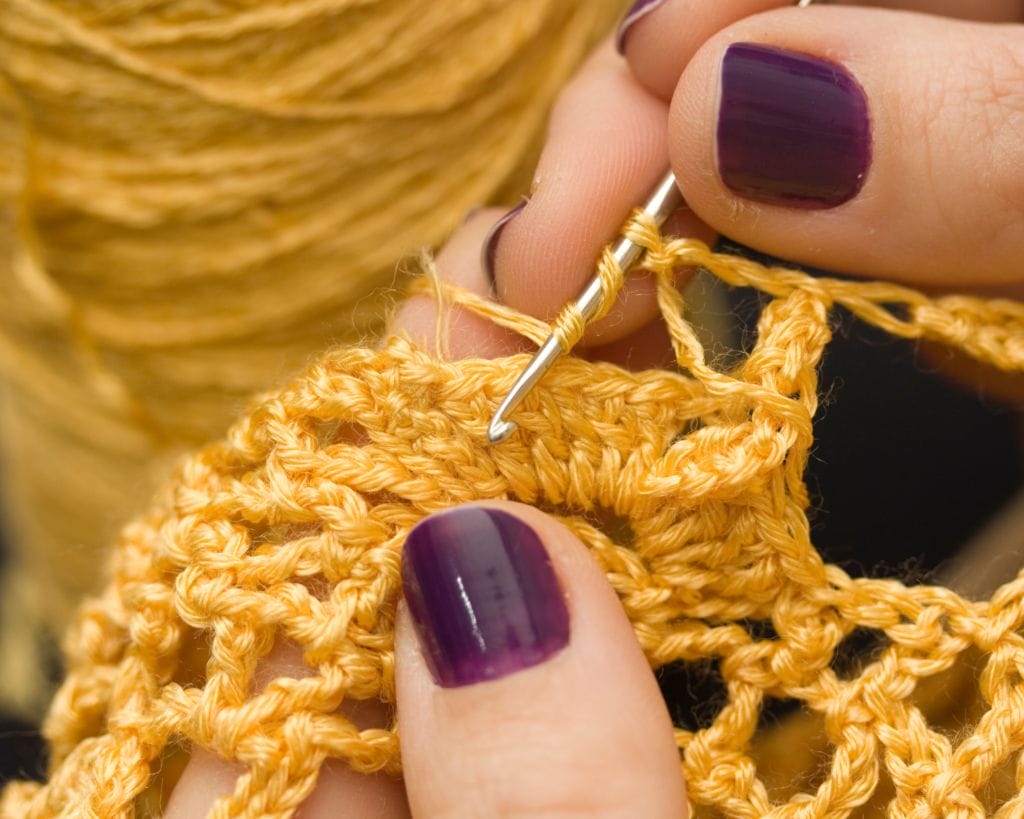
Single crochet is the simplest stitch used in crochets and is often abbreviated as SC. It is one of the easiest points and the basis for almost all other points. It would be best to have a crochet hook and a thread to do the single crochet stitch.
Suppose you are starting to crochet a large hook. To start, pull a length of yarn out of the skein. Wrap the end around the top of your crochet hook and tie a knot. The ring should be firmly on the hook but not excessively tight.
On the hook, you have a knot, wrap the thread of yarn over the hook and use the hook to grab it and pass it through the loop on the hook – this is your first chain. Repeat the process, pulling the thread strand through the previous stitch each time. A new loop will be on the hook every time you pull the yarn through the stitch. If you follow a pattern, the instructions usually indicate how many chains for the first row.
To start the second row, you will have to “turn.” To do this, make an extra chain stitch and then twist the hook. So you can start working in the opposite direction, right to the left. Leaving only one loop on the hook, keeping both loops on the hook, pull the yarn through both loops. Put the hook through the next stitch in the base chain and pull the yarn through to make two loops on the hook. Again, pull the thread through both loops. Now you will only have one loop on the hook.
Continue this process and at the end of the row, make a single chain and then turn the crochet yarn so that you can continue working from right to left. You will now use the previous row of single crochet stitches, not the base chain, to work the next row. Into the first single crochet stitch in the row, insert the hook, not the chain stitch that goes around. Pull the thread through the stitch to have two buttonholes on the hook.
Now pull the yarn through both loops on the hook, leaving only one loop. To continue the process, place the hook in the next stitch until you reach the last stitch of the row. You will need to create a basic stitch at the end of each row and then turn the crochet work from right to left. Continue crocheting until you have the necessary number of rows. This will finish the queue and prevent the stitches from unfolding.
Double Crochet
To learn to make different patterns, double crochet is the basic and most common type of stitch that is essential. To get different patterns and desired textures, you can combine the double crochet-knit style with other stitches, such as a single crochet and a half double crochet. To make a double crochet base, you’ll need to make two extra chains more than is needed for basic stitches.
After that, turn the yarn back, similar to making just a chain. But skip three chains, making sure to count the first from the hook and inserting the hook into the fourth chain. This means that two chains should be skipped between the first hook and the second. To avoid any twisting, care must pass the hook through the V shape and under the protrusion on the back.
Next, hook the thread and pull it through the two neighboring chains, leaving the first one intact. You have two chains at this point from where you started, draw the yarn through the new chain again, and the first to remain with a single crochet stitch. If you count the points, the number should be less than two on the foundation chain.
Once you reach the end, lift the chain to the desired height by triple crochet and turning back as if it were on the finished row. Count four chains, insert the fourth hook and pull the thread through the two chains. It will depend on the average size of the half double crochet fabric being made, repeating the processes until the desired rows are knitted.
Once you reach the end of the garment, tie the thread by making a knot to prevent the thread from ruining itself.
Crochet Patterns

Here we will talk to you about crochet patterns. Perhaps at first, it is a bit frustrating to see such divine garments that instantly awaken our desire to knit. But when we see the patterns, everything collapses. Has it happened to you? It has happened many times. That is why we will show you an endless number of crochet patterns here. Keep reading until the end of this post so that you can have access to all the information and great tips.
How to read crochet patterns?
We will find a variety of diagrams/ video tutorials within the crochet patterns. Once you understand how to read them with a diagram/ video tutorial, it is easy to interpret them. And it will be enough with a little practice and patience for you to knit what the crochet pattern indicates.
So after talking to you a little about the subject, the time has come to take the next step and figure out how to read the patterns and thus reach our goal. Knit the garment or accessory that you want so much. Considering the following easy crochet pattern, we will begin a deep analysis of following instructions and making exact knitting.
We will start by defining 5 steps for reading beginner crochet patterns:
Step 1: Identify the crochet stitches.
It is very common for the creator of the crochet pattern to draw us the basic crochet stitches that should be used (it will not always do so):
Step 2: Recognize which are the rows.
In general, the first row of a diagram (or of any fabric) will be a base chain stitch. From the chain, we will know well where to start. When it comes to a rectangular pattern, the first row will be the bottom one. In the case of a spiral pattern (as in this case), the row of chains will be in the center, since by design, the spirals always start from the inside-outside.
Step 3: Identify the back and forth or spiral rows.
In the case of a spiral fabric, there are no back and forth rows since everything rotates in the same direction. However, a very simple way to know the flow or direction of the fabric is by observing the chains. With the chains, we will know, in the case of a rectangular fabric, where the sense is going; in the case of a spiral fabric, the chain indicates the rise of the next row of the spiral.
It should be noted that when one weaves in a spiral, we will do it in the opposite direction to the hands of the clock, and at the moment when we do not meet the starting chain, it is the indicator to close the stitch (with a slipped stitch) and then perform the stitch. Rise chain. I show you here the chain of rising (purple arrows), the slipped stitches (green) and the rows (in black), and the direction or direction of the knitting.
Step 4: Make sure what should be knitted in each row.
Once the stitches and rows have been identified, let’s now analyze what we should knit for each row.
Step 5: Put your hands to work and start with the fabric.
I hope that it has become clearer to you how to knit crochet patterns with these steps. I am sure that if you follow each of them in the order that I have taught you, you will be able to give free rein to your desires to knit the garments you like the most.
Crochet with Children
Teaching kids about crochet is in fashion. Knitting has become a fun method to create your clothes, dolls, or toys, and it is also a form of relaxation. So that you can practice crocheting with children, we propose ideas for knitting. You can go for homemade looms, easy crochet, or decorative crochet ideas. In addition to a crochet project, you can make creative crafts with wool or these ideas to make with felt, a nursery with which you can also make puppets.
Home loom
Create your homemade loom with these easy instructions. A simple craft to teach the little young people to knit.
Materials:
- 1 frame of the size you want to make your loom
- Fine wool of different colors
- Tape measure
- 1 large plastic needle
Steps:
- Tie a white thread around the embroidery hoop.
- Begin rolling until all is covered. Leave similar spaces between one path and another.
- Make it an odd number of rows.
- Then you can attach the other part of the embroidery hoop.
- With the help of a needle, begin to weave from the inside out.
- You can insert different colors. You have to knot one thread with another to prevent them from coming off.
Loom with the shoebox
Another way to teach kids to create your homemade loom is with a simple kit made with a shoebox and rope.
Materials:
- 1 shoebox
- 1 piece of cardboard from the same box to make a sheet
- Pair of scissors
- 1 cutter
- Thin rope
- Yarn for knitting
Steps:
- You can make small notches about a centimeter apart on the sides of the box.
- With the help of the utility knife, make a slit in each of them.
- Wrap the string around the notches. Tie at the end, so it does not come loose and is taut.
- With the piece of cardboard that you have saved, create a needle.
- Go passing the needle through the different strings of your loom until you create a perfect tapestry.
- As in the image, you can hang it from a tree branch and decorate any room in the house.
Crochet letters
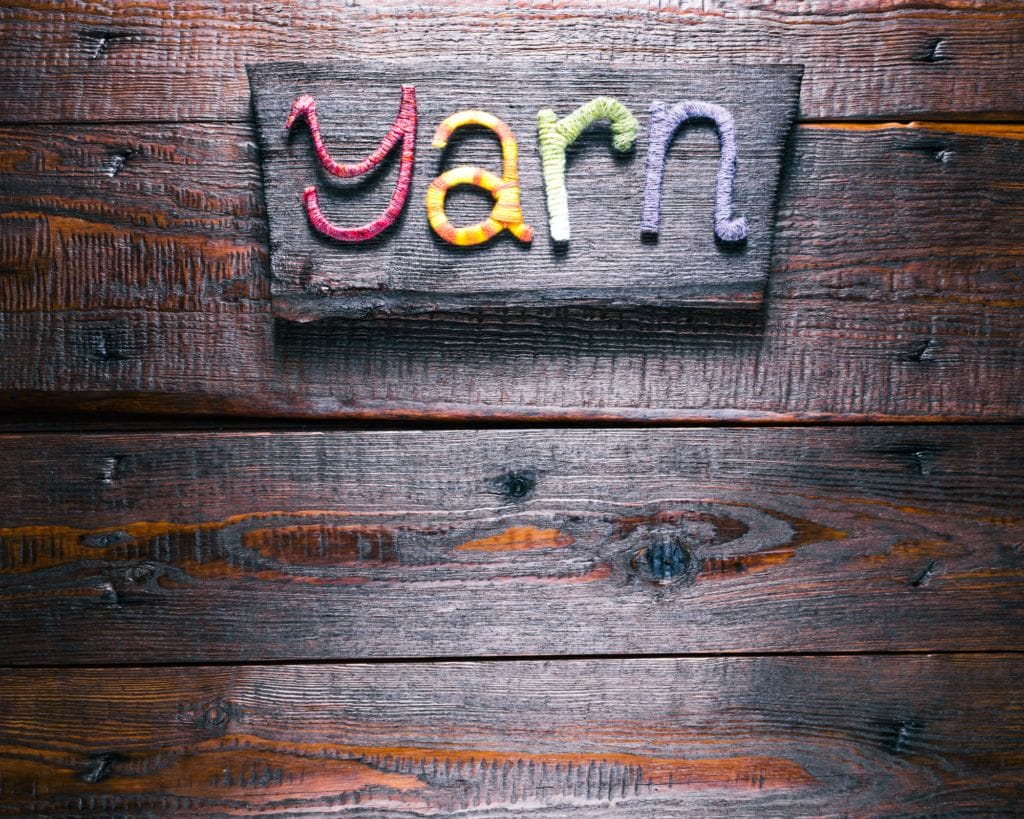
Make it fun to teach children of crochet crafts with the children’s names. It will be a nice the decorative motif for the playroom or your bedroom.
Materials:
- Fine wire
- Yarn
- Crochet hook
- Pliers to manipulate the wire
- Wire Cutter
- Pair of scissors
Steps:
- Tighten the cord to make it easier to work with.
- Wind the yarn around the crochet hook and weave a chain around the wire.
- Leave enough wire area and finish the work by bending the wire so that the hook does not come off.
- Once you have the finished craft, it’s time to shape the name.
Finger crochet
Teach kids Crocheting doesn’t require a lot of materials or items. You can do it with a piece of wool and your fingers.
Materials:
- 1 skein of thick wool
Steps:
- Start by rolling the yarn around the ring finger, going behind the little finger.
- Roll it up again and, with the help of the other hand, begin to lift the wool that you had bundled at the beginning.
- Do it from the base of the fingers, passing the strand over the fingers. Let the wool fall towards the back of the hand.
- Rewind more thread and continue the process until a chain is created on the back of your hand.
- Once you have done it, you can start Crocheting with your fingers.
- Wind the thread around the finger of the right hand (left in the case of being left-handed) and follow the steps you see in the images to start knitting simply.
In addition to these ideas with crochet, you can make creative crafts with wool or these ideas to make with felt, a nursery with which you can also make puppets.
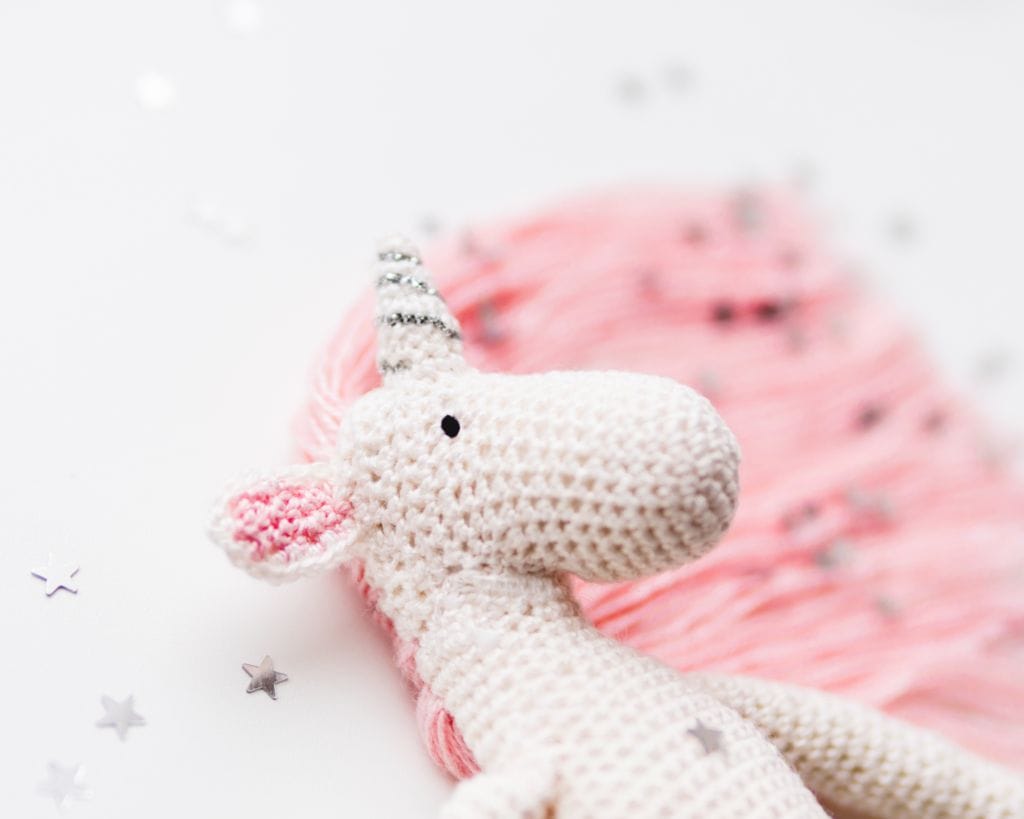
Some other Crochet Crafts for kids
Now that you have seen what crochet is, what it consists of, and how to crochet step by step, it is time for you to look for new ideas to feed this new hobby. Crochet crafts are endless, and you can find countless ideas on Pinterest and Instagram.
When referring to how tight a crochet chain is, the Craft Yarn Council suggests talking about fat worms and hungry worms. And also, Craft Yarn Council has described that there are many hooks that are completely in love with the adorable amigurumi dolls. You will soon discover what you like the most!
- Amigurumi dolls
- Handbags
- Tops
- Blankets
- Fat worms
- Caps
- Scarves
- Vests
Bottom Line about Crochet Styles for Kids
And much more! As you can see, you will not have time to get bored with the possibilities that crochet offers instant gratification for your kids’ learning. In addition, for each type of project, your kids will find endless different models, for which they will have to learn different techniques to achieve unique finishes. It’s a whole world! We hope you liked it and that in our great post, now that you know what crochet is for kids and how to crochet step by step, you are encouraged to try it.
If you like this article and would like to know more, please comment below.