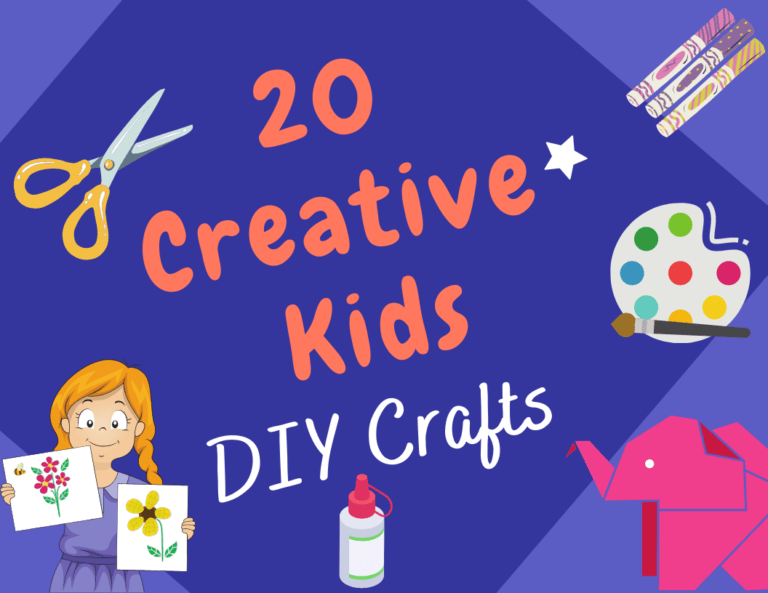
How To Make 7 Easy Decorative Crafts (Fun)
Decorating your home can often seem like a chore, especially when you’re not entirely sure what to do with space or how to incorporate your personality and interests into it. Some people want their art on display for all to see while others prefer more personal touches. Here are some fun oriental trading craft ideas to inspire you to decorate your home just the way you want. Learn to make fun and easy decorative crafts at home!
DIY Decorative Crafts
Wall Art

Decorating your walls is a great way to add a personal touch to your home. One of the easiest ways to transform the look of your living room, dining room, or bedroom is to add some easy decorative crafts to your wall art. You don’t have to spend a lot of money either. You can find inexpensive pieces at discount stores and thrift shops are always a good place to look for hidden treasures. As you can see in the example below, you can create something beautiful with just some paint, fabric, and beads.
What You will need:
– Large canvas and small canvas
– Brushes
– Spray paint (purple, blue, orange, pink, and green)
– Glass beads and fabric scraps. Optional: glitter spray paint, fishing line or chain to hang. You can buy these at craft stores or online at Amazon.com . Make sure to choose one that can handle the heat from the spray paint. “Ultra Liquid Resistant Latex” is a good option.
– Glue gun and glue sticks.
Instructions:
1. Arrange the decorative items for craft (i.e glass beads) on your large canvas to mark out a design. Remember, it’s easier to move things around when you aren’t painting the canvas yet. A simple design can be made by laying out the beads in a single color or you can use just one color for accents. Remember that this is supposed to be fun so don’t feel like your design has to look perfect! You can also make more complex designs by alternating different bead colors or alternating different bead shapes in the same color.
2. Paint the canvas with light to medium coverage of the spray paint. Set the canvas aside to dry and then move on to the second canvas that’s smaller, so you can work on both at once.
3. Cut pieces of fabric for your design and glue them down in a criss-cross pattern as shown below. Remember not to overlap the same piece onto itself or you’ll have a big glob on one side of your design. Leave the fabric pieces’ longest edge hanging off the edge of one canvas so you can use them again later for other designs and for attaching your beads to them later.
4. Paint the smaller canvas with light to medium coverage of the spray paint and let it dry.
5. Once both canvases are dry, arrange the glass beads on them to make your design. If you have a gap in your bead pattern, one idea is to glue on a small piece of fabric instead of a bead. It’s also okay to glue on beads in between larger gaps if you place them in such a way that it looks intentional rather than random.
6. Once you’re happy with the layout, use the glue gun to glue down all of your glass beads and fabric pieces onto the canvas frames using your design as a guide for placement.
7. If you want to hang your artwork, cut a piece of fabric and glue it to the top of the back of each canvas using a line of glue.
8. Use the small scraps from cutting out the fabric for your design to attach fishing line or chain to each piece of fabric so they can be hung up on walls.
Decorative Bowls
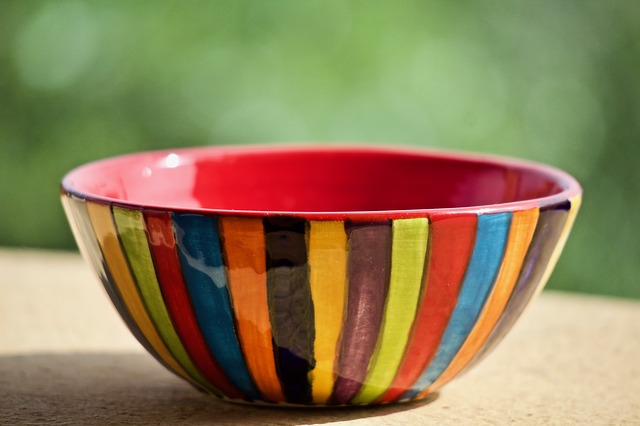
Decorative bowls can be used to accent a table or as a container for small items like jewelry and keys. They are also a great way to use up scrap fabric. To make one, you’ll need an inexpensive bowl for the base, some scrap fabric that can be cut into strips and glue.
What You Will Need:
– Bowl – This can be thrift store finds or kitchenware from the dollar store. You can also make your own out of ceramics, clay or any other material that’s harder than what you want your decorative bowl finished with.
– Scrap fabric. If you want to use cloth, make it something that won’t mind getting wet like a towel or washcloth.
– Glue gun and glue sticks.
Instructions:
1. Cut out several long strips of fabric from your scrap fabric using enough to overlap the edges and fit snugly around your bowl. The width of these pieces should depend on the width of your bowl and how small you want it to be but not too thick because you want the wood or ceramic base to show through. One way to make these strips is to cut them a little more than the width of your bowl and then fold them over. Use lots of glue so they don’t slide around on the base.
2. Paint your bowl with light to medium coverage of the spray paint and let it dry completely before moving on to step 3. The spray paint will give your bowl a better finish than fingers would but use care not to get too much into areas where it might cause scratches. You can also use paint pens, brush marks or designs as your guide for placement to make sure you get all of the edges evenly covered. You will also need to let each piece dry before moving onto the next piece when doing this project because the glue dries quickly.
3. To finish the design, use the glue gun to cover the edges and top of your bowl with glue. If you’re using a washcloth or cloth, be sure not to add any glue to the top part so it’s easier to grab once it’s dry. Let the bowl sit for a few hours before touching so that you can be sure that everything is firmly in place and then let it dry overnight before using them in your room.
Nameplates
You can make really cute name plates as an easy and fun DIY craft for decoration for all of your furniture from scratch using wood or felt letters or an acrylic painting of letters glued onto a piece of a decorative frame made out of cardboard or foam board.
What You Will Need:
– Wood letters: Use the same wood you would use for making furniture if you have access to it or else use craft wood markers or paint the letters on using acrylic paints. You could also make nameplates out of felting letters if you have access to some. Make sure that the letters are a size that will fit well on your finished project and don’t be afraid to experiment with different sizes. Otherwise, try using decoupage techniques where you glue pictures onto your pieces or just use words instead of letters when you’re on a budget.
– Foam board or cardboard: If you are using paint, use acrylic paint because it’s easier to clean up and won’t cause any unsightly residue. Either way, you’ll need to cut out a piece of decorative frame that will fit the size of your letters or words. The easiest way to do this is at the hardware store where you can just collapse a piece of the frame into a flat rectangle that’s large enough for your piece of paper. To make your own box, you can make a rectangular shape that’s the same size as your letters and then use either wood glue or hot glue to attach the foam board or cardboard pieces onto it.
Instructions:
1. Decide whether you want to glue the letters onto a piece of wood or cardboard or paint it on. Most people would rather paint their names than have to deal with covering wood with acrylic paints. If you choose the painting route, use the same types of paints that you would use to make furniture using flat paint so that it doesn’t show lines from the brush while drying. Let your piece dry overnight before moving onto step 2.
2. Hold in place if you are painting on your letters but otherwise let them dry for several hours before using them in your room. If you’re using a wood marker, let it dry overnight before testing it out and add a second coat if needed.
Mirrors
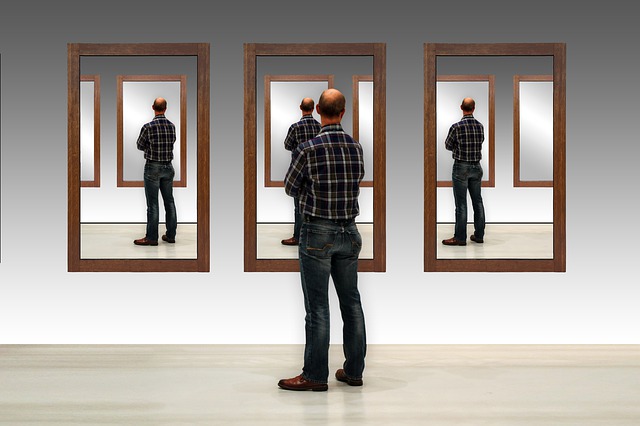
Mirrors are one of the easiest types of décor you can make using old frames. They are usually pretty small but make great decorative accents in rooms with high ceilings or as part of larger pieces of furniture. You can find a variety of decorative crafts mirrors with different colors and shapes but all you need is a suitable frame and some type of fabric to cover it.
What You Will Need:
– Frames: Pick up some ready-made mirrors out there if you don’t have any around the house or else pick up small picture frames that are the right size for your mirror. Do not go for the big ones as they will not have enough space to cover the entire frame and won’t look as good.
– Fabric: You might be able to find some fabric that is the right size for covering your mirrors at your local thrift store or then you can sew it yourself by using some scrap fabric of the same color. If you do decide to use fabric, cut it into strips about an inch wide and long enough to cover the entire width of your mirror although you want a little extra on each side in order for them to overlap when you’re done.
Instructions:
1. Find a suitable frame and either glue or trace the image of your mirror onto it or else pick up a ready-made mirror and trace the size of it in pencil. If you’ve traced a different type of frame before, write down how big the measurements are so that you can copy them exactly. Once you have your image or dimensions, cut it out with scissors so that the image is smooth and doesn’t crumble as it’s being covered with fabric. You can also use an exacto knife to cut the edges if needed because they’ll look smoother than scissors alone.
2. To cover the empty space of your mirror, you should have enough fabric to cover both sides but if not, you might need a few extra pieces. To determine how much fabric you’ll need, place a strip of fabric on each side of your mirror and then fold the fabric over again so that it covers more than half of the length and width. Then, give your mirror a little test run to see how it looks when it’s covered with fabric. If necessary, add another piece or two of fabric at either end to make sure that you’ve covered both sides all the way around.
3. You can fold your fabric onto itself as you go along or else leave it out until you think that your mirror looks okay after covering it. If the piece of fabric is too big, just fold it up and then glue it to the back of your mirror so that the excess doesn’t stick out when you use them in your room. Once done, let everything dry overnight before using them in your room the next day.
Framed Wall Art
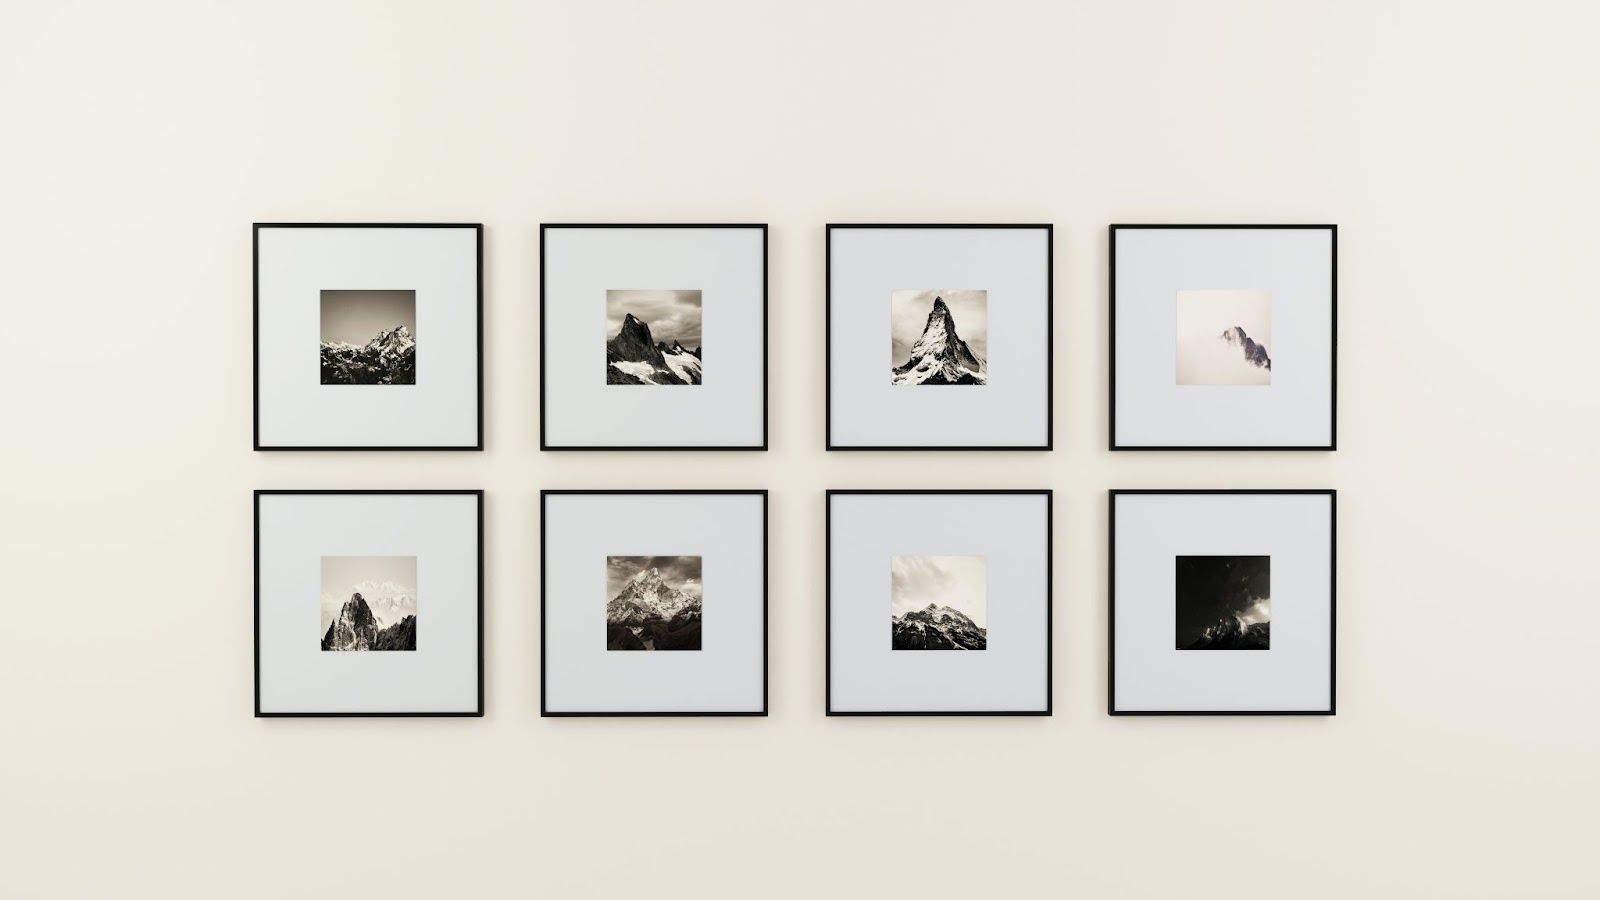
Framed wall art is one of those things that you either love or hate but these types of art and craft decorative items could be used to creatively decorate a wide array of rooms depending on the size and shape of your pieces. It helps to have pieces of art that are big enough so that you don’t have to make the room look cramped. The best part about creating this wall art is that you can pick any type of frame and decorate it without having to worry about a perfect matching with other decorative crafts furniture and you can even use plain wood frames or glass ones if you don’t want to spend a lot on something fancy.
What You Will Need:
– Frames: Pick up some small frames depending on the size and shape of your art piece. Make sure that the frame is big enough so that your piece will fit well in it.
– Pictures: Once you have your frames, you can use pictures from magazines or just colored paper to make your piece of art. The easiest way to do this is by cutting out the same size as the frame and then gluing it onto the back of your frame so that it looks professional. If you’re not too good at cutting things out, then just write down something inspirational or interesting on a piece of paper and glue it onto the back of your frame with any type of glue.
Instructions:
1. To make plain framed wall art, pick out a picture that will fit in one of your frames and then glue a picture onto the back with any type of glue. Repeat this process for all of the pictures that you want to use.
2. If you’re looking for something a little more interesting, there are hundreds of different types of frames available at any type of store and they come with different designs on them. Pick a frame that appeals to you and then glue your picture onto it.
Blankets

If you have kids, chances are that they make frequent use out of blankets as they go about doing their chores or just hanging around the house all day long. Blankets are small and simple to make but still look good enough to use in rooms that you intend to make more formal. You can make blankets that are large or small depending on the type of pattern that you want and the dimensions of the particular piece as a home DIY craft decor.
What You Will Need:
– Fabric: You can get fabric pretty much anywhere although it’s better if it’s a solid color so that it won’t fade with time. It helps if there’s enough leftover fabric so that you can use it for making a second blanket or just to cover something else as part of your décor. If necessary, you can also cut out fabric strips from random squares of fabric so that they fit perfectly into your desired size.
Instructions:
1. Cut out a piece of fabric that’s the exact size of your blanket and then unfold it. You can use a ruler to measure the width and length if you’d like to be accurate with your measurements but it’s better if you just get something that’s close enough.
2. Fold over the corners and crease them so that they’re more than half an inch away from each other before placing them in your desired position. Then, take the excess piece of fabric on either side so that they wrap around each side and hem them.
3. To make the corners, cut off all of the fabric on the long sides so that they’re at an even length and then fold them over. Make sure that you crease them well so that they’re nice and crisp.
4. At this point, if you have enough leftover fabric, you can always use it to make a second blanket out of but keeping in mind that most blankets are meant to be one-piece pieces, instead of making a second one, try to find other types of things that will fit well in a square or rectangle shape. You may find some other types of fabric remnants or even tissue paper which would also work well when you want to make a blanket.
Pillows
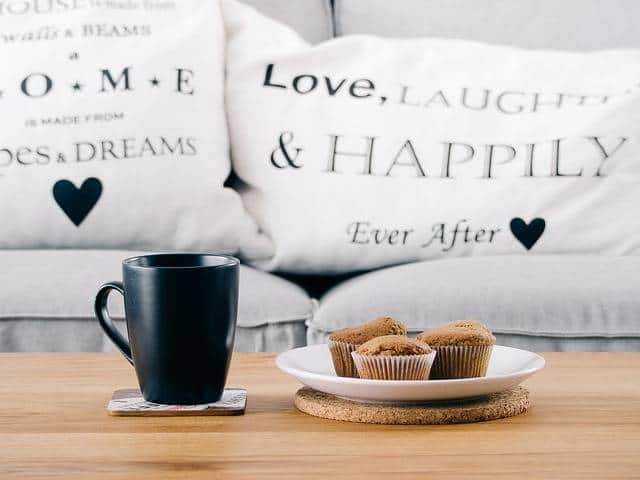
There’s virtually no reason why you should be buying pillows since they’re usually made from materials that are pretty low quality. There are so many different ways that you can make the perfect pillow with craft decoration ideas and we’ve done our best to list down some of the easiest and simplest ways to do this.
What You Will Need:
– Fabric: You can get fabric pretty much anywhere although it’s best if there is a solid color to it. You can also get fabric remnants from old clothes or other clothing but the main thing is that you make sure that the fabric is available in your house so that you can use it for making pillows. The best type of fabric is a cotton-polyester blend as it’s easy to work with and will be reasonably priced on embroidery services.
Instructions:
1. For pillowcases, you’ll need about four inches of fabric per pillow so if there are two pillows in your sleeping arrangement, then cut out six pieces of fabric and arrange them into a square. You can either sew them together or just glue them down on your pillowcase.
2. For pillows, you’ll need about two inches of fabric so for each pillow, you’ll need five pieces. Cut them out in a triangle shape and then sew them together to make the pillow shape. You can either sew them by hand or just apply glue on one side and then do that as well.
3. If you have any leftover fabric pieces, you can make pillows out of them as well but remember that most pillows are meant to be one-piece pieces so try to find other types of things that will fit well in a square or rectangle class where the pillow will be placed.
In conclusion, there are tons of things that you can make yourself without spending a lot of money. There are tons of DIY ideas out there for just about anything and all you have to do is think outside of the box a little bit more, even if you’re only doing it for fun or because you’re really into crafting. The most important thing is that it makes your life more interesting and that you have something to talk about with your friends or family members. Perhaps they can even throw in a few ideas for their own projects!