7 Fun DIY Crafts with Stuff you Have at Home
7 Fun DIY Crafts with Stuff you Have at Home
Finding Diy Crafts with Stuff You Have at Home to keep kids involved is not only key to getting it all done, but also for spending quality time together. Crafting activities can be a wonderful activity and there are plenty of simple and easy craft ideas for kids to make with stuff at home.
There are a few easy crafts ideas that kids can do by using everyday household items you likely already have like tissue rolls, milk cartons, and newspapers. We’ve compiled a list of our favorite and most popular kid’s crafts. These simple crafts will delight your children, and the greatest thing is that the preparation for you will always be simple!
Paper Mâché Bowls
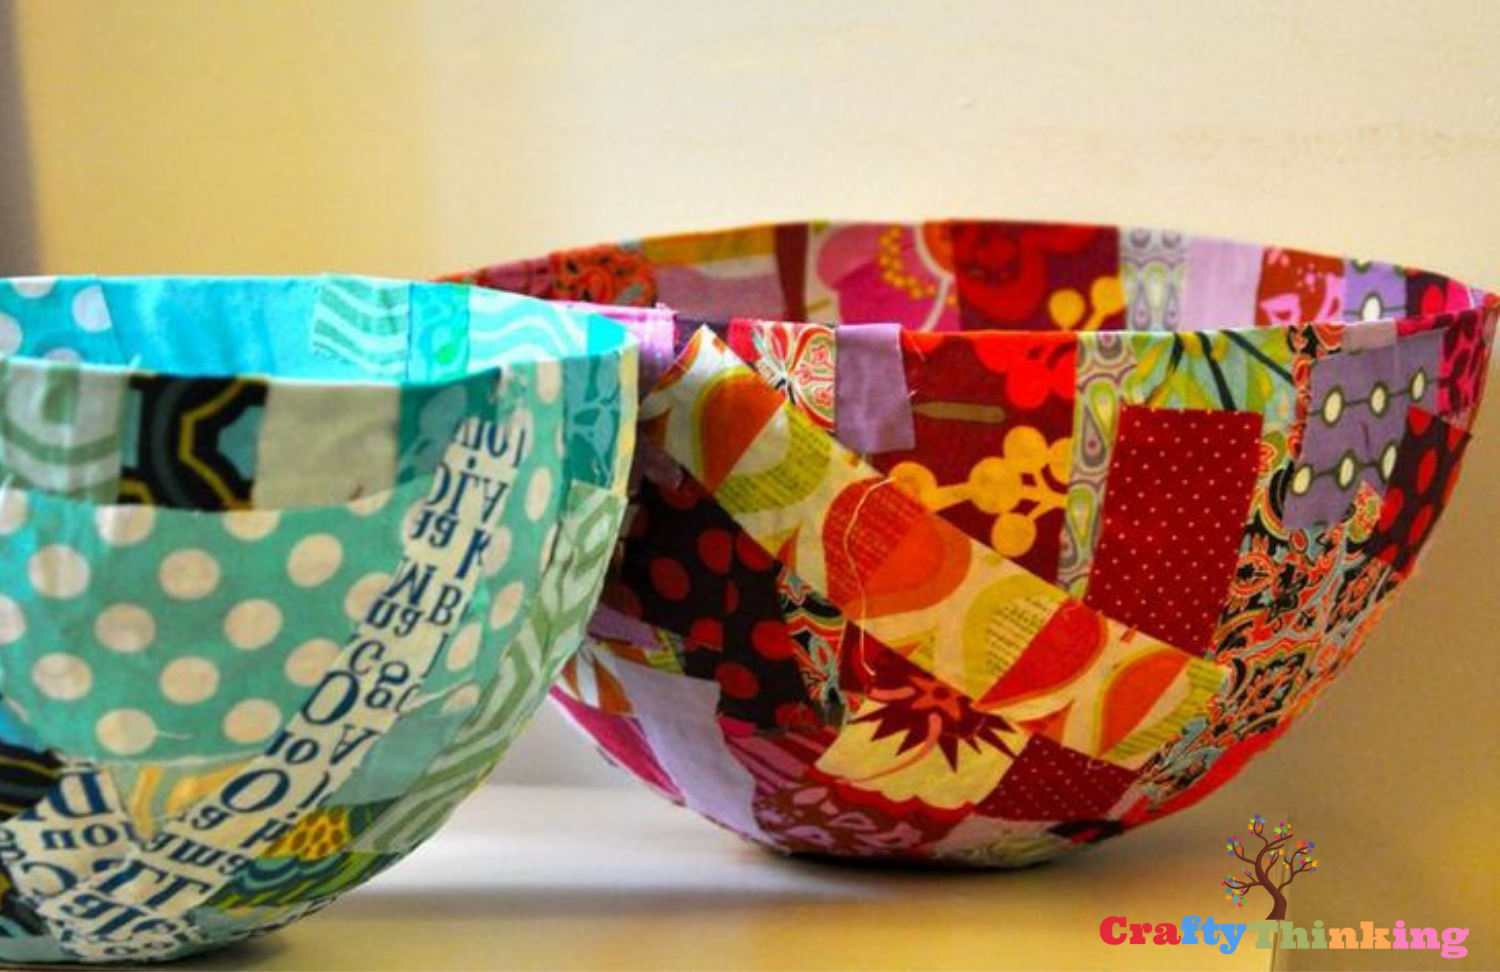
A bowl is a good shape for young hands learning to work with paper mâché. The pleasure of making a bowl out of newspaper strips, water, and flour is almost magical!
- Take a small plastic bowl and slide a layer of plastic wrap over it.
- Take an old newspaper and cut it into small strips
- Take an equal ratio of flour and water, mix them to make paper mâché paste.
- Now dip the paper strips into the paste and layer them over the bowl. It is better to use 5 layers minimum.
- After completing layers, let it dry overnight.
- The next day squeezes the bowl by pressing gently, it will pop out.
- Paint your favorite color to finish the look.
Friendship Bracelets
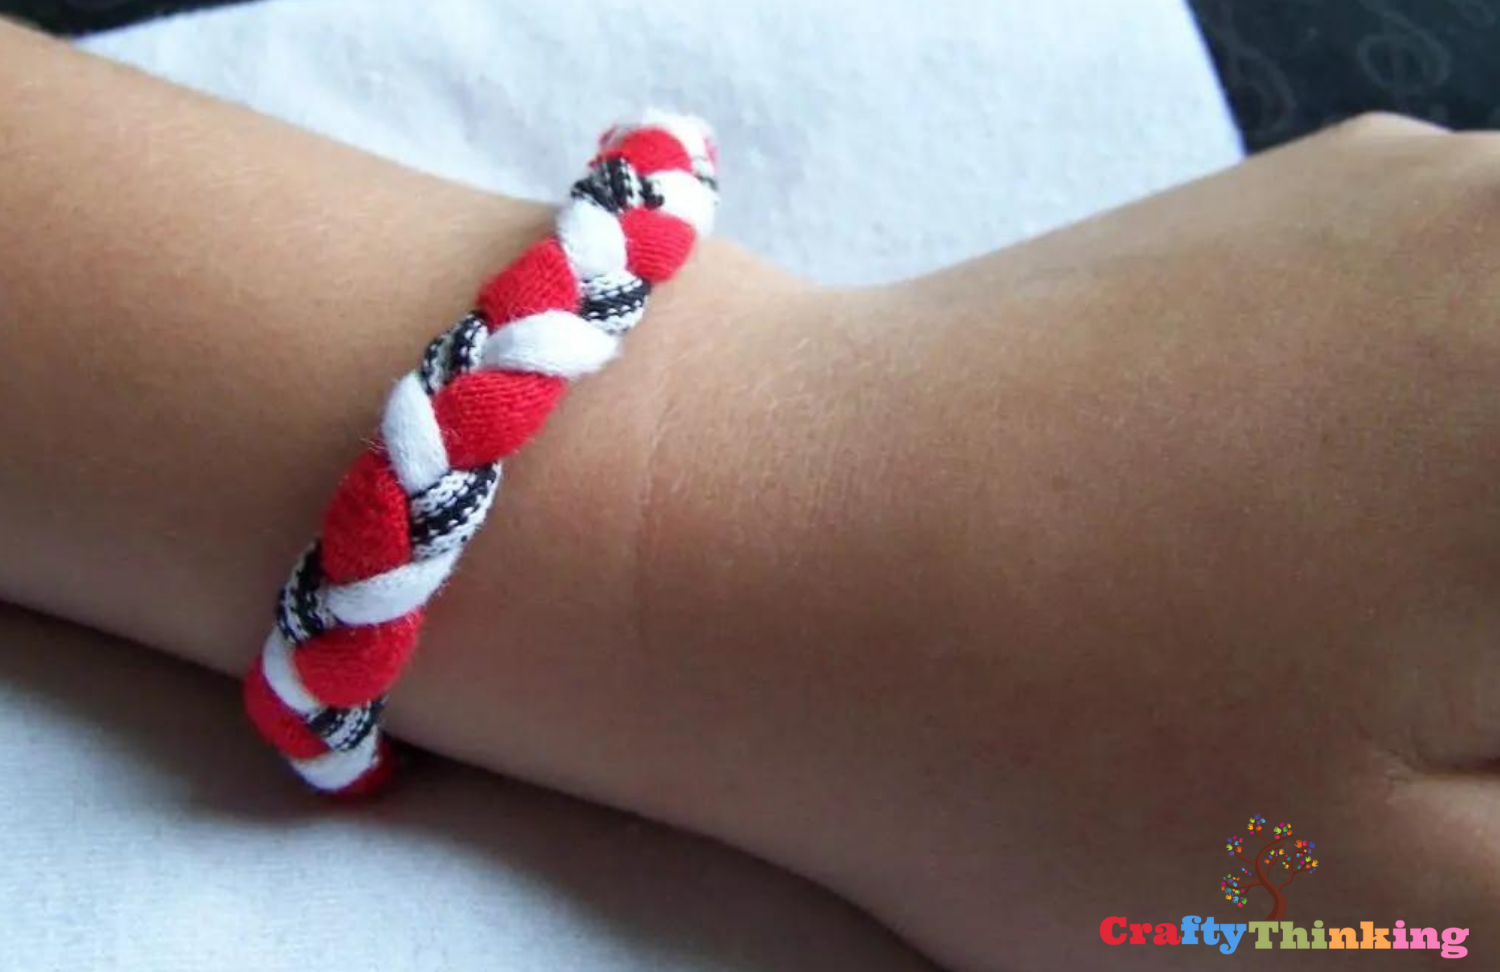
Bracelets for friends are a popular and easy project for children of all ages. You’ll have a new bracelet collection in no time with a little inspiration to get you started!
Friendship bracelets are loved by kids of all ages and can be produced in many designs. This craft is sure to jumpstart creativity in any child and can be customized to any color. A friendship bracelet craft for kids by using old t-shirts is an excellent idea who wants to accessorize with their school color.
- Take three old t-shirts and cut strips from the bottom with a scissor.
- Stretch the fabric out to make the edges curly.
- Braid the strips to the desired length by crossing one strip over the next until the desired length is reached. Make sure there’s enough room at the end for a second knot.
The possibilities with friendship bracelets are endless. you can add charms or beads to the middle of the pattern to make it more attractive. It won’t be long before your child has a bracelet of his or her own, as well as bracelets to share with his or her friends!
Fortune Teller
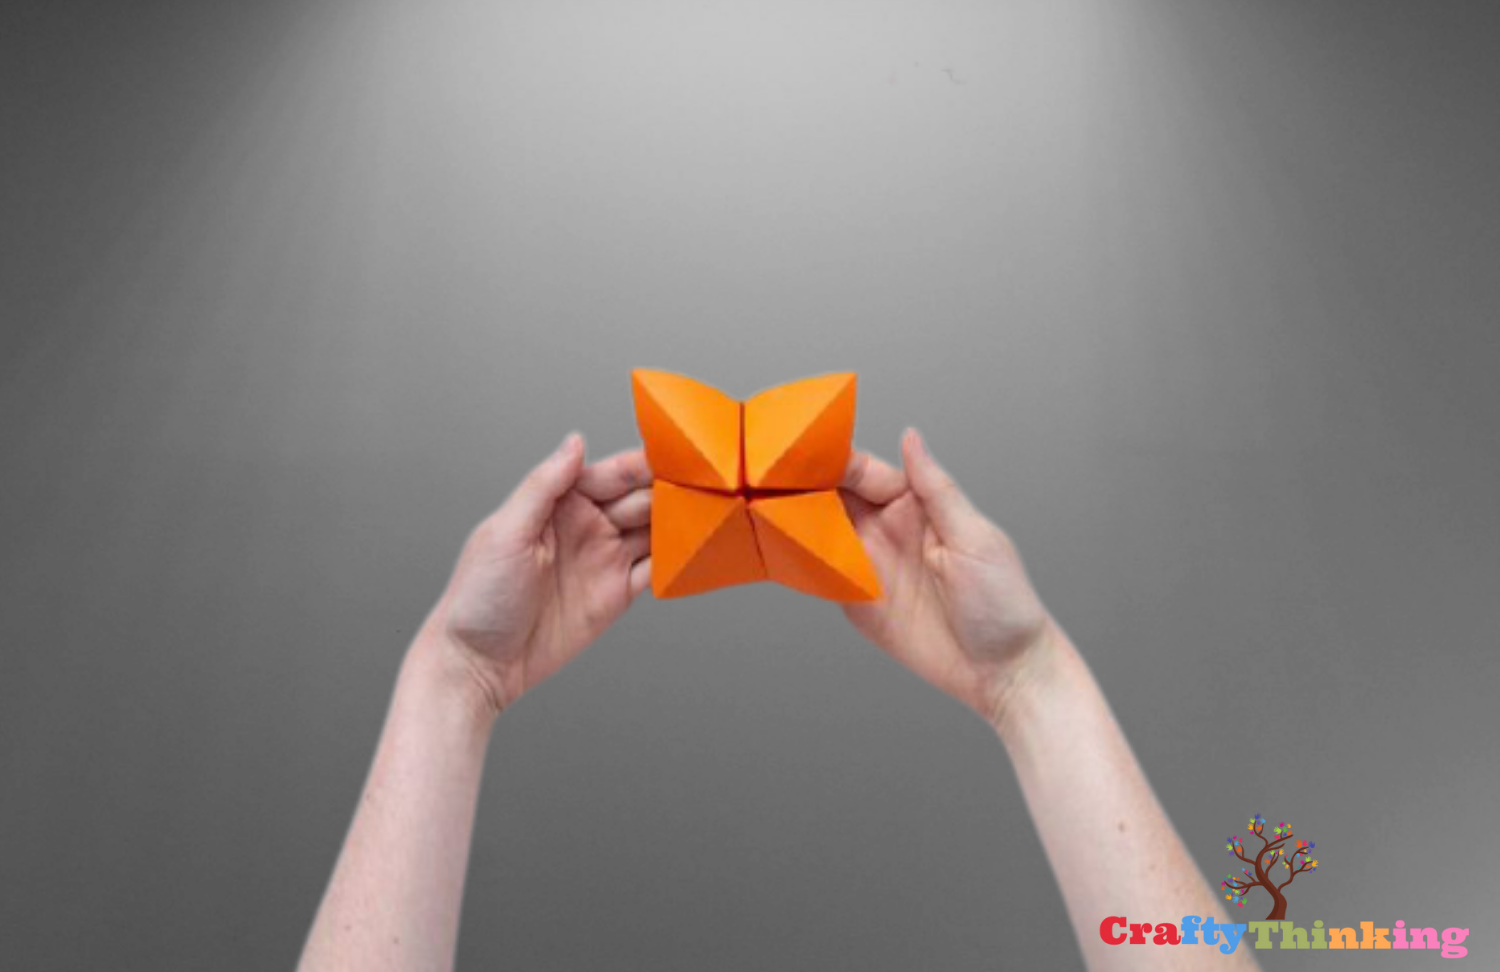
An origami chatterbox craft is the simplest and easy craft for kids requiring a few pens and paper to do. Be as creative as you like with your favorite colors and imaginative fortunes to predict for one another. All-time kids favorite craft which they love to decorate and play with friends and family members that provides endless fun.
Rainbow Wand
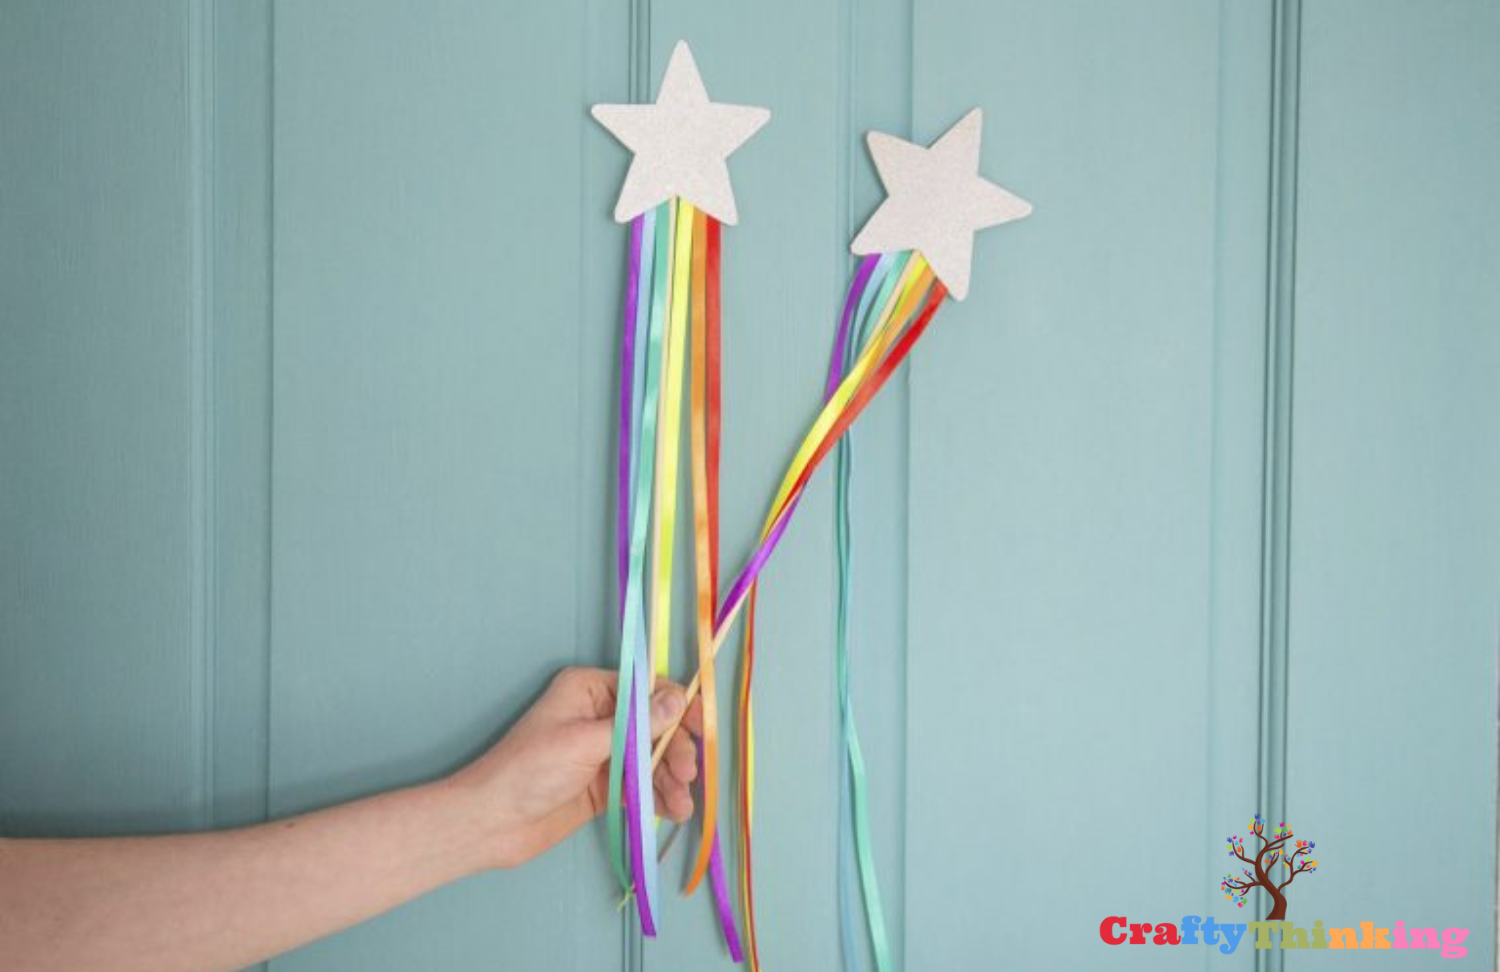
This rainbow wand is a fun pastime that also serves as a toy and a costume item. To put it together, we used glitter cards, colorful ribbons, scissors, and glue. However, youngsters can always add extra personalization with beads, gems, or whatever else they think is suitable.
It’s really easy to make and getting kids involved in this project requires some cards, ribbons, glue, and paper straw.
- Draw two-star shapes on the back of the glitter card and cut it.
- Take rainbow ribbons of any color of your choice and cut them in equal length.
- Glue the ribbon pieces and a paper straw on the back of one star and let it dry for a while. Now paste the other star over it and press its sides so both can stick together.
This is one of the magical rainbow crafts we have created. If you like this, you can make this wand even with tissue paper as well.
Pebble People
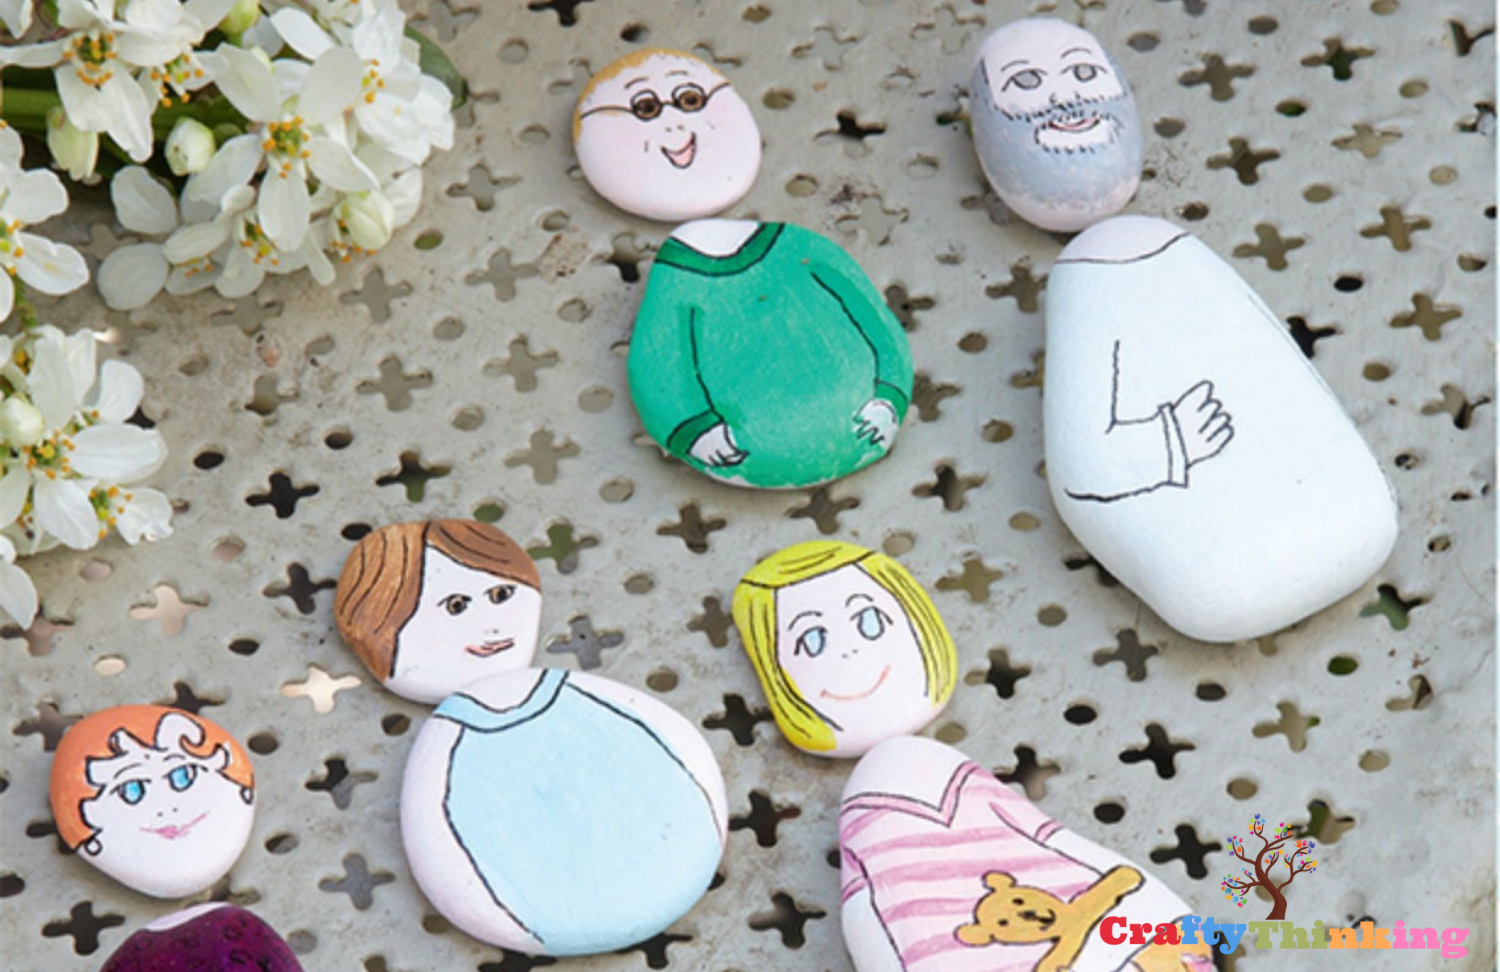
Who doesn’t have a few old beach pebbles or garden stones laying around? Rather than letting them get under your feet, have your children turn them into amusing characters – or even family photos. Why not get them to create a pebble person for each family member? All you’ll need are a few paint pots and some inspiration in addition to the pebbles.
- To give each pebble a flat basecoat color, paint it white. Allow to air dry completely.
- Choose which stones will serve as heads and which will serve as bodies. Draw each face in pencil, as well as the details on each body — where the arms, necklines, stripes, and other features will be.
- Now with paintbrushes, fill details by painting on each pebble and leave them to dry after every step. With the help of a marker outline each element.
Your family pebbles are ready and further you can apply varnish on them to keep their color lovely and bright. After varnish, you can keep them in the garden.
Paper Hats
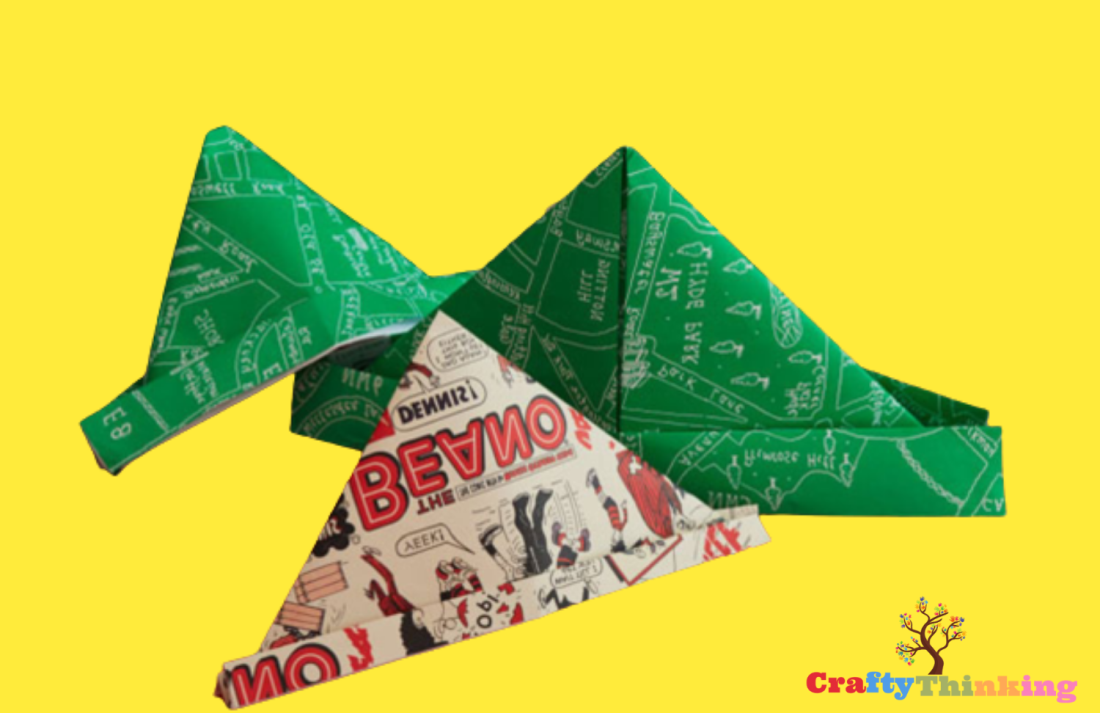
Turn old newspaper and scraps of wrapping papers into amusing paper hats. These paper crafts for kids are wonderful for games, fun and the folding process helps to develop important hand-eye coordination and focus abilities. This easy craft activity is great to do with children at a party. If your child chooses a hat with a specific theme, you can go one step further and decorate it. For a dramatic effect, place a feather in the brim’s side or add plastic jewels for a tiny prince or princess.
- Take a large sheet of paper and fold it horizontally and press it firmly with one hand to get a strong crease.
- Make the peak of the hat by folding the top 2 corners of the folded edge to meet at the center, with the flaps lining up.
- Lift the bottom flap and fold it up to produce the brim. Flip the paper over, and repeat with the other flap. Open the paper hat with care.
You can design these hats with colors and decorate them with stickers.
Tin Can Kites
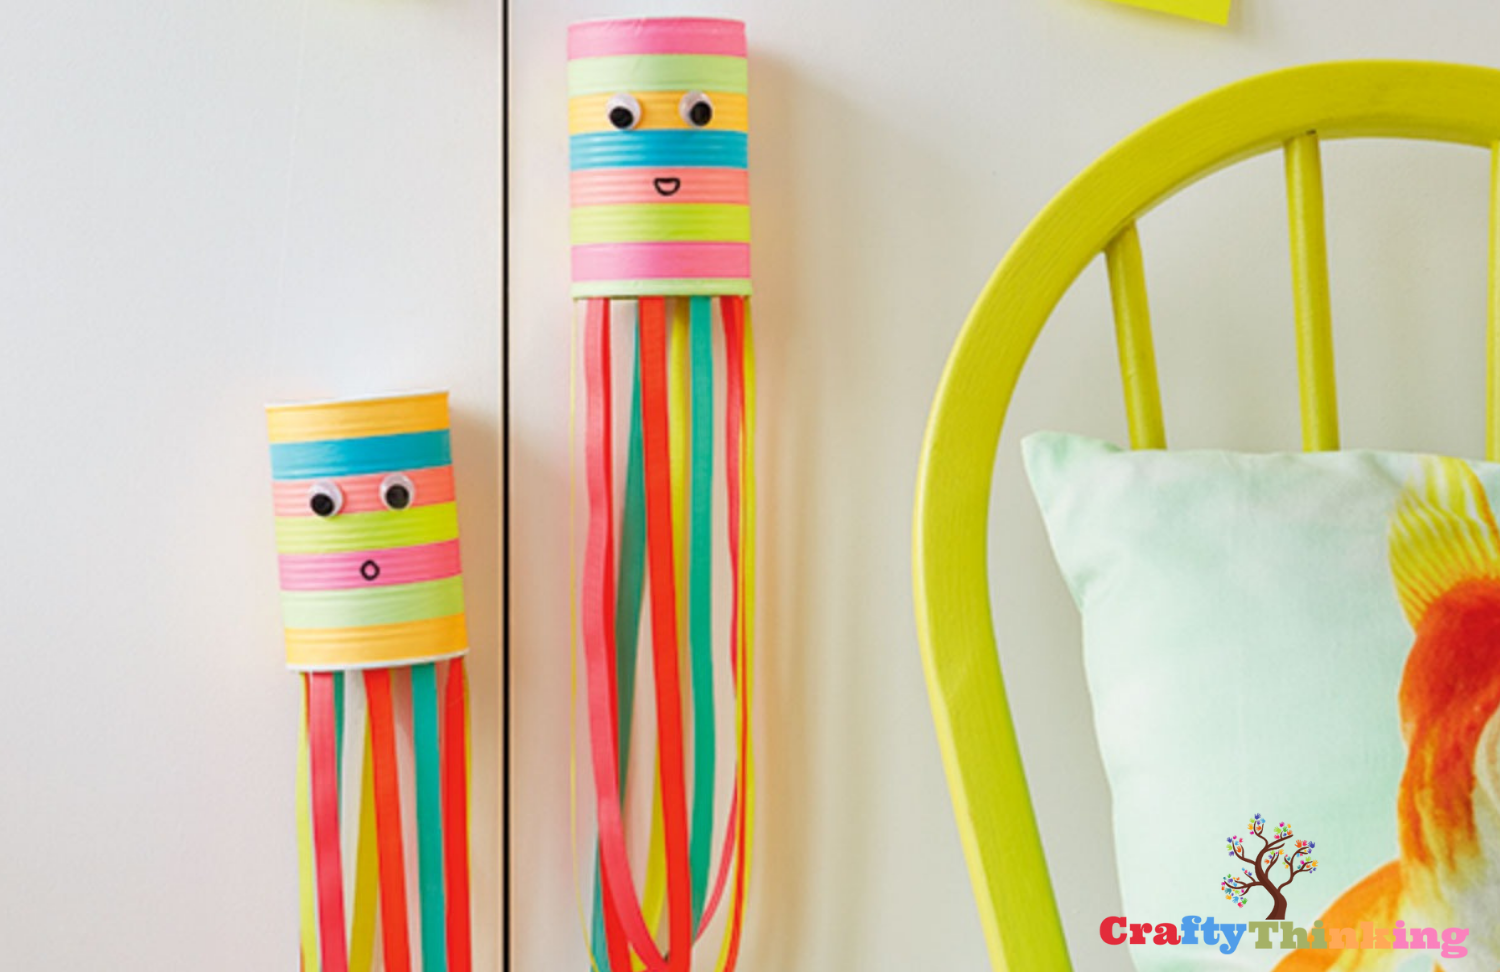
Painting abandoned tin cans with acrylic paint and adding colorful craft tapes for a rainbow-inspired look can give them new life. To ensure a clean canvas, give the cans a quick wash before using them. Give your mini tin guy goofy eyes and a smile for the complete impact.
This tin can kite crafts can be strung together and displayed inside or outside your home once they’re finished. Hang them on the terrace if the weather permits, and watch their bright tails catch the breeze!
- Paint the outer side of the can with acrylic paint and let it dry.
- Paste the craft tape around the can to create a rainbow effect.
- Cut different lengths of neon ribbons and paste them inside the edge of the can. Take help from elders as the edges of the can might be sharp.
- Draw a mouth part with a marker and add wiggle eyes or you can draw them as well. Depending on how you want your kite to appear, you can make a variety of expressions.
- With a hammer and nail, help your child make two holes on each side of the top of the can. Then, to hang the kite, thread a length of clear beading string through the holes.
If you like this article and would like to know more, please comment below.