Easy Easter Bunny Tutorial (Easter Crafts For Kids)

EASTER BUNNY
Easter is a celebration and occasion held internationally, and it makes us love the Easter Bunny more! I will be more than happy to share this craft with you all and you will more than happy to see it once you are done.
Let us make plenty of bunnies and love them later on! Nothing can make this even more special other than these cute friendly animals!
Grab the things you need and let us begin!
EASTER CRAFTS FOR KIDS
WHAT YOU NEED:
- Blue colored chart paper (you will need half of the entire chart paper)
- White-colored sheet
- Black marker
- A pencil
- Glue stick

Step 1:
Start by grabbing the blue chart paper and marking four strips of the same size. Cut two sets of strips. The first set should consist of longer strips than the second set should have shorter strips than the first.

Step 2:
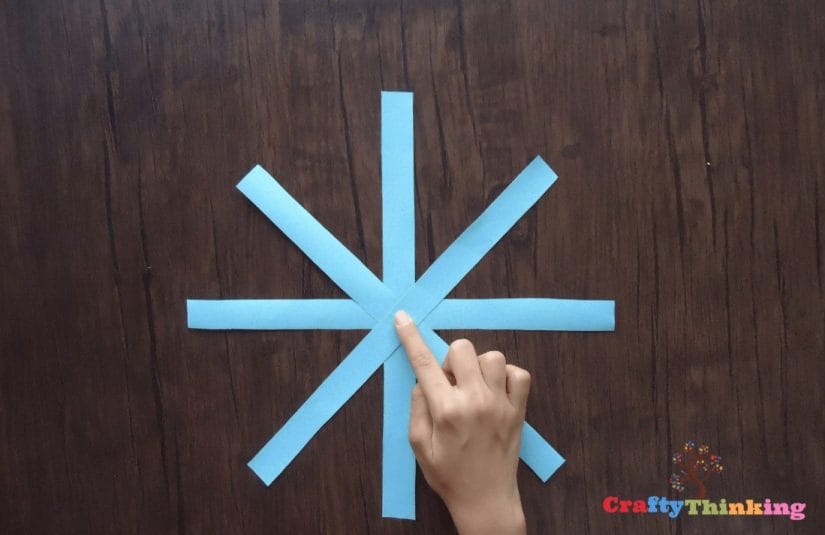
Bring out the first set of shorter strips and use two of the strips and glue to make a plus shape. Simply apply glue to the center of one strip and paste another strip on it. You can look at the illustration below to know exactly how the shape is supposed to be.

Step 3:
Now apply glue on the plus shape in the center and paste the second plus shape on it. This will make a crystal-like shape. You can also make this bunny of different sizes and colors once you are done.

Step 4:
This step is tricky so you must pay full attention and focus at this moment. Firstly apply glue on one end of the most bottom strip. Now bring the glued strip up and join the two ends together. Now begin applying on the second bottom strip and do the same.

Step 5:
Now do the same with all the strips until you result in a round pumpkin-like object.
The bunny is going to look super cute and funny! In addition, repeat the steps and do the same with the second set of long strips.

Step 6:
You need to focus here too. Firstly take a piece of blue chart paper and fold it in the middle. Draw the shape of a bunny ear: make it round on the top and a little wider at the bottom. Also, take a piece of white paper and draw a slimmer and shorter bunny ear of the same size with the same kind of bottom. Now take a blue chart piece and draw a long oval on it to make the mouth part. Also, draw a small triangle on a piece of white plain sheet. Take another piece of white paper and fold it in the middle and make two large circles that will be the eyes.

Step 7:
Now begin cutting all the shapes. Once you cut the blue bunny ears, also fold the wider bottom part towards yourself. There are just a few more steps left and then we will be finished with the craft and we will be admiring the bunny.

Step 8:
Now paste the white bunny ears in the middle on the blue ones carefully and make the pupil of the eye. Make the pupil of your choice: the shape and color is up to you. Also, make the teeth and glue them under the mouth. Now paste the triangle on the big mouth.

Step 9:
Now apply glue on the folded side of the ears and paste them on the top of the smaller pumpkin-like shape. Also, paste the eyes and the big nose.

Step 10:
Now apply glue on the top of the bigger pumpkin-like ball. Apply the glue in a massive amount.

Step 11:
Now stick the face of the bunny on its body and it will complete the Easter craft.

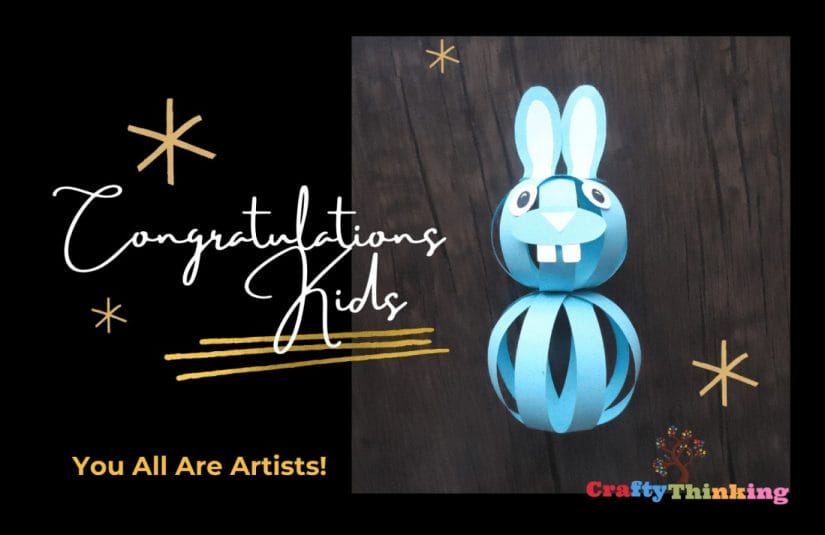
Congratulations!
Isn’t the craft easy and beautiful? You can also add feet at the bottom of the bunny but I think it looks adorable this way too. Parents can prepare egg hunts and scatter these bunnies on the lawn.
You can look for Easter crafts from us and enjoy and make beautiful memories!
If you like this article and would like to know more, please comment below.


