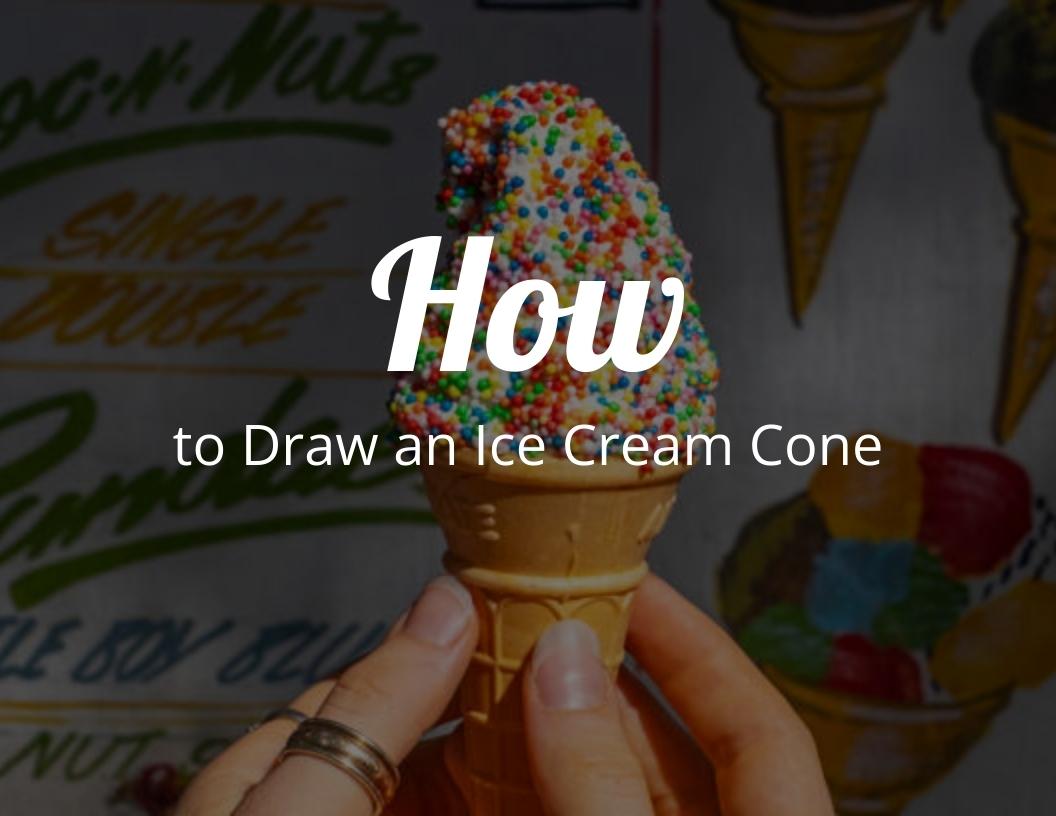
How to draw an ice-cream cone?
In this drawing tutorial, we will learn How to draw an ice-cream cone. This drawing tutorial is suitable for people of all ages.
Ice-cream
Ice-cream is one of the favorite foods of children. In fact, people of all ages love to eat and enjoy ice-cream. The sweet and creamy taste of ice-cream is something beyond love! In summers, eating ice-cream especially gives more pleasure because of its icy nature.
Ice-creams have vanilla, mango, chocolate, almond, caramel , strawberry and many other flavors. All flavors are extremely delicious.
Ice-cream is served in a variety of ways. Some people like it to be served in the forms of cone whereas other people love it in the form of scoops. Ice-cream cone is so crispy and tasty. It also comprises different flavors. Often, the cone is in the form of waffles.
Draw an Ice-Cream Cone
In this tutorial we will learn how to draw an ice-cream in an easy and simple way. Follow these step by step instructions to draw the ice-cream cone in a simple way.
Let’s learn how to draw an ice-cream in a simple yet easy way!
What do you need?
- Our printable ice-cream cone drawing guide
- Paper
- Pencil/ Marker
- Colors
How to draw an ice-cream cone?
Let’s get started!
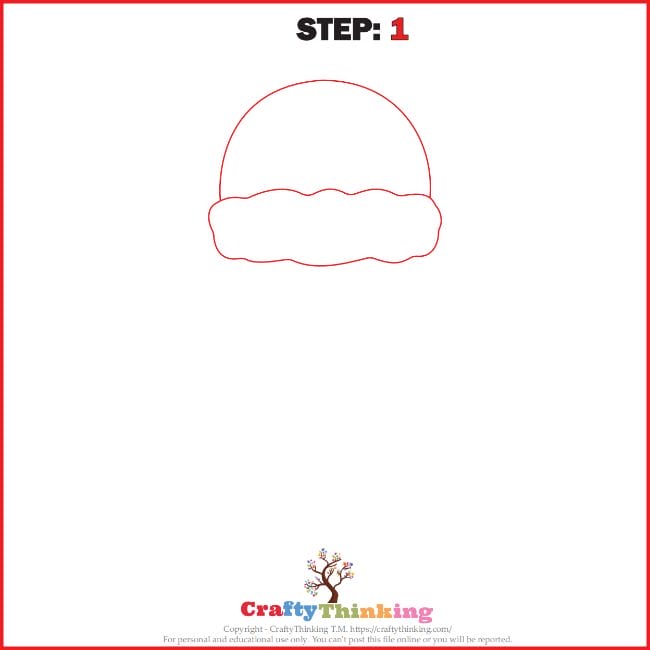
STEP 1:
First, start drawing the ice-cream over the cone. To draw the ice-cream scoop, trace a semi-circle showing the bulge of ice-cream.
Now, draw two wavy parallel lines with their ends united. This will complete the ice-cream portion of the ice-cream cone.
STEP 2:
Let’s draw the cone of ice-cream. Extend two lines, from the ends of the ice-cream, in a V-shaped manner. Join the ends of these lines at an angle.
This will complete the shape of a V-Shaped ice-cream cone.

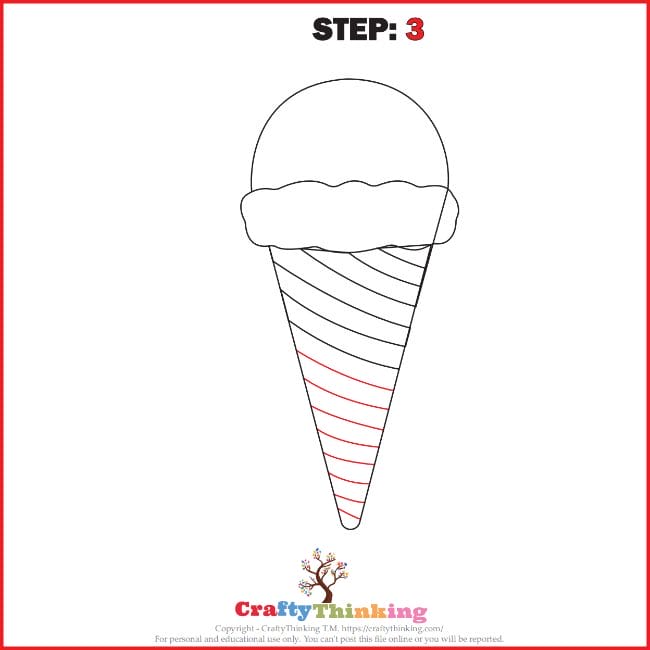
STEP 3:
Start drawing the curves facing upwards in the cone portion of the ice-cream cone.
Draw these lines horizontally from left to right.
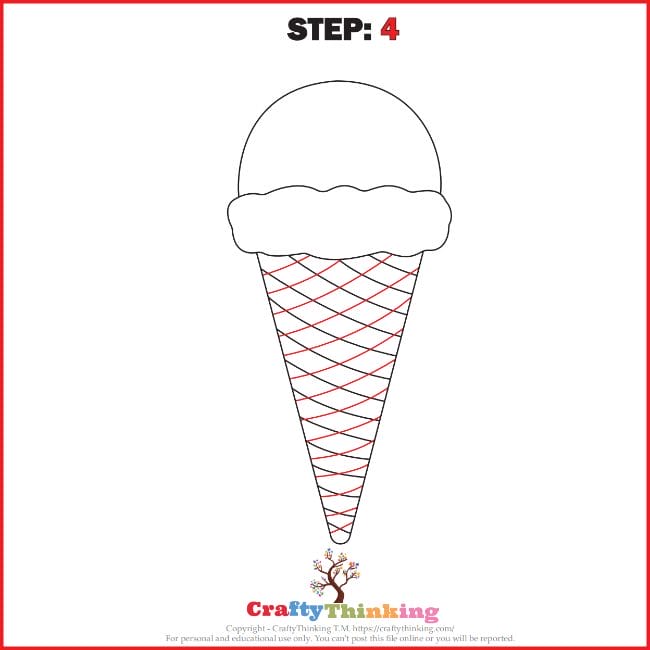
STEP 4:
Now, draw the similar lines but in the direction from right to left.
These lines will cross the previously drawn lines and give the ice-cream cone a crisscross appearance!
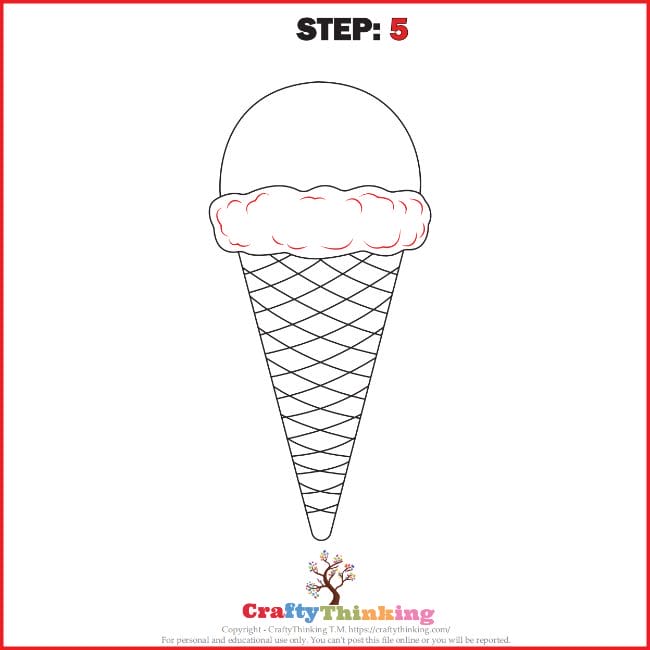
STEP 5:
In the bulk of ice-cream, draw some wavy lines to show its density.
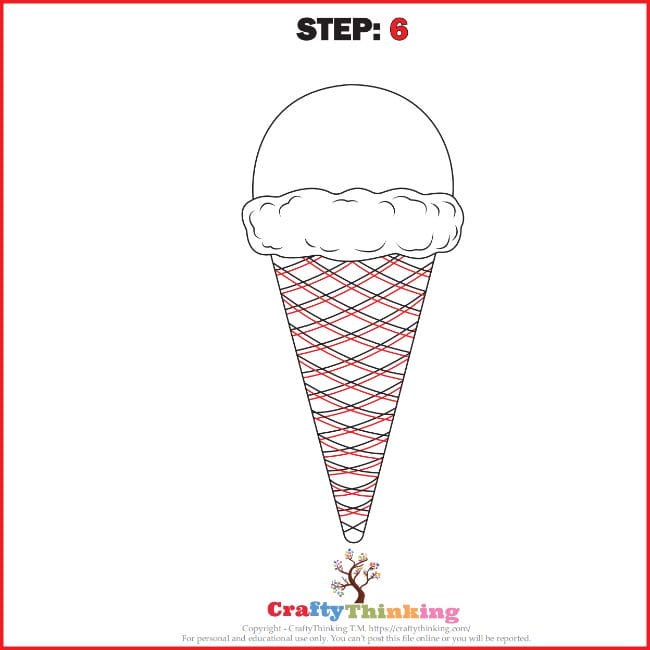
STEP 6:
Double the criss-cross lines. This will give the cone a more presentable look!
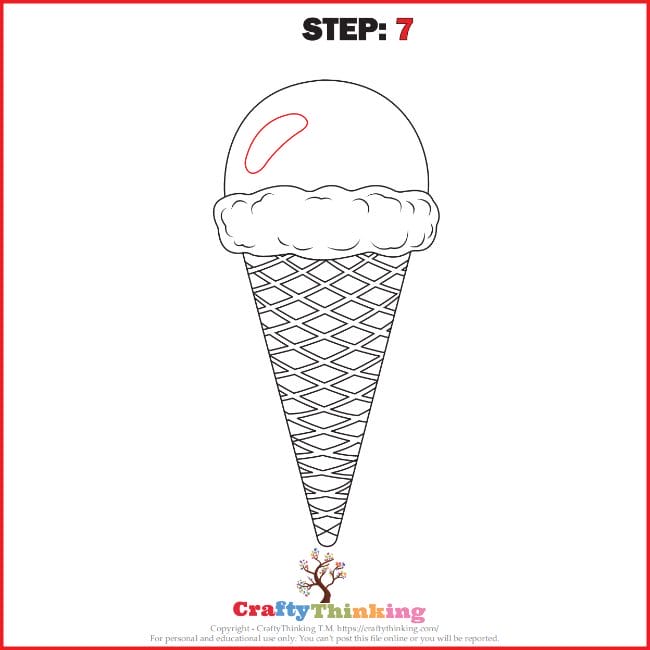
STEP 7:
Draw two small parallel lines united at their ends by the curved lines. This will form a small banana shaped figure at one end of the ice-cream scoop.
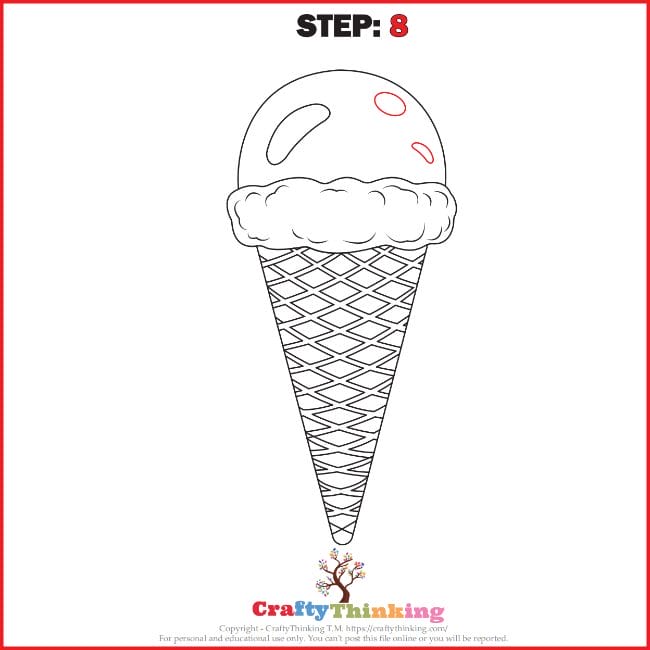
STEP 8:
Draw two similar figures on the other end of the ice-cream scoop.
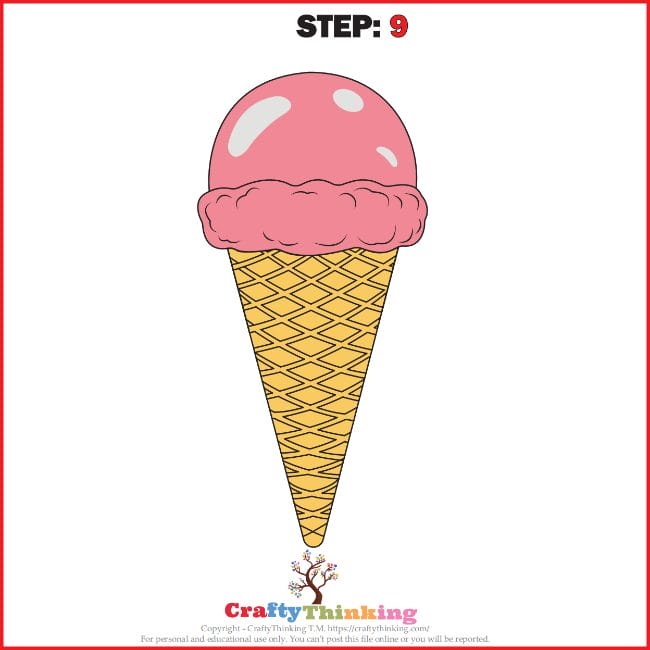
STEP 9:
Color the ice-cream so that it looks yummier!
We have colored the ice-cream pink to show the strawberry flavor, and the ice-cream cone is colored golden yellow.
Congratulations! You have successfully learned How to draw an ice-cream cone. We hope this was a fun-filled experience for you all.
If you like this article about How to draw an ice-cream cone and would like to know more, please comment below.
Check Out These Drawing Tutorials
Grab the complete printable here: