

How To Draw An Owl (Step by Step)
How To Draw An Owl! Have you ever seen an owl? Do you know that owls are nocturnal? In this instructional exercise, you will pursue some uncomplicated steps of how to draw an owl. As our other tutorial, this one will be really simple for both beginners and kids. Some people think that owls symbolize death, but it can also mean that a great significant change will occur in your life.
Draw An Owl
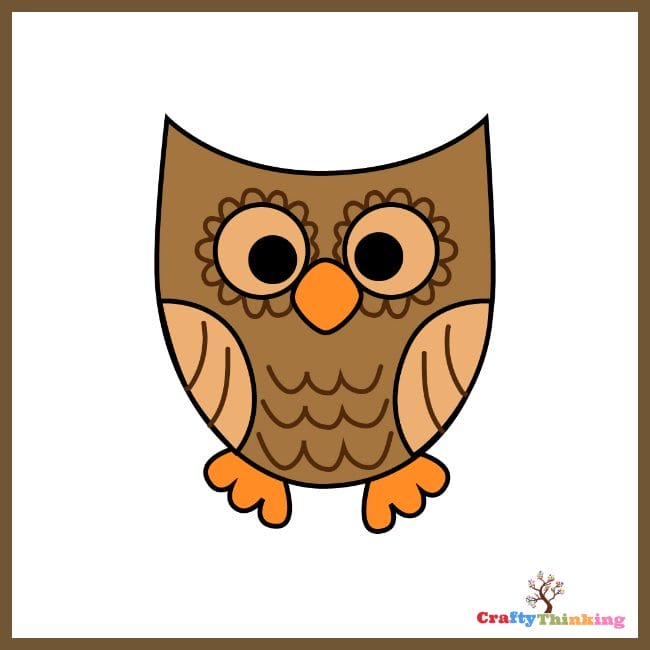
Owls are truly graceful, the perfect bird to draw during the fall season. We have designed two ways for you to draw an owl. The first version is more playful and fanciful while the other version of the owl is more realistic looking yet simple to draw.
10 Fun Facts about Owls
- Owls are among the most recognizable birds in the world
- They have been featured in many cultures and religions from Native American folklore to Christianity, and have been a symbol of wisdom, knowledge, and strength for thousands of years.
- Owls are so diverse, they come in nearly every color
- Their varied diets means they can be found hunting everything from insects to large mammals
- Many owls are nocturnal hunters which also makes them great night time companions
- They have many other interesting adaptations that help them survive- their feathers are specially structured to be silent, their eyes are very large relative to their head size which gives them amazing depth perception , and they have specialized feathers that allow their flight to be nearly silent
- Owls sleep during the day and hunt at night- making them some of the few birds that can see well in pitch black conditions
- Many owls have large facial disks which help funnel sound into their ears and also intimidate potential prey with a larger than life look on their face!
- They can see up to 200 degrees in front of them and also behind (there is a special membrane that protects their eyes when they turn so quickly)
- There are more than 150 different species of owls- ranging from tiny elf owls to massive Eurasian Eagle Owls!
What You Need:
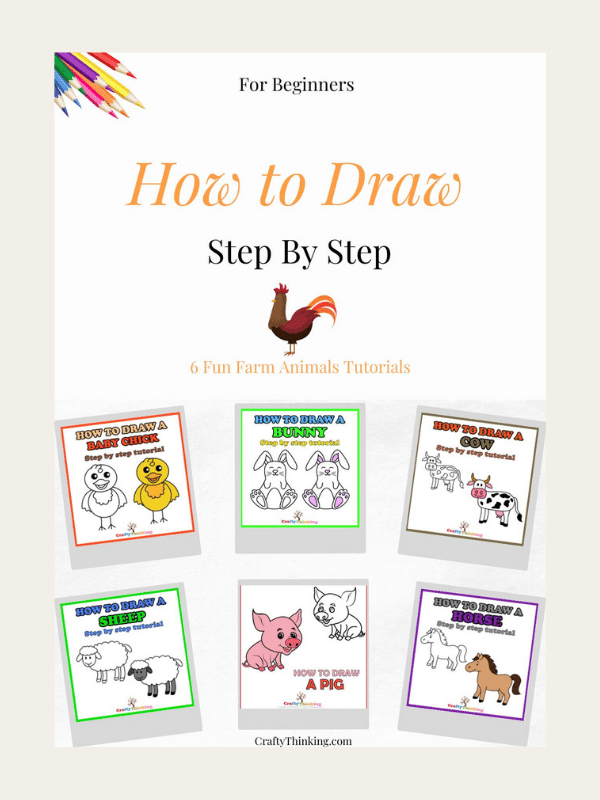
- Our printable guided drawing sheets
- Paper
- Pencil or black marker
- Coloring supplies
Version 1: How To Draw A Simple Cartoon Owl
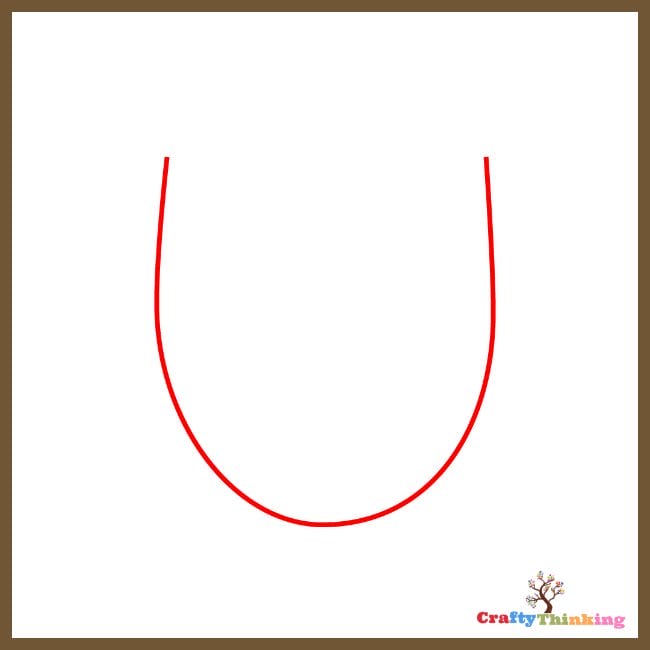
As usual, we will begin by drawing the face of the owl as it is the most vital part. To sketch the face, you will draw a huge shape that somewhat resembles the letter u. You can take references from the illustration provided below.
Step 1:
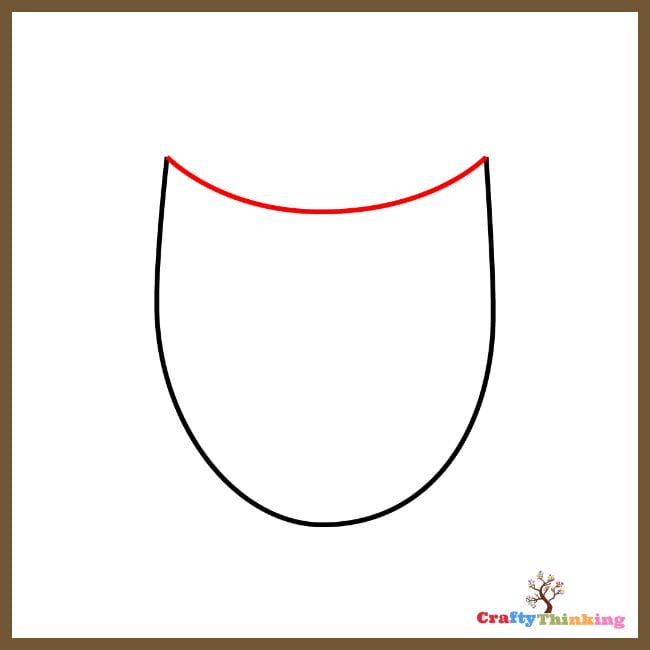
Now, you will close the upper open side by drawing a curved line. The edges would now look pointed.
Step 2:
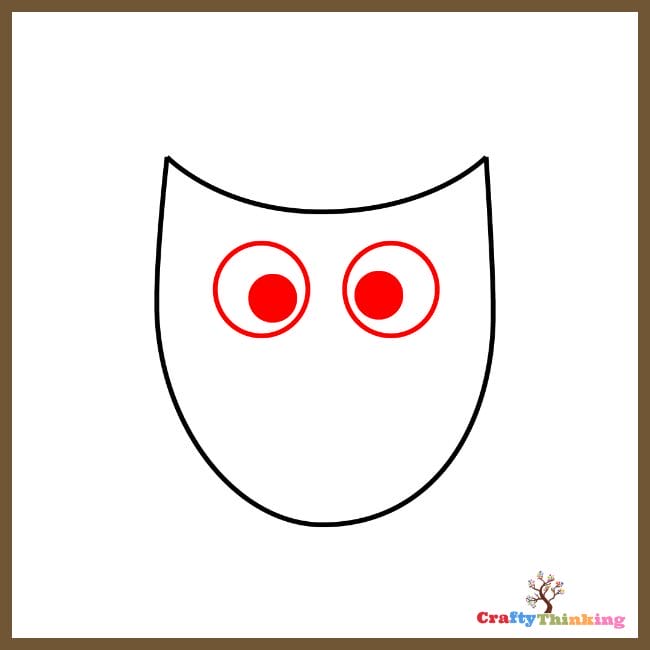
We will now begin learning how to draw an owl face. For the eyes, you will draw two large circles. The distance between them should not be a lot. There is no compulsion for a specific shape of eyes to be drawn and you can use various other shapes according to your choice to represent the eyes.
Inside the eyes, you will draw another circle which will be minute in size and you will fill it in. these are the eyeballs.
Step 3:
In this step, you will draw the beak of the owl. The beak will be drawn in such a way that the upper part is falling in between the eyes. The beak can of a triangular shape or it can be like the one we have drawn.
Step 4:

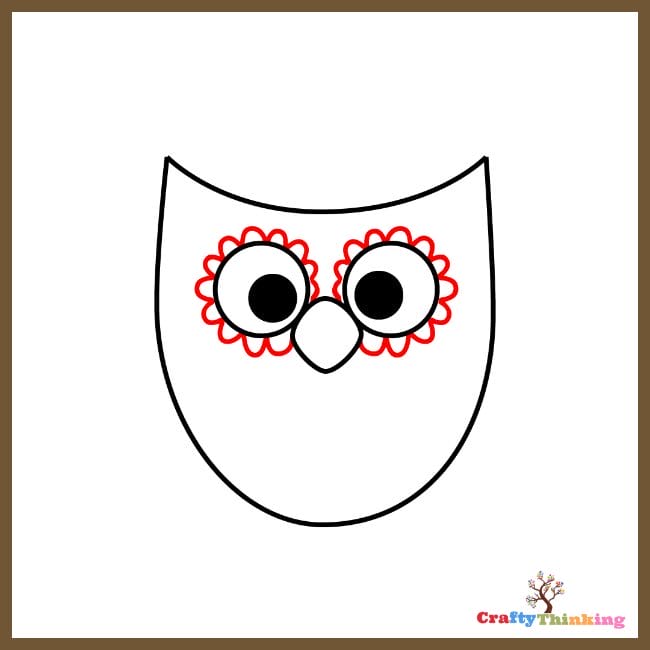
It is time to make the eyes more beautiful so that they stand out. You will draw little arches around the eyes, leaving no space between them. For this step: you can also assume the eyes as a circular and the middle part of a flower and then you can just draw tiny petals around it. It will be easy as long as you do it with full concentration.
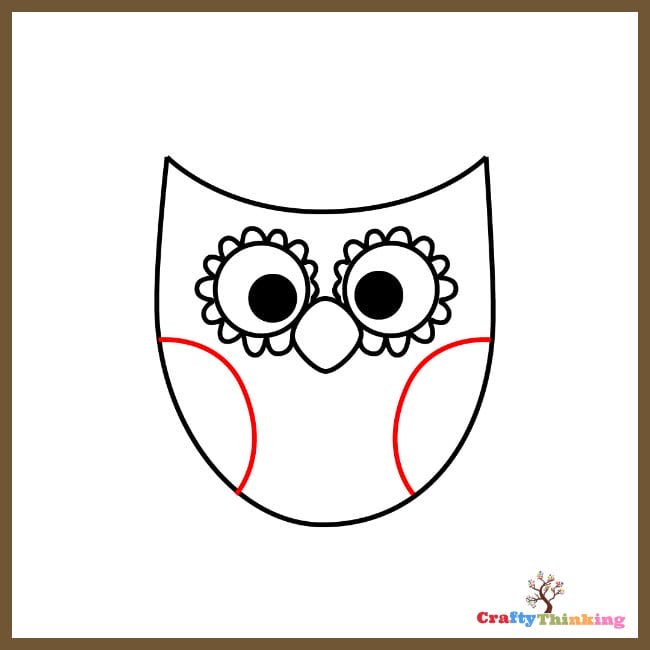
Step 5:
In this step, we will now draw the wings. For it, you will sketch two circular lines on the left and right sides as done below.
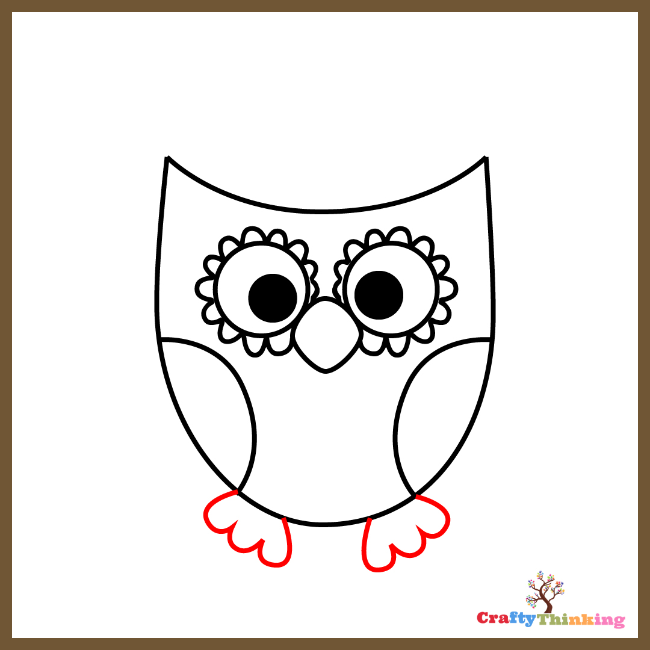
Step 6:
Do you know that owls can rotate their neck up to 270 degrees? Now, on the bottom left and right sides, three arches represent the feet. It is really easy, isn’t it?
Step 7:
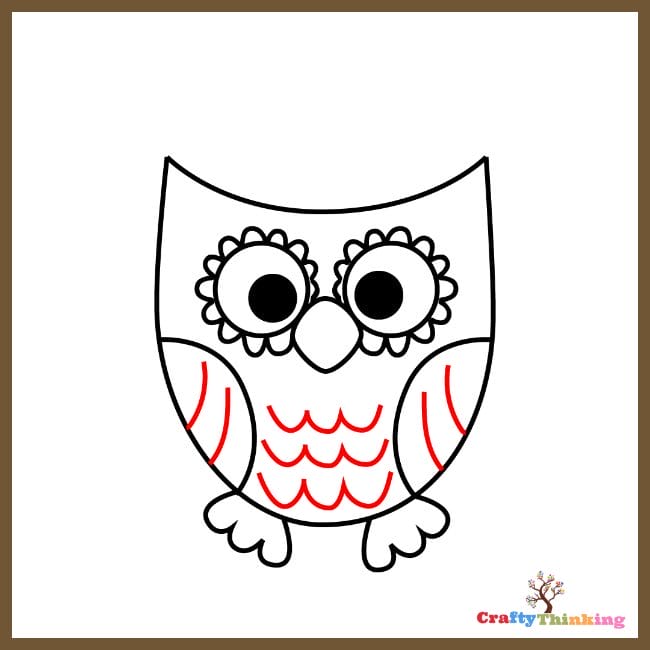
You will make the drawing more precise by adding two slightly curved lines inside the wings. You will also add sharp wavy lines on its body in the front, to represent the feathers here as owls have fur over all of their body.
Step 8:
You have successfully understood how to draw an owl easily. The last step is all about coloring As told before in all of our tutorials, coloring is the most essential part of the entire portrait as coloring is powerful and makes a piece of art appear more lively.
Step 9:
You have successfully understood how to draw an owl easily.
Version 2: How to Draw an Easy, More Realistic Owl
Many owl species have asymmetrical ears. Any guesses what a group of owls is called? A parliament! In this version, you will learn how to draw a more realistic version of an owl. This is just as simple as the previous version.
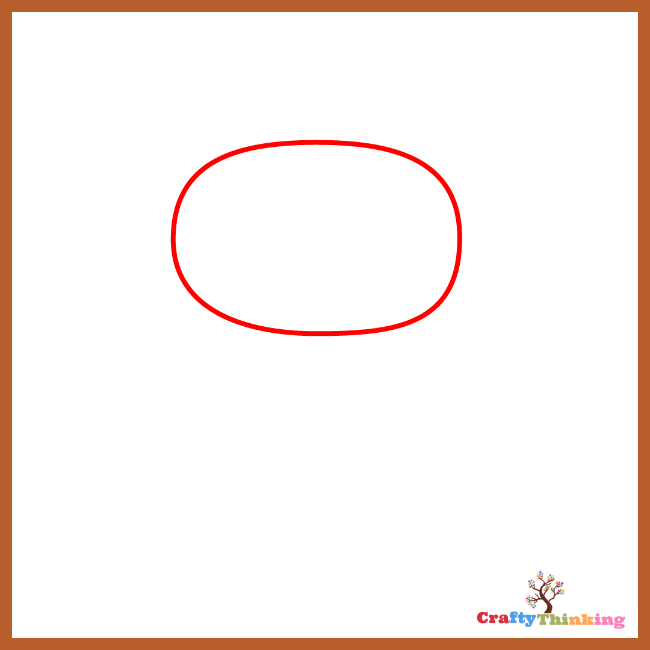
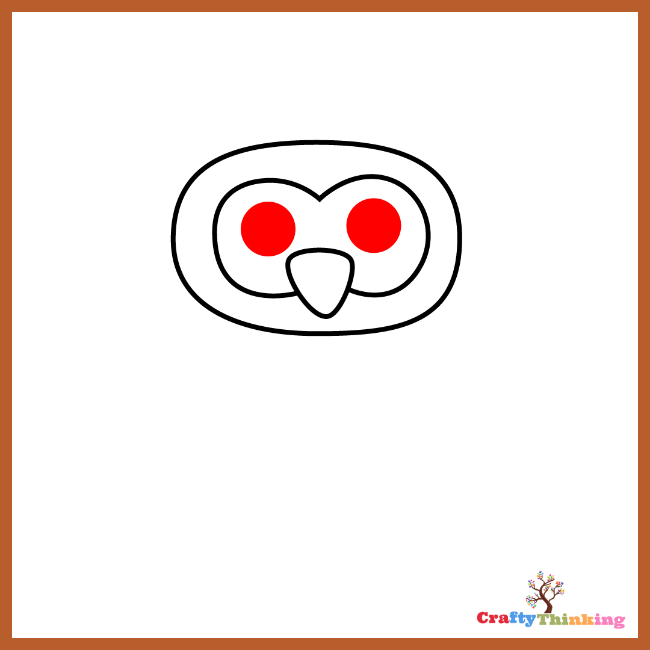
We will again begin by drawing the face. For it, you will draw an oblong oval shape. As told before, it is quite effortless.
Step 1:
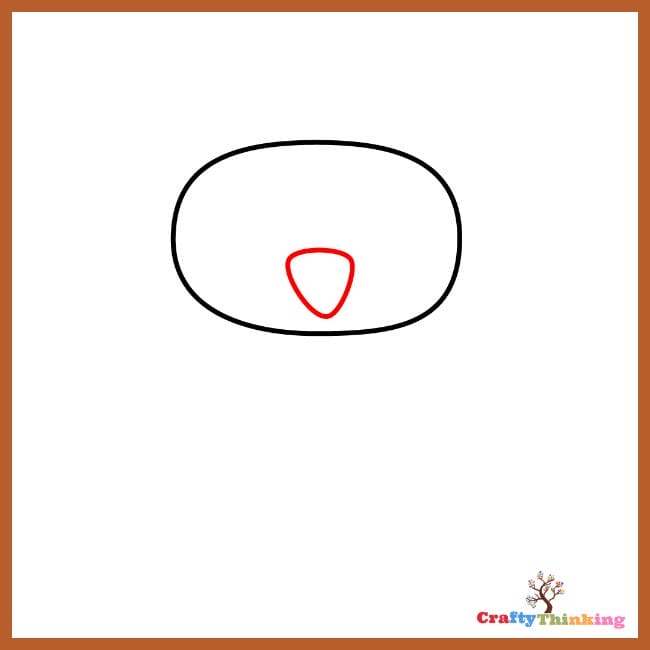
Draw a beak on the bottom of the face. It can be triangular as done in the first version or it can also be any shape you want it to.
Step 2:
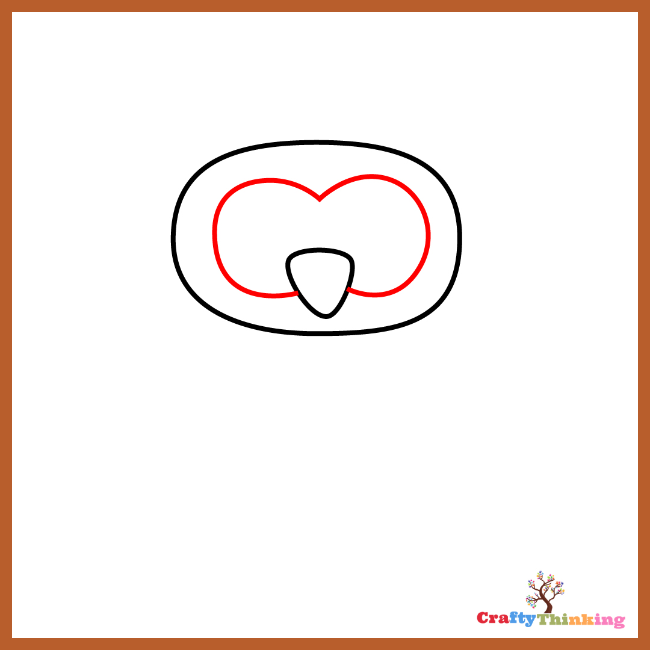
Now, inside the face, you will draw a shape that somewhat resembles a flat heart or another oval that forms a midpoint like a heart. You will not make the beak fully included instead the edges of the shape you drew inside would touch the sides of the beak.
Step 3:
We will now begin working on how to draw an owl face. You will draw two circles inside the shape you drew in the previous step. Make sure to fill them in.
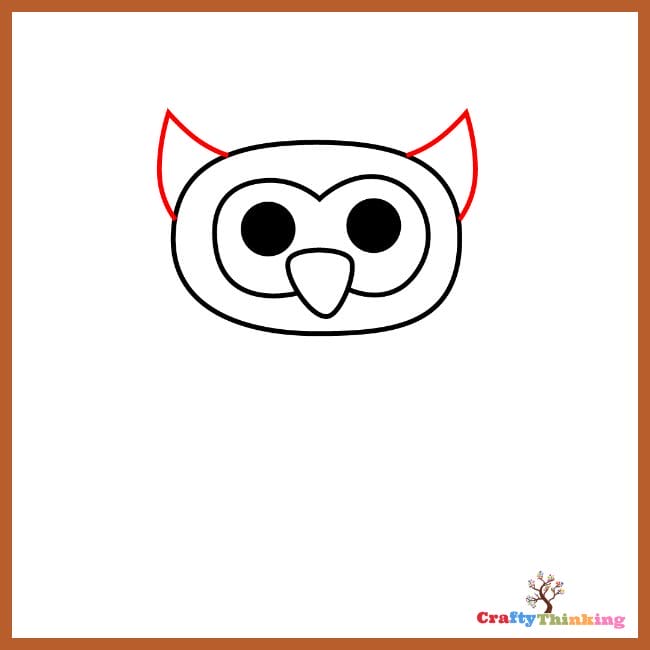
Step 4:
To draw the owl’s ears, you will sketch two pointy triangles on each side of the head. It will somewhat look similar to devil-ears.
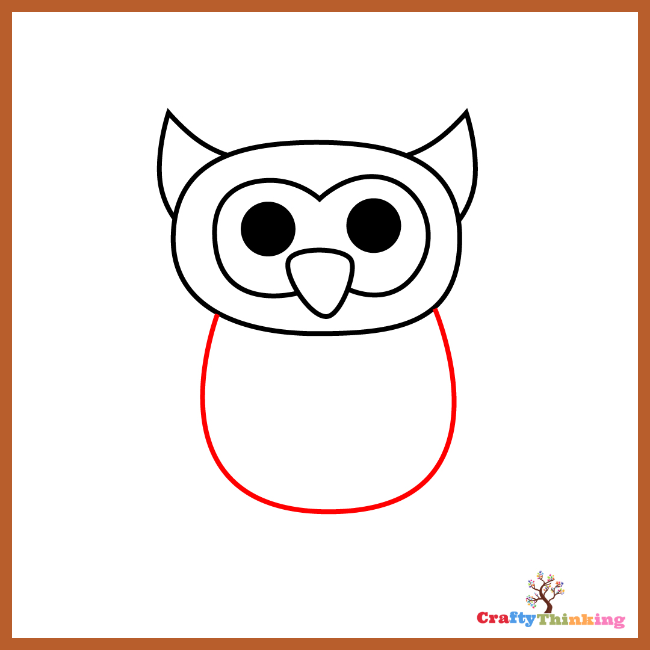
Step 5:
To draw the body, you will sketch a U shape under the head. It is supposed to be a little wide and you can also take the reference from the illustration below.
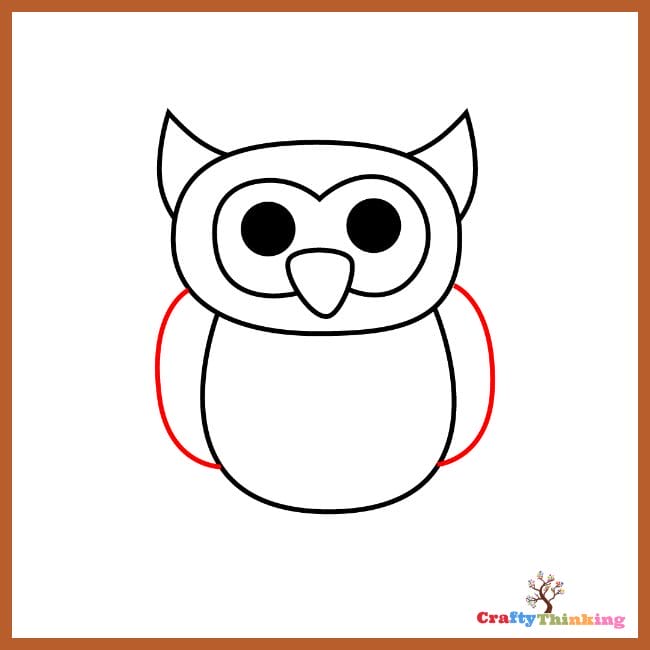
Step 6:
To complete the wings, you will draw two curves on the side of the body.
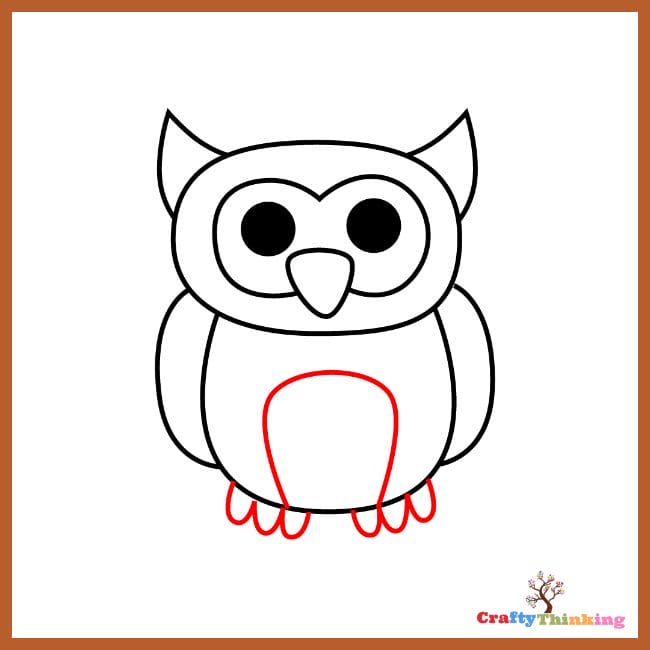
Step 7:
You will now add some final touches to the owl. You will add an upside-down letter U inside the body. You will also sketch the feet by drawing three arches on each side on the bottom.
Step 8:
You have now completed how to draw an owl for kids. The last and the most integral step is to color your drawing. Use your imagination and creativity to help you color the owl. We have colored the owl in brown, the beak, and the feet have been kept orange.
Step 9:
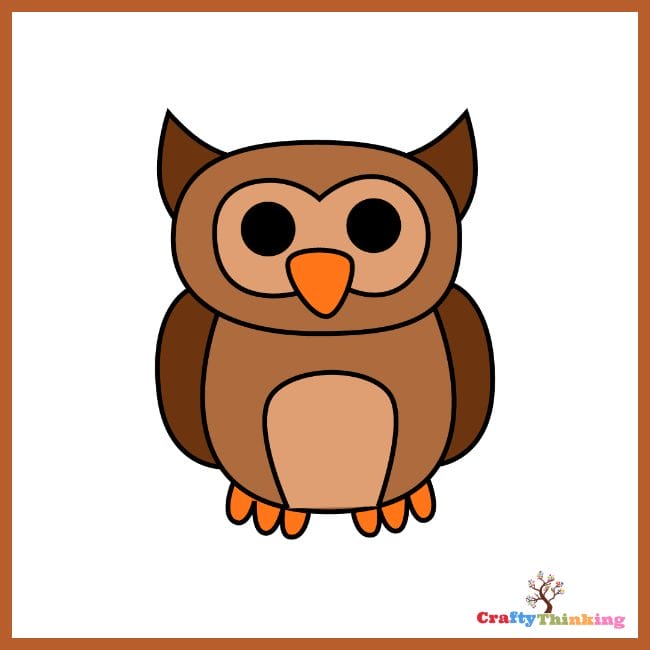
Congratulations!
You have finally learned how to draw an owl. Make sure to keep coming back for more fun-filled tutorials like these.
If you like this article about how to draw an owl and would like to know more, please comment below.
Check Out These Drawing Tutorials
Here goes our How to Draw Printable Here


2 Comments