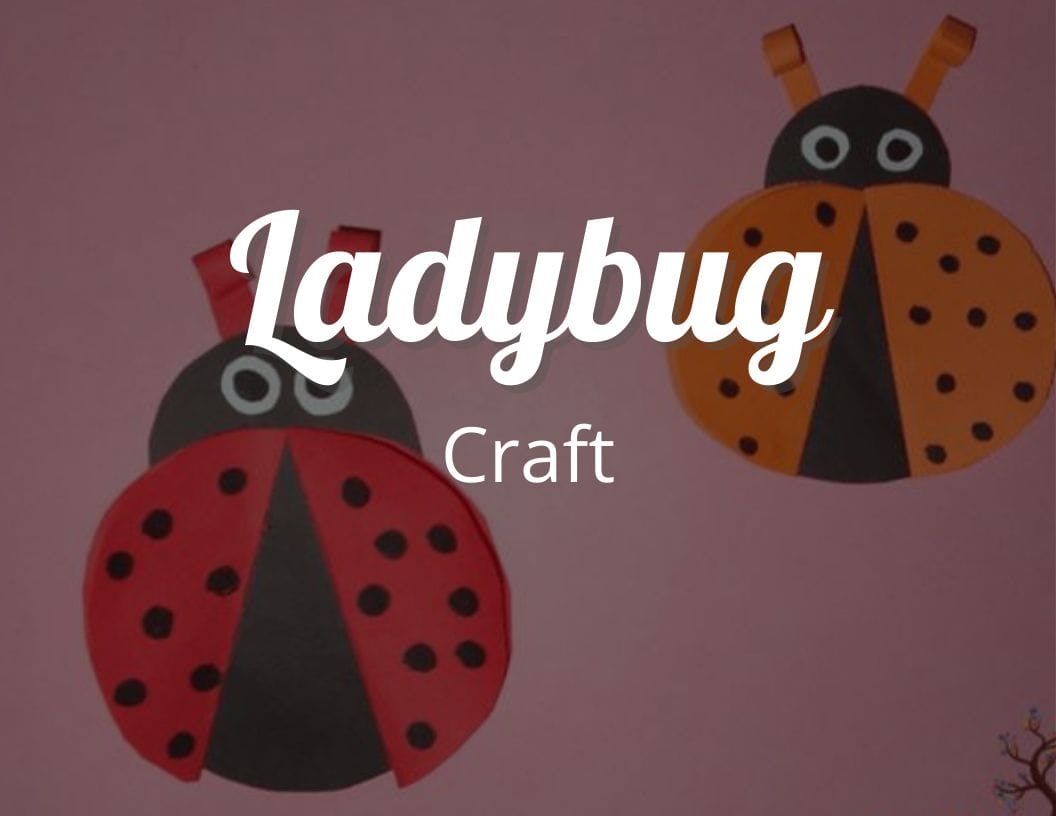
How to make an Easy Ladybug Craft
In this spring craft tutorial for this Ladybug Craft, we will learn how to make a paper ladybug step-by-step.
Kids enjoy their spring vacations and it’s the best time to learn new art and craft skills. How to craft a ladybug will be a classic spring craft for preschoolers and kids of all ages.
Ladybugs are lovely and their colorful spots are so much fun to count. Between the bright colors, the googly eyes, and of course all those spots are just amazing and make them colorful.
Check out these amazing art projects 👇
- Daycare Art Projects
- Preschool Art Projects
- Kindergarten Art Projects
- 1st Grade Art Projects
- 2nd Grade Art Projects
- 3rd Grade Art Projects
- 4th Grade Art Projects
- 5th Grade Art Projects
- 6th Grade Art Projects
- 7th Grade Art Projects
- Ice Cream Art Project
- Fun Craft Projects for Kids
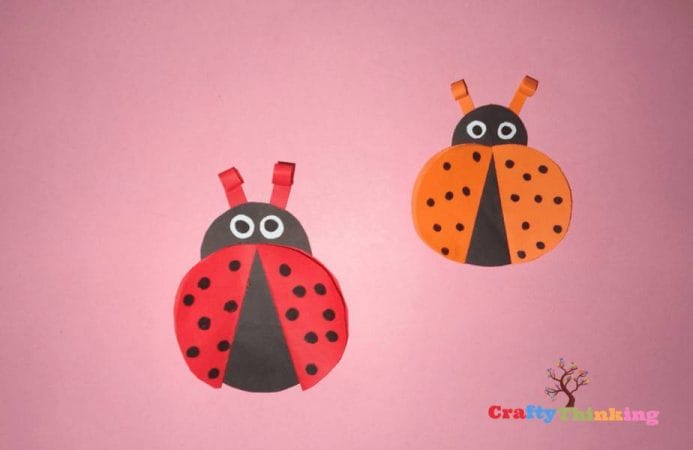
Ladybug Craft
It is a magnificent little beetle that kids simply adore and one to start spotting from spring onwards. The spots on the ladybug wings give this fun spring craft a colorful and artistic touch.
This colorful paper ladybug craft is sure to a hit for spring with only a few art supplies, you will have this darling paper ladybug craft finished in no time at all.
Let’s begin making these spring crafts!
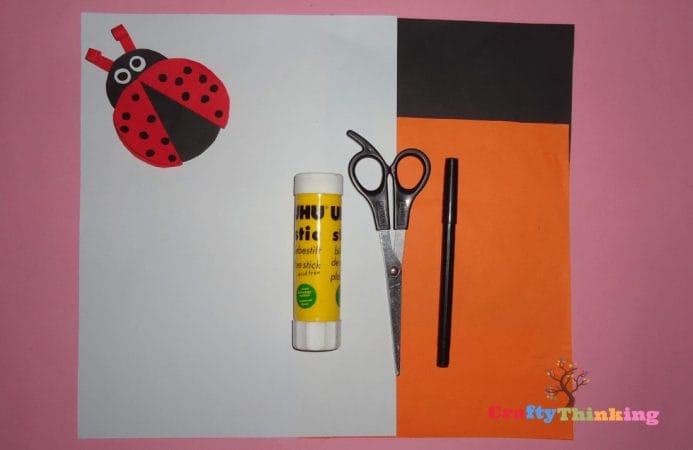
What You Need:
- Orange, white, black colored paper
- Scissor
- Glue
- Black marker
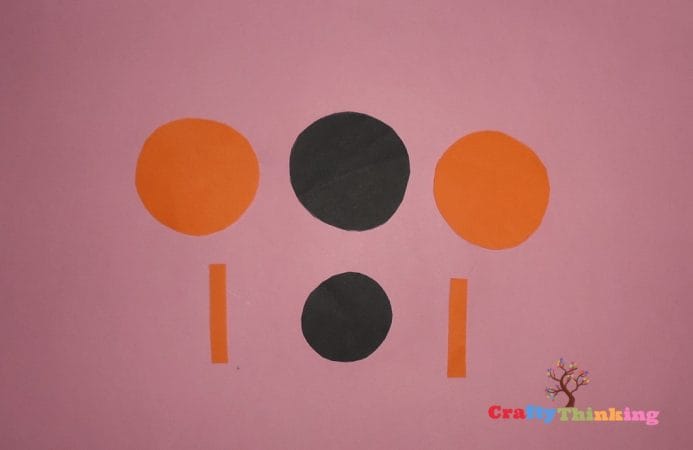
Step 1:
Take black paper and cut a small circle and a big circle out of it. Bring orange paper and cut two circles of the size of the big black circle. Also, cut two small strips out of orange paper.
Step 2:
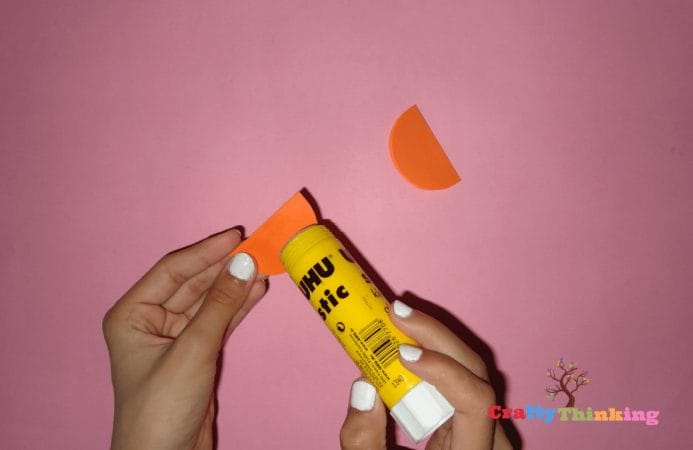
Now take the two orange circles and fold them in the middle horizontally like shown in the illustration.

Step 3:
Now apply glue on one surface of the semicircles and keep them for the next step.
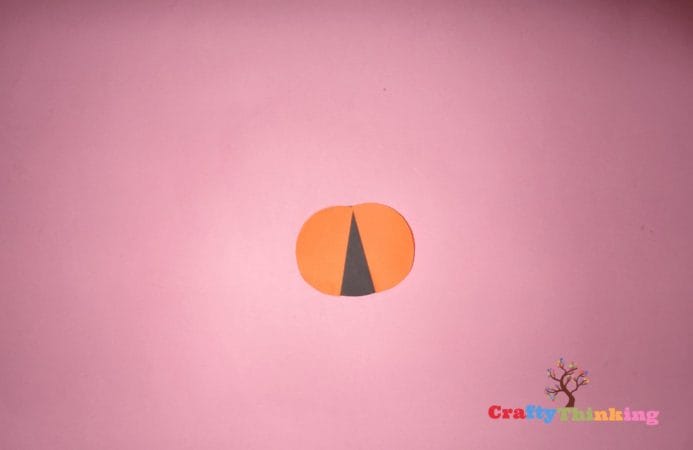
Step 4:
Now paste these semi-circles on the big black circle you cut in Step 1. Paste them so that the open sides of the semicircles are pointing outwards and there is space between them.
Just paste them as we have done in the figure below.
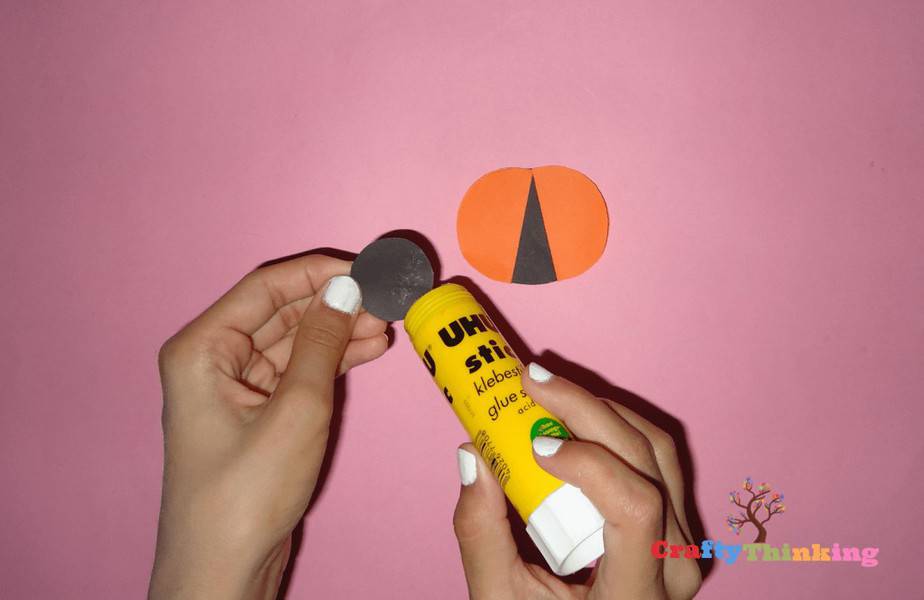
Step 5:
Now take the small black circle and apply glue to its bottom area. Now stick this glued circle at the top backside of the shape; it will be the face.
Step 6:
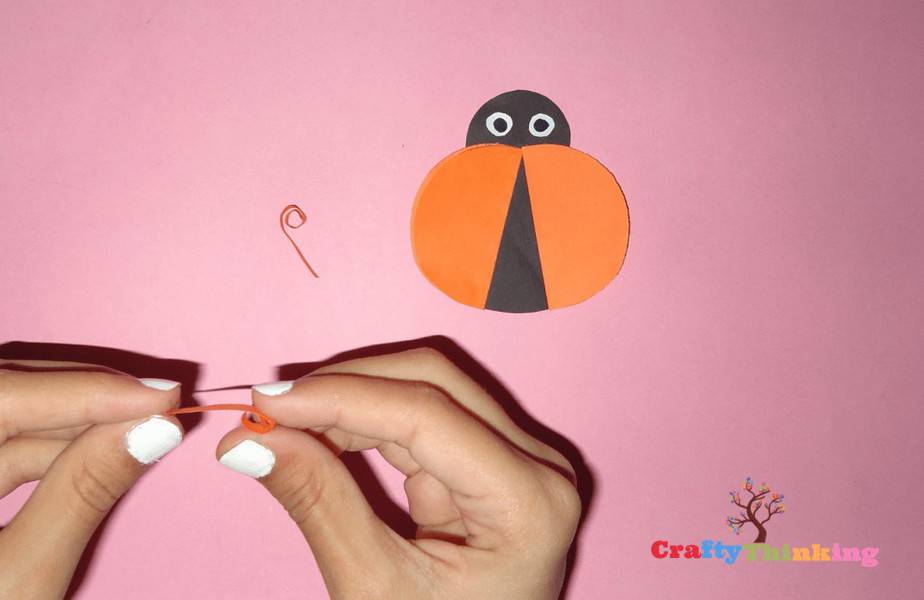
Take a piece of white paper and fold it; now make a small circle and cut it out. This will result in two small circles.
Now make eyeballs inside the circles which will complete the eyes. Also, stick these eyes on the face with equal distance.

Step 7:
Now take the two orange strips you cut in Step 1. Grab the top of the strips and begin rolling them to form a shape like shown in the picture below.
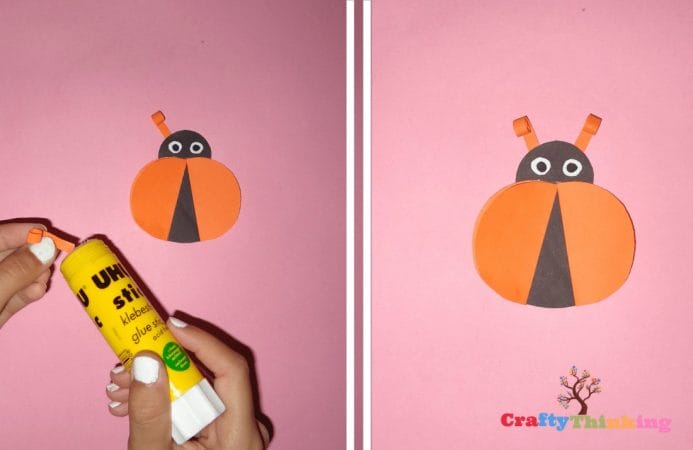
Step 8:
Now apply glue to the bottom of the strips and stick them from the back of the face which will illustrate the antennae of our cute ladybug. These spring crafts are amazing and enjoyable.
Step 9:
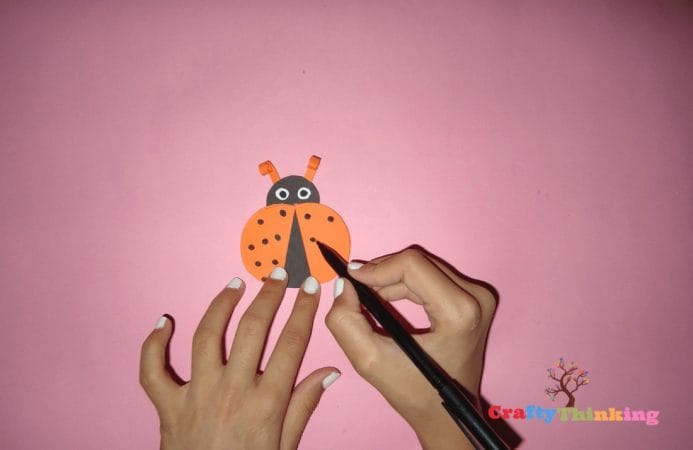
Now mark spots on the orange wings of the ladybug. Do this using a black marker. It is your choice how many spots you want to make on each wing.
We have added the spots randomly as you can tell by looking at the figure.
Congratulations! You have completed making this paper ladybug and learned spring crafts for toddlers.

Making paper ladybugs is indeed a great spring craft idea! You can make more and scatter them around your house and welcome spring in this way.
You can even decorate your door in spring by sticking these ladybugs and butterflies you learned to make in another tutorial.
If you like this article and would like to know more, please comment below.