

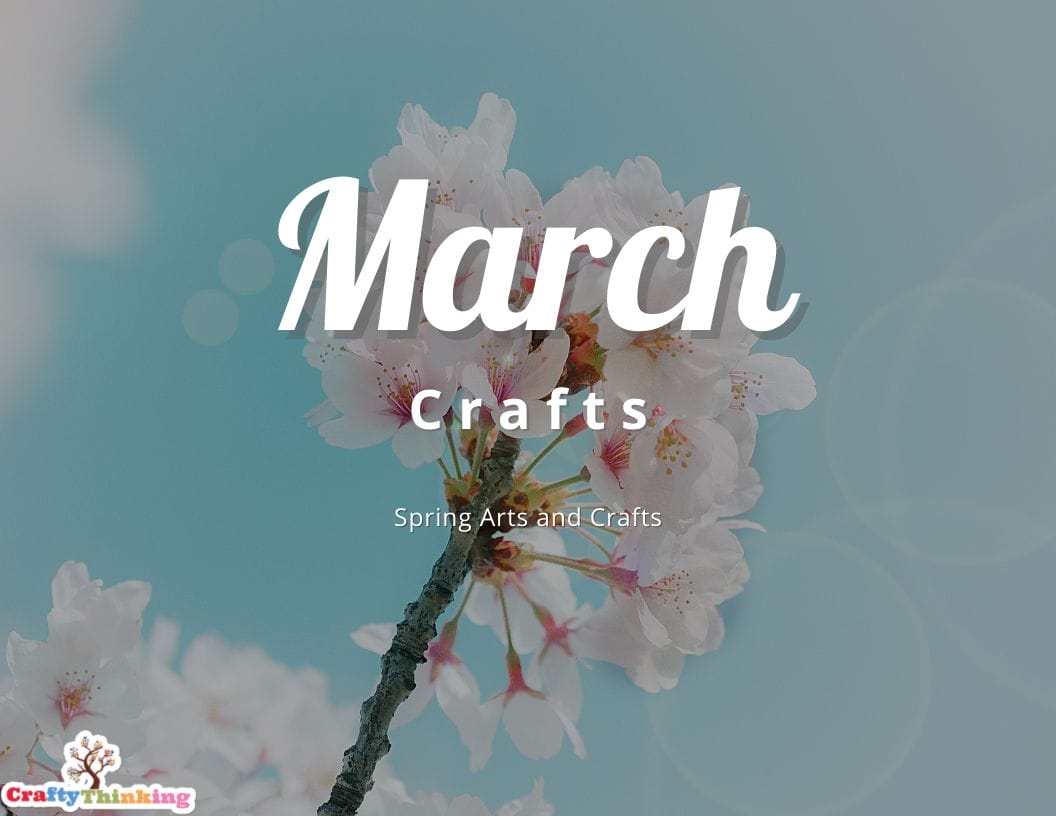
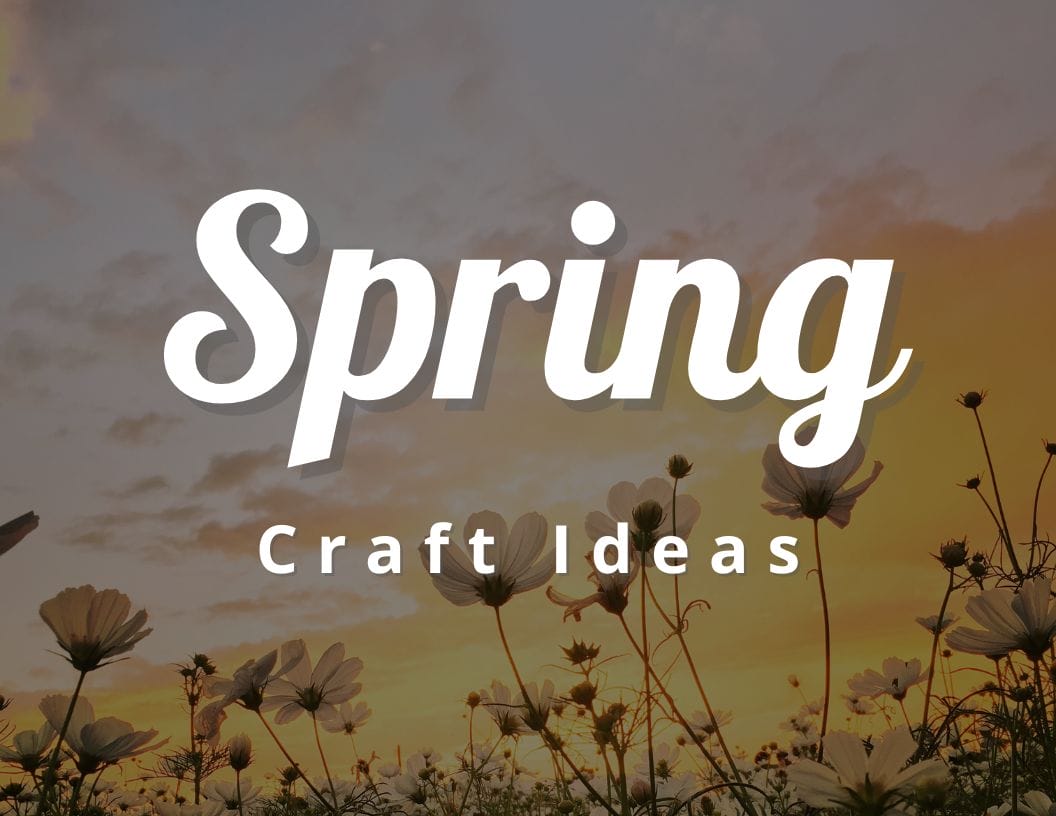
Are you Ready for Spring? Fun March Crafts for Kids Will Keep Your Little Ones Busy
Moms and dads, March is just around the corner! Are you looking for some fun and easy crafts to keep the kids busy?
We’ve got you covered! In this blog post, we will share some of our favorite March crafts for kids.
Check out these amazing art projects 👇
- Daycare Art Projects
- Preschool Art Projects
- Kindergarten Art Projects
- 1st Grade Art Projects
- 2nd Grade Art Projects
- 3rd Grade Art Projects
- 4th Grade Art Projects
- 5th Grade Art Projects
- 6th Grade Art Projects
- 7th Grade Art Projects
- Ice Cream Art Project
- Fun Craft Projects for Kids

March Crafts
For most of the kids, spring is one of the times when they really enjoy March Crafts for Kids. These crafts are perfect for all ages, and they are sure to keep everyone entertained.
So, what are you waiting for? Get started crafting with your little ones today!
What are the 20 Best March Crafts for Preschoolers?
Preschoolers and elementary students are at their beginner’s level of using art tools and creating something new. So, they require easy peasy equipment to craft with.
Here are the twenty most important March Crafts for Preschoolers that one cannot manage without.
- Yarn Flower Crafts
- Button Flower Crafts
- Daffodil Pinwheels
- Origami Flowers
- Tissue Paper Flower Bracelets
- Watermelon Frisbee Flyers
- Fruits Fans
- Handprint Fruits Crafts
- Fruity Pen Holder
- Fruit Hats
- Stick Men
- Emoji Painted Rocks
- Bubble Art Butterflies
- Paper Plate Bee Craft
- Starfish Craft
- Paper Plate Flowers
- Popsicle Stick Butterflies
- Pipe Cleaner Flowers
- Paper Bag Puppets
- Finger Painting
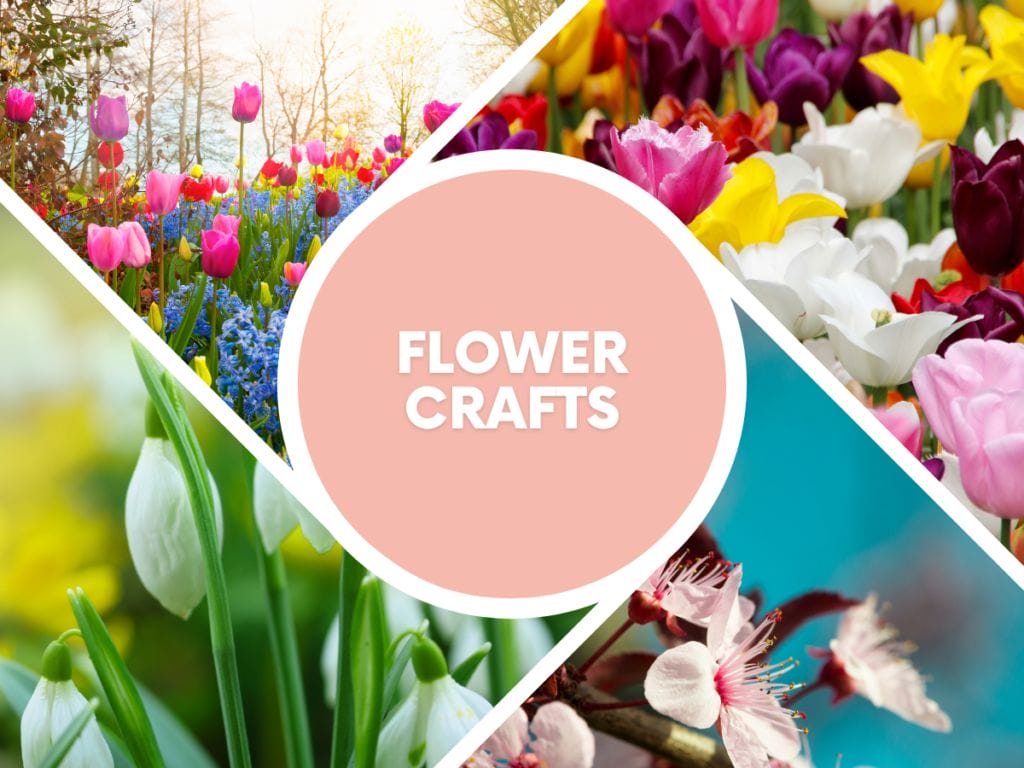
Flower March Crafts for Kids
Let’s start with the most beloved category among crafts, that is flowers. March Crafts for Kids is very popular and the crafted flowers are used for various decorative purposes.
Here are some of the easiest and amazing flower craft tutorials for kids and beginners. If you are interested in flowers, check them out for sure.
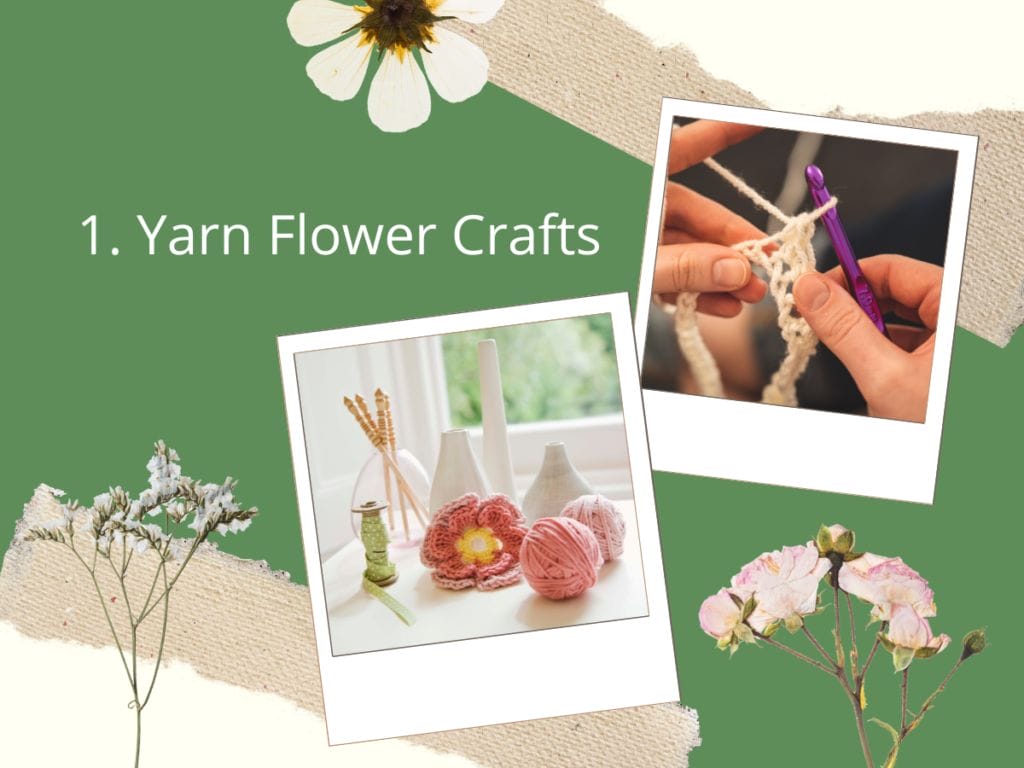
1. Yarn Flower Crafts
I am sure you never had thought about making flowers from a yarn.
This Idea might sound strange but once you get to it, making a flower with the help of yarn is pretty easy and lots of fun.
For Yarn Flowers Crafts, the material you will be needing is easily available at home.
To make a beautiful yarn flower all you need is some colorful yarn. Thus, you won’t have to spend any money to buy expensive art materials for this craft.
It is the perfect March Crafts for Preschoolers and beginners.
Supplies needed to make a yarn flower craft
To make a simple Yarn Flower Craft, you will need:
- Yarn in different colors
- Scissors
- Hot glue gun
- Cardstock or heavy paper
- Pencil
How to Make a Simple Yarn Flower Craft
- Cut a length of yarn, about 3 feet long.
- Fold the yarn in half and tie a knot about an inch from the end.
- Place the knot on top of a piece of cardstock and use a pencil to hold it in place.
- Begin wrapping the yarn around the pencil, making loops that are spaced apart.
- Once you’ve made as many loops as you like,
- take the pencil out and use a hot glue gun to secure the loops in place on the cardstock.
- Cut another length of yarn and wrap it around the center of the loops to create the center of the flower.
- Use a hot glue gun to secure the end of the yarn.
- Repeat the steps to make more flowers in different colors.
- You can arrange the flowers in a bouquet or use them to decorate a gift or a picture frame.
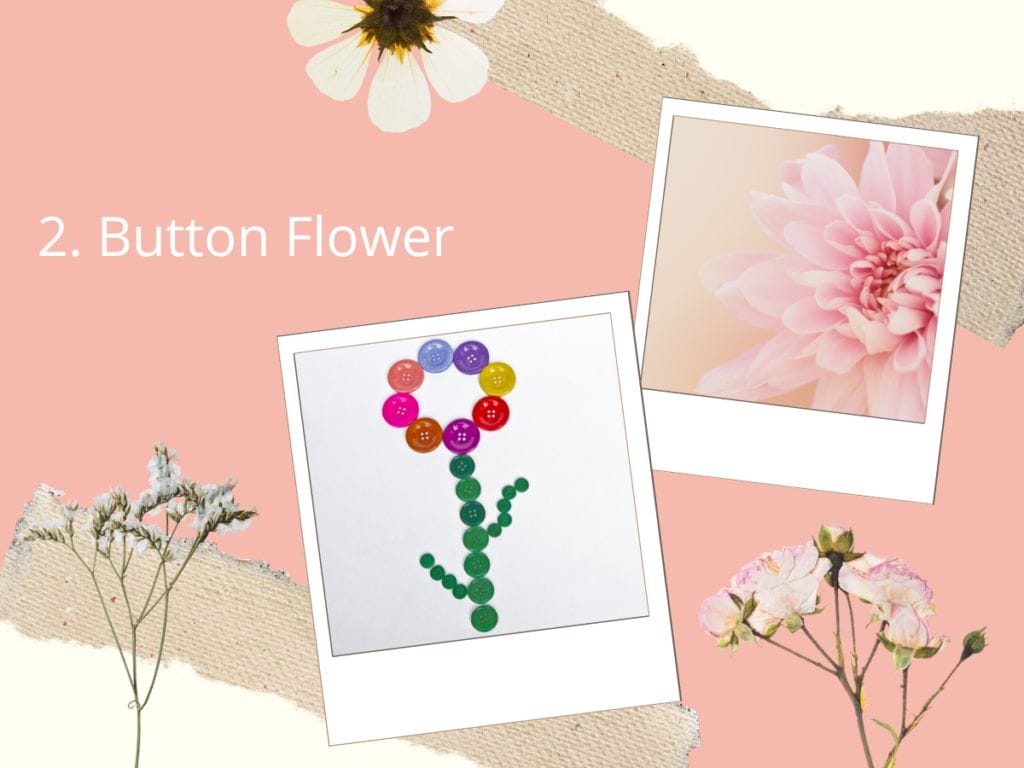
2. Button Flower Crafts
So now you have learned to make flowers with a yarn, but do you know you can also make flowers with buttons? Yes, you heard it correct.
You can make beautiful flowers with the help of colorful buttons. Same as Yarn flowers craft, making flowers with buttons is super easy and quick.
All you need to make a button flower is paper, is some buttons and glue. So just go and gather all the old buttons that you can find in your house and get to work.
I guarantee you will have lots of fun with this March Crafts for Preschoolers.
Supplies needed to make a button flower craft
To make a simple Button Flower Craft, you will need:
- A variety of buttons in different colors and sizes
- Hot glue gun and glue sticks
- Scissors
- Green pipe cleaners
- A cardboard circle
How to Make a Simple Button Flower Craft
- Take the cardboard circle and trace a large circle on a piece of paper.
- Cut the traced circle out of the paper.
- Take the first button and place a drop of hot glue in the center.
- Repeat the previous step with another button, overlapping the first button slightly.
- Keep repeating the process until the paper circle is completely covered in buttons.
- Take a green pipe cleaner and wrap it around the center of the buttons, securing the buttons together.
- Cut the ends of the pipe cleaner to about 1 inch in length and bend to resemble leaves.
- Your simple Button Flower Craft is now complete and ready to be displayed.
- Note: You can use different colors of buttons to make a variety of flower designs.
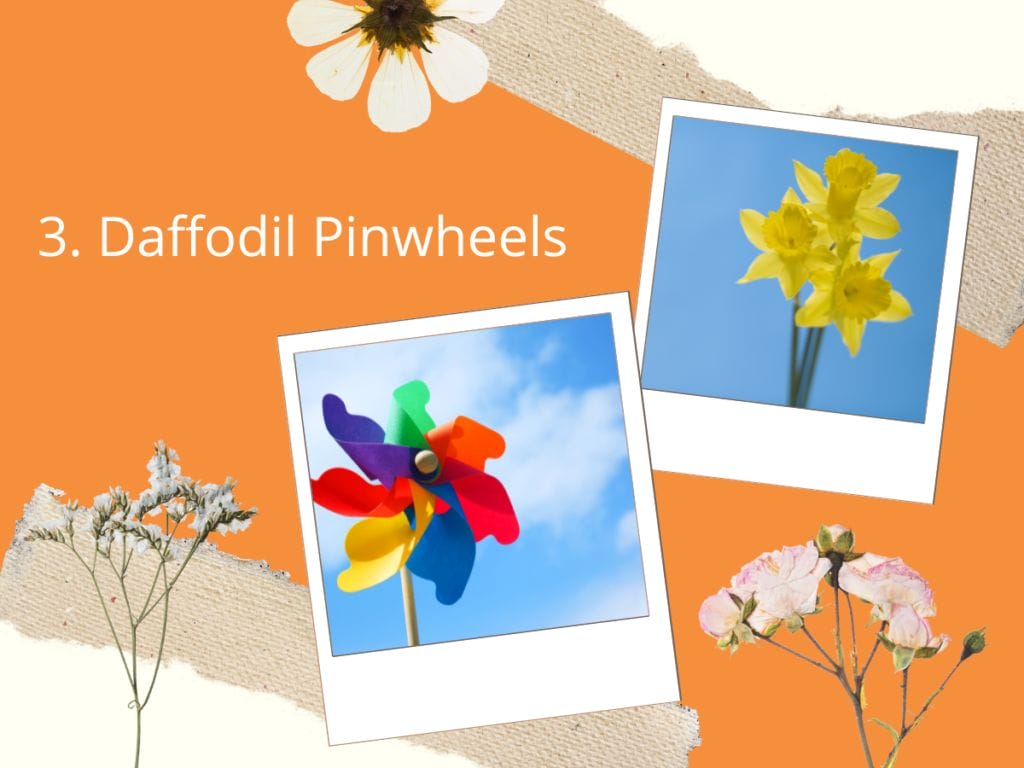
3. Daffodil Pinwheels
Pinwheels is an extremely simple toy for children to make. As it can be made with only paper, pins and a stick.
It is designed in such a way that when wind is blown in one side, the toy starts rotating like a windmill.
Children enjoy playing with this toy and I am sure they will enjoy it even more while making it.
So, I am here with very easy to follow steps and illustrations to help you make a Daffodil Pinwheel.
13 Fun Art Projects for the Summer: Arts and Crafts for Kids
art projects for the summer…
13 Best Art Project Ideas for Spring: Art and Craft for Kids
Check out these 13 Art Project Ideas for Spring that will stimulate your child’s creativity and imagination. Perfect for teachers or parents looking for an art…
13 Winter Scenes Art Projects: Beautiful Winter Art Projects
Discover the charm of Winter Scenes Art Projects! In this collection, explore thirteen captivating art projects that celebrate the beauty and wonder of the winter season….
Supplies needed to make a daffodil pinwheels
To make a simple Daffodil Pinwheel, you will need:
- Yellow
- green and black cardstock
- paper
- Scissors
- Tape or glue
- Pencil
- Ruler
- Fastener (e.g. paper clip, brad, etc.)
How to Make a Simple Daffodil Pinwheels
- Take the cardboard circle and trace a large circle on a piece of paper.
- Cut the traced circle out of the paper.
- Take the first button and place a drop of hot glue in the center.
- Repeat the previous step with another button, overlapping the first button slightly.
- Keep repeating the process until the paper circle is completely covered in buttons.
- Take a green pipe cleaner and wrap it around the center of the buttons, securing the buttons together.
- Cut the ends of the pipe cleaner to about 1 inch in length and bend to resemble leaves.
- Your simple Button Flower Craft is now complete and ready to be displayed.
- Note: You can use different colors of buttons to make a variety of flower designs.
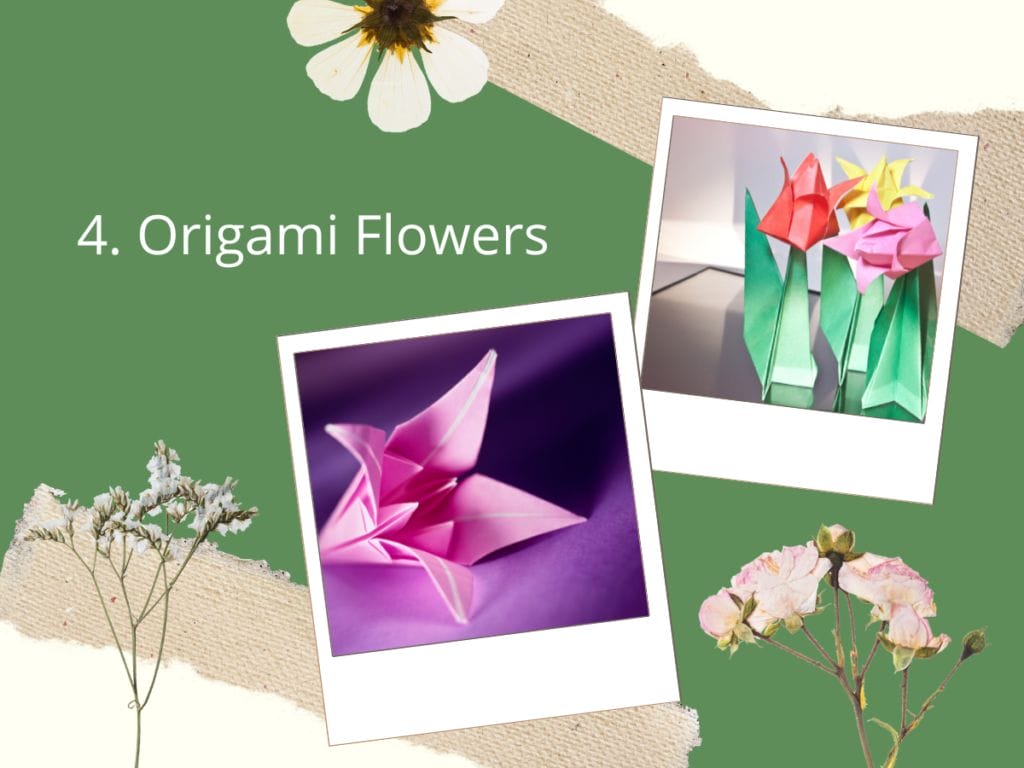
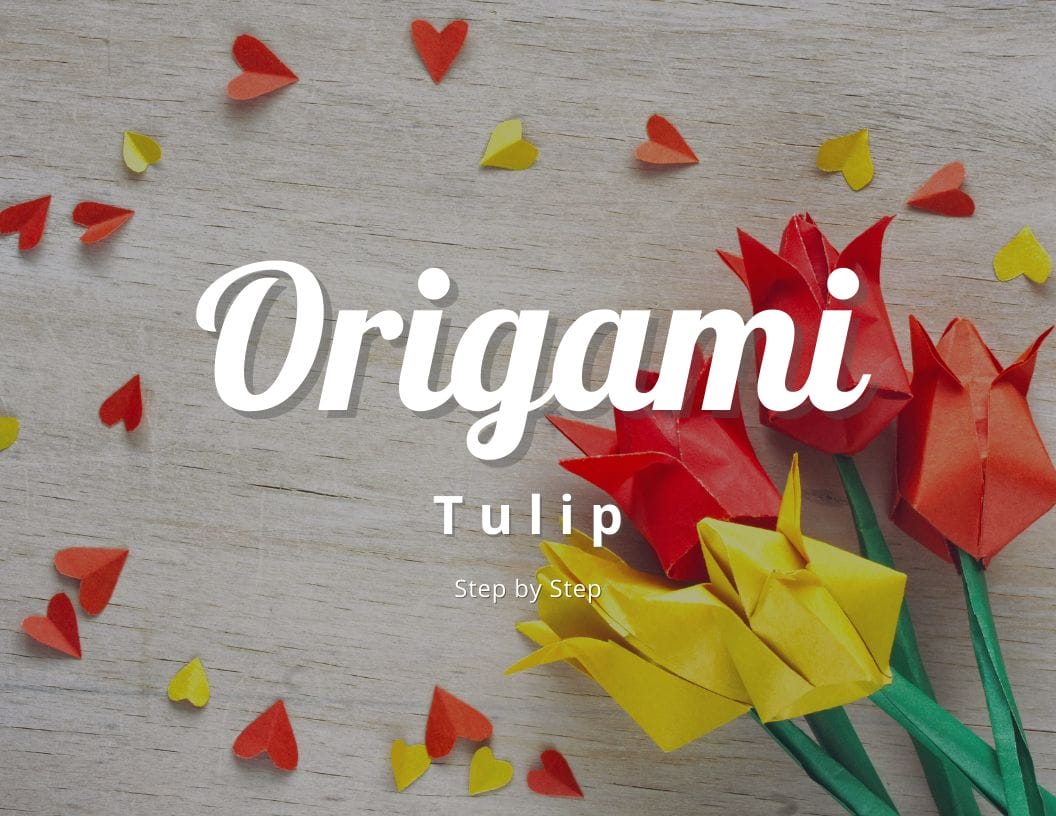
4. Origami Flowers
Playing with paper and making different objects, animals, vehicles and birds out of it is one of the most popular hobbies among elementary kids.
Kids often try to impress other kids by showing new paper origami they learned.
So, to make things easier, here are easy steps to make paper origami flowers.
This would be a wonderful option for spring craft. Flower origami are also used as decorations. You can also use them as gifts or for your March Crafts for Preschoolers.
Supplies needed to make an origami flowers
To make a simple Origami Flowers, you will need:
- Square piece of paper
- Scissors (optional)
How to Make a Simple Origami Flowers
- Start with a square piece of paper, colored side up.
- Fold the paper in half diagonally to create a triangle.
- Fold the triangle in half again to create a smaller triangle.
- Take the top layer of the paper and fold it down to the center crease.
- Repeat step 4 on the other side.
- Fold the bottom point of the triangle up to meet the center crease.
- Repeat step 6 on the other side.
- Fold the sides of the paper to meet the center crease, creating a diamond shape.
- Lift the top layer of the paper and fold the corners to the center.
- Flip the paper over and repeat step 9 on the other side.
- Pinch the center of the paper to create the flower shape.
- Optional: add a drop of glue to the center of the flower to hold the shape.
- Enjoy your simple origami flower!
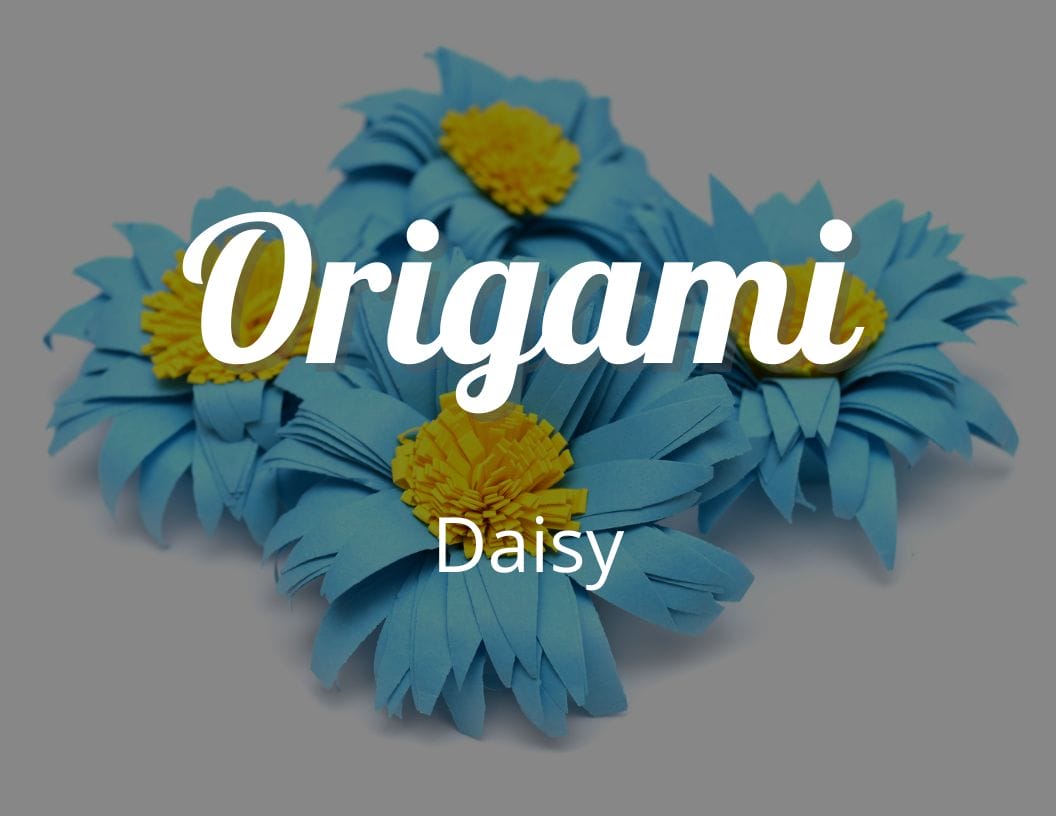
Easy Origami Daisy Flower Step by Step
Want to make cute Origami Daisy Flower Step by Step? These daisy flowers look super cute and very easy to make. These flowers are used for many…
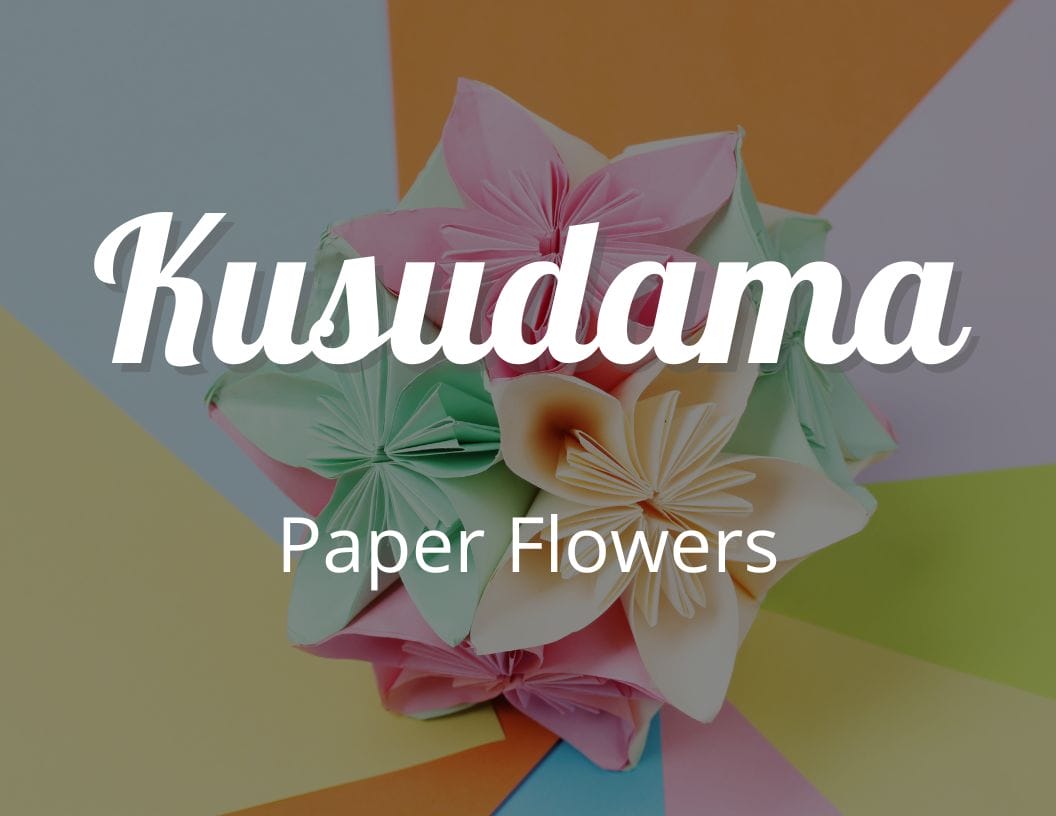
How to make Easy Origami Kusudama Paper Flowers
Kusudama paper flowers is a kind of origami which is made of several identically folded pieces that are glued together to make a spherical shape. This…
How to make an Origami Tulip with Free Flip Book
Learn how to make an origami tulip with step-by-step instructions. Tulips are beautiful flowers that are loved by many people around the world. Follow this tutorial…
16+ Spring Craft Ideas That Will Brighten Your Day!
With spring right around the corner, now is the perfect time to start thinking about some fun craft projects to do with the family. Here are…
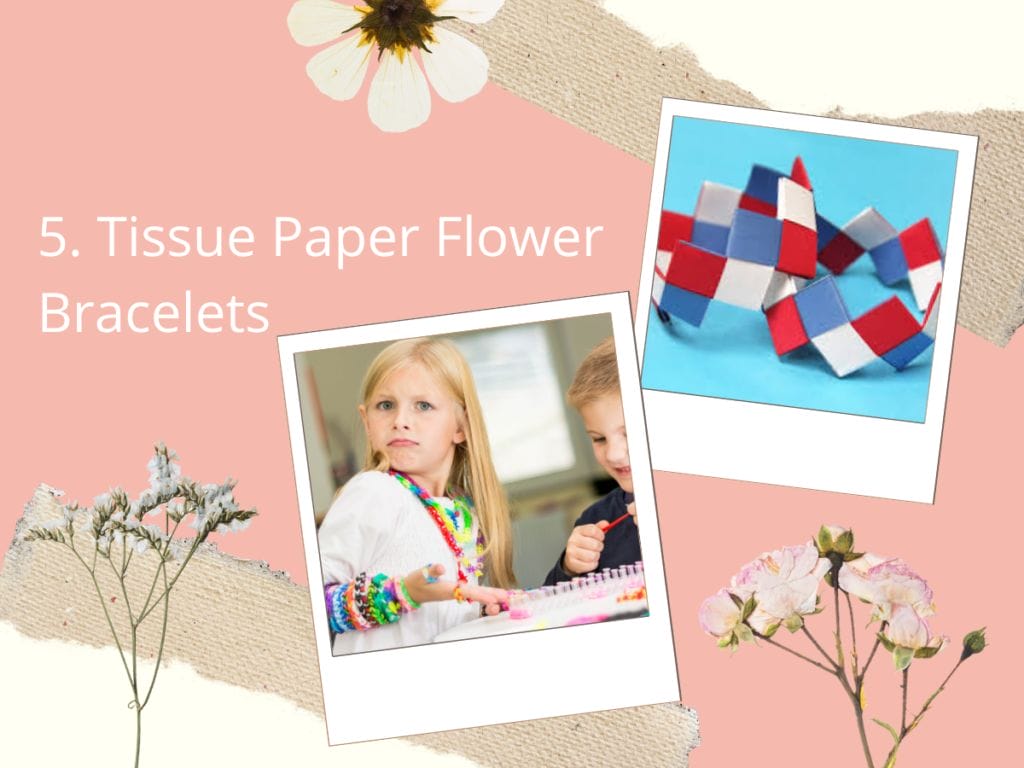
5. Tissue Paper Flower Bracelets
These flower bracelets made up of tissue paper are a simple and easy craft for children to make as these tissue flowers are filled with lots of colors and fun.
These tissue paper flower bracelets are a wonderful option if you are planning to give someone a gift or use them as March Crafts for Preschoolers.
Young children under the age of 9 may need help to make tissue paper flowers, but they will be able to add beads on their own.
Children over the age of 9 should be able to do this independently.
Supplies needed to make a Tissue Paper Flower Bracelets
To make a simple Tissue Paper Flower Bracelets, you will need:
- Tissue paper
- Scissors
- Ruler
- Elastic cord
- Hot glue gun
- Hole punch
How to Make a Simple Tissue Paper Flower Bracelets
- Cut tissue paper into 8-inch by 8-inch squares. Stack 4-6 sheets of tissue paper on top of each other.
- Fold the tissue paper in an accordion style, making folds about 1-2 inches wide.
- Cut the edges of the tissue paper into a rounded shape.
- Hold the center of the tissue paper and gently pull the layers apart to create the petals.
- Apply hot glue to the center of the tissue paper and attach it to the end of the elastic cord.
- Repeat the process to make more tissue paper flowers and attach them to the elastic cord at equal intervals.
- Once the desired number of flowers has been attached, punch a hole through the center of each tissue paper flower and tie a knot at each end to secure the bracelet.
- Wear and enjoy your handmade tissue paper flower bracelet!
Spring Crafts: Fruit Crafts
Spring is incomplete without fruits and the same goes for March Crafts for Kids. So here are some of the crafts related to fruits that you can make and enjoy during spring.
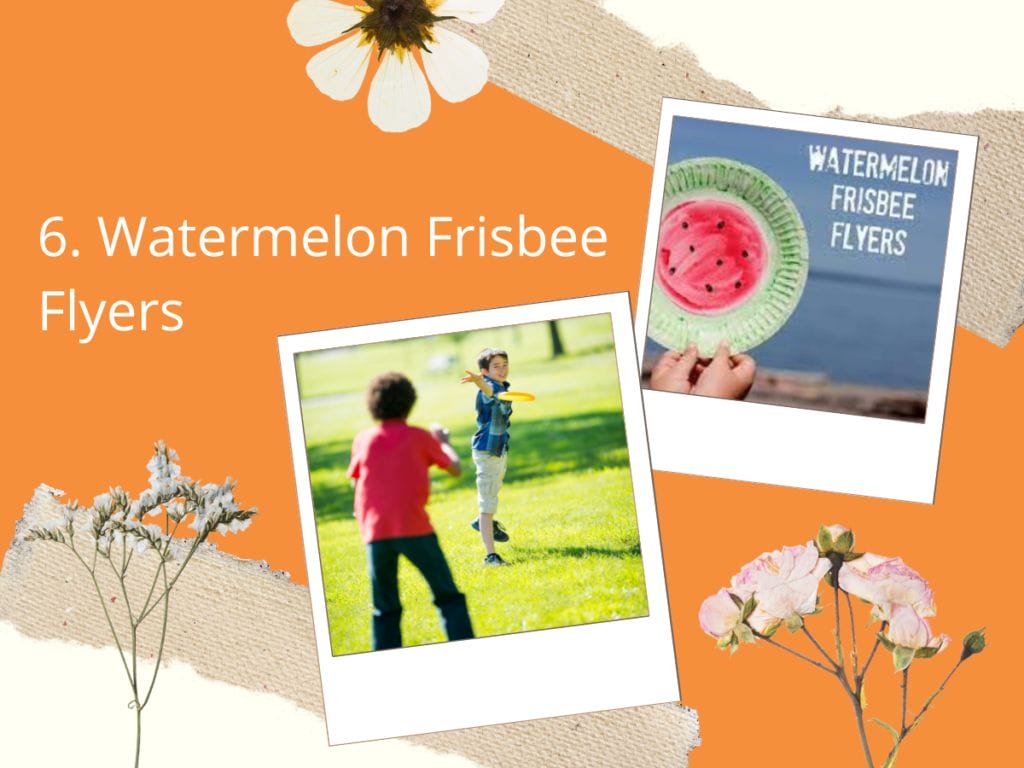
6. Watermelon Frisbee Flyers
If you are planning to have some fun at the beach this spring, you must check out this watermelon frisbee.
Going to a beach and not playing any sport is kind of a letdown. While there are many other things that you can do.
I would recommend you to try and play with this watermelon frisbee. This is perfect for kids as the frisbees available in the market are a little hard and can be dangerous for little kids.
Whereas this frisbee is kids friendly and it won’t do any harm even if it hits at full speed.
If you have a dog, try to keep it away from it, the dog might tear it into pieces.
Supplies needed to make a Watermelon Frisbee Flyers
To make a simple Watermelon Frisbee Flyers, you will need:
- Tissue paper
- Scissors
- Ruler
- Elastic cord
- Hot glue gun
- Hole punch
How to Make a Simple Watermelon Frisbee Flyers
- Take one of the paper plates and paint it green all over. Let it dry.
- Cut the second paper plate in half.
- Paint one of the halves black. Let it dry.
- Once the black half is dry, draw seeds using the red marker.
- Use scissors to cut the green plate into a frisbee shape.
- Glue the black half in the center of the frisbee.
- Your Watermelon paper plate Frisbee Flyer is now ready to use! Toss it around and enjoy the fun.
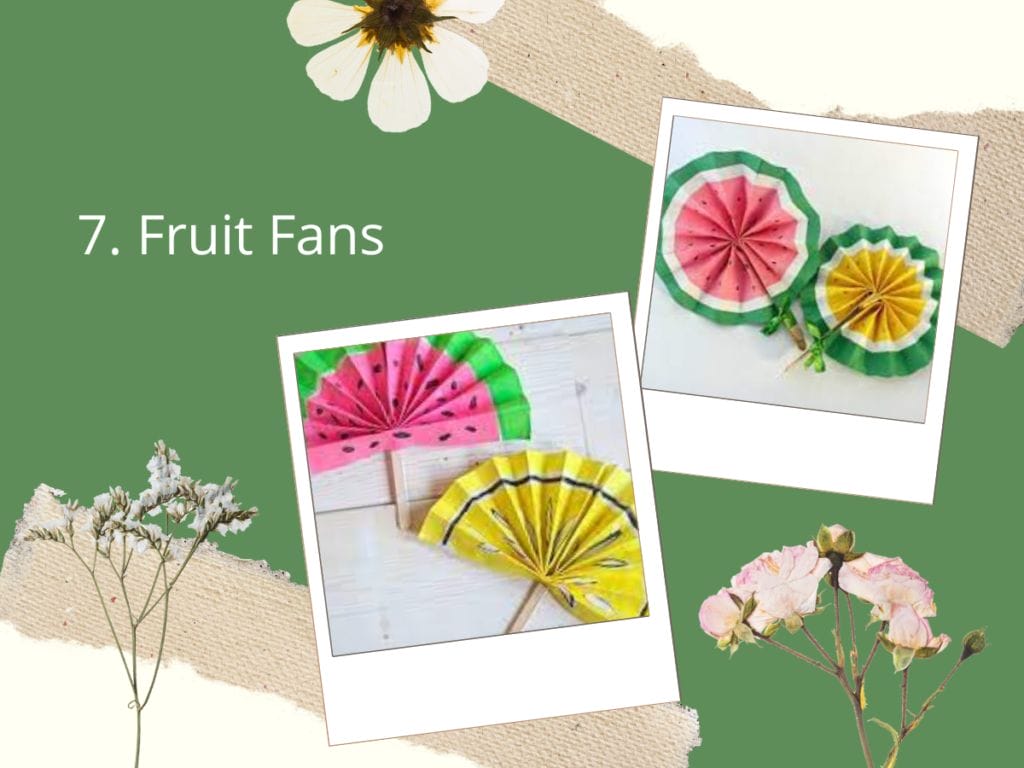
7. Fruit Fans
During spring, the weather is almost perfect. You can go out and have fun in playgrounds and parks.
Sometimes, the sun is a little hot, and to protect you on such days I have a perfect craft for you.
A fruit fan is a super easy March Crafts for Preschoolers, toddlers and kids of all ages.
For this, you need sticks, gum, paper and colors. You can choose your favorite spring fruit and design the fan according to that fruit.
Supplies needed to make a Fruit Fan
To make a simple Fruits Fan, you will need:
- Construction paper (in different fruit colors)
- Scissors
- Ruler
- Glue
- Stapler
How to Make a Simple Fruit Fan
- Cut a strip of construction paper to measure 7 inches in length and 5 inches in width.
- Repeat for as many fruit fans as you’d like to make.
- Fold the strip in an accordion style, making creases about 1 inch apart.
- Cut out a fruit shape from a piece of the same color construction paper. This will be the center of the fan.
- Glue the fruit shape to the center of the folded strip.
- Fold the two ends of the strip towards the center, to form the shape of a fan.
- Staple the two ends together at the center, securing the fan shape.
- Repeat the process to make more fruit fans of different fruit colors.
- Enjoy your fun and colorful fruit fans!
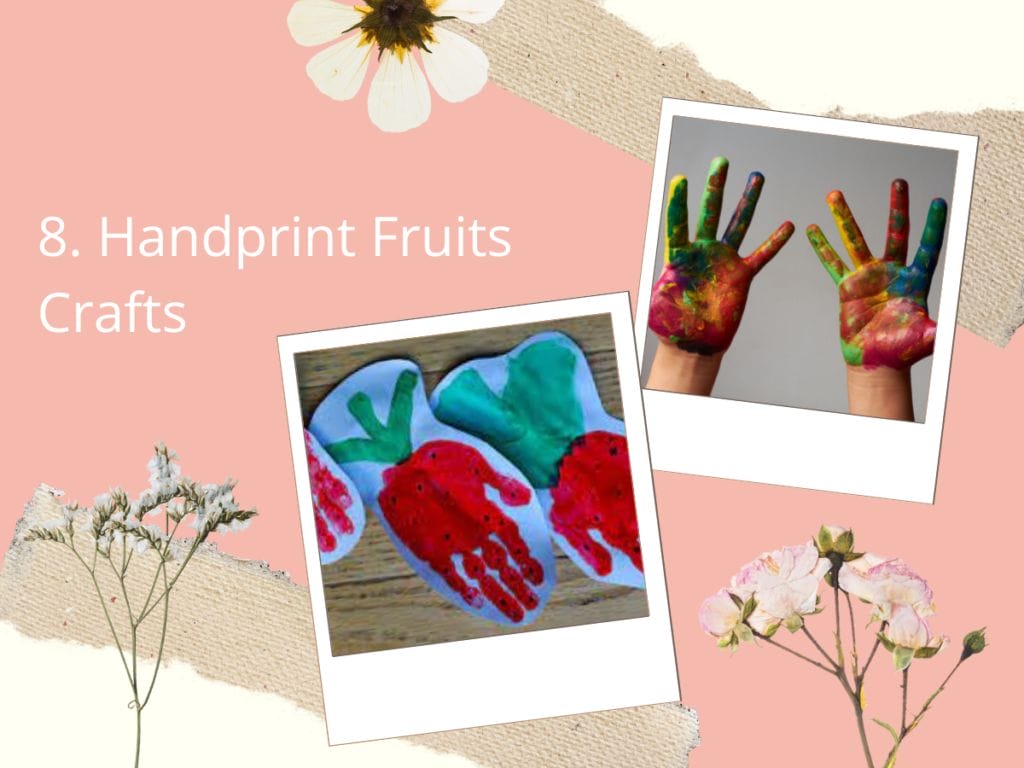
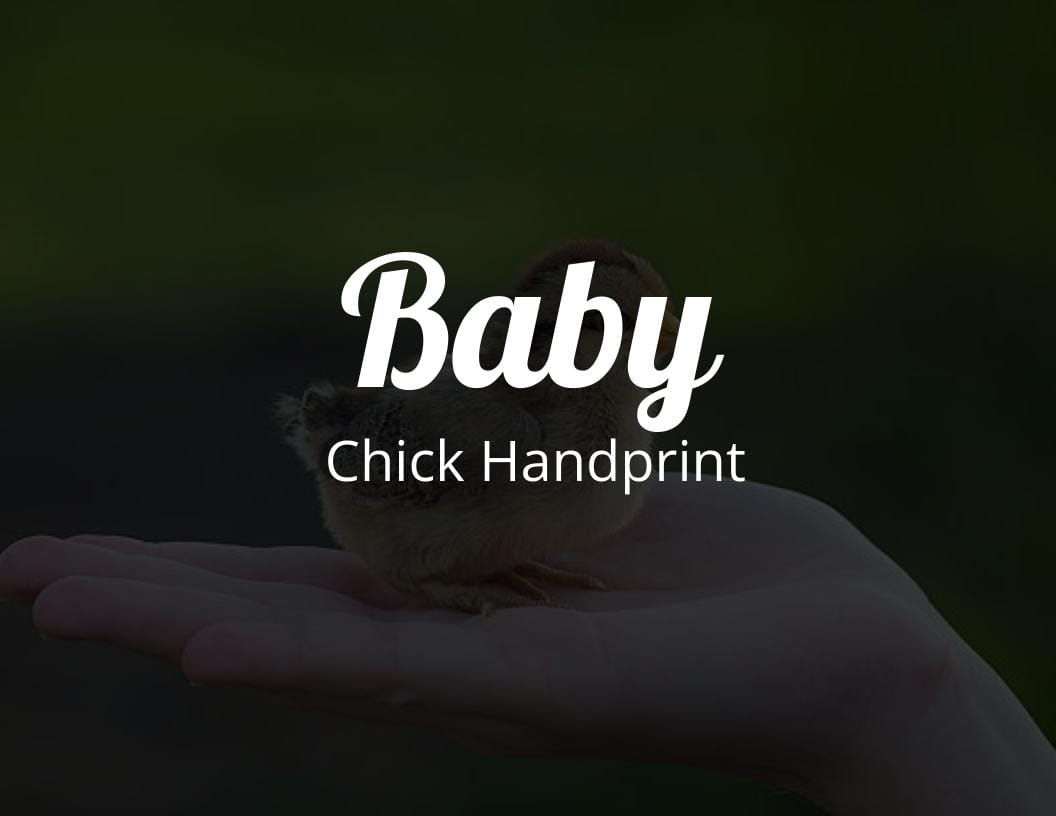
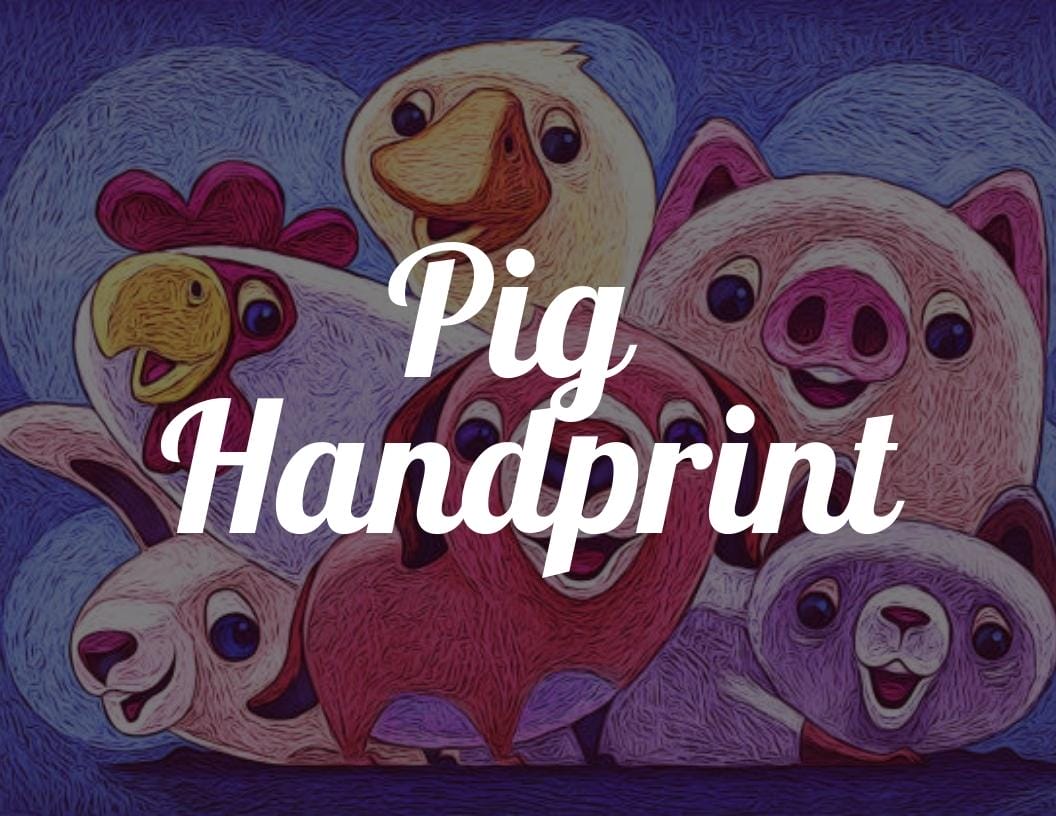
8. Handprint Fruits Crafts
This is very simple and interesting art and craft. For this you will be needing some water colors. Now.
You might have already guessed from the name what this craft is about and if you haven’t let me explain to you what this is more deeply.
This is a March Crafts for Preschoolers in which you will be making different objects and animals using your handprints or fingerprints. Simple, isn’t it?
Supplies needed to make a Handprint Fruits Craft
To make a simple Fruits Fan, you will need:
- Construction paper (in different fruit colors)
- Scissors
- Ruler
- Glue
- Stapler
How to Make a Simple Handprint Fruits Craft
- Cut out a handprint from the construction paper or cardstock, using the color of your choice for the fruit you want to make.
- Cut out the shapes for the fruit, such as slices for watermelon, leaves for apple, and so on.
- You can use different colors of paper or paint the shapes if desired.
- Glue the fruit shapes onto the handprint to create your fruit design.
- If desired, you can add details such as seeds or stems using markers or crayons.
- Once the glue has dried, your handprint fruit craft is complete and ready to display.
- This simple handprint fruit craft is a great activity for kids of all ages, and can be customized to create a variety of fruits.
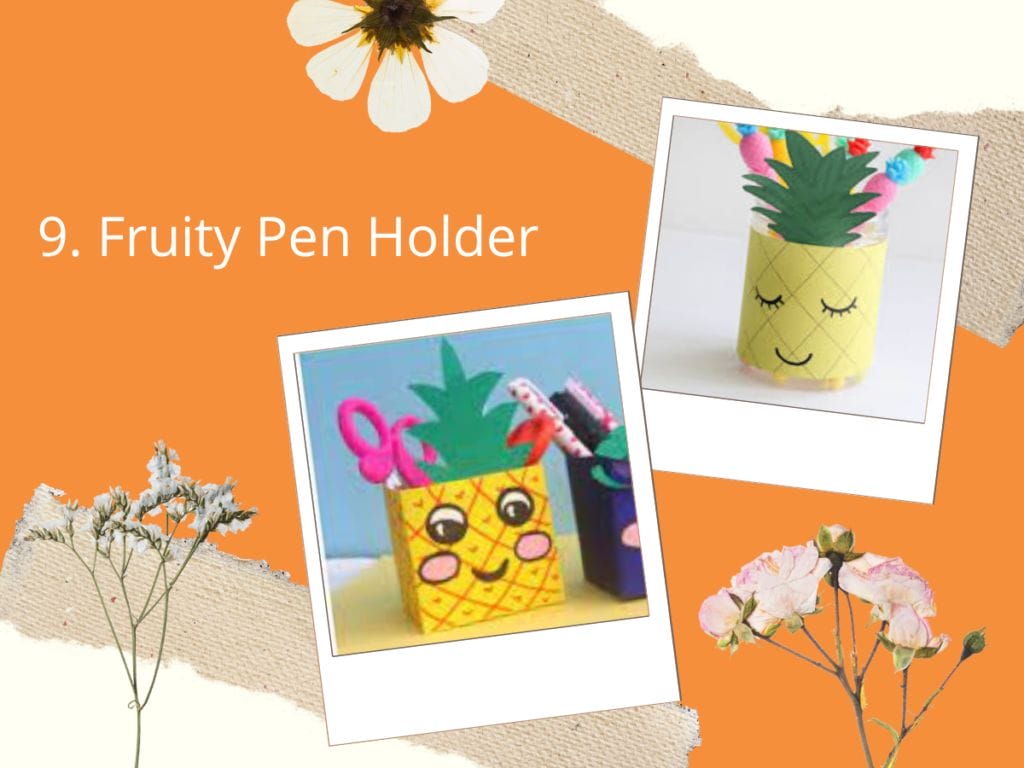
9. Fruity Pen Holder
Now let’s try to make something that could be useful. For your spring crafting enthusiasts, here’s the perfect seasonal pen pot tutorial.
I am sure many of us face the problem of placing pens and pencils in proper places at home.
This little craft can solve that problem. Same as all the other crafts on the list, it’s very easy to make.
Just follow the instructions and steps and you will be done making it within 20 mins.
Supplies needed to make a Fruity Pen Holder
To make a simple Fruity Pen Holder, you will need:
- Empty cereal box
- Scissors
- Craft knife
- Glue
- Ruler
- Pencil
- Colored paper (in your desired fruit pattern)
- Washi tape or decorative tape
How to Make a Simple Fruity Pen Holder
- Cut the empty cereal box so that it forms a rectangular shape.
- Choose your fruit pattern and cut out the colored paper to fit the box.
- Use the glue to attach the colored paper onto the box, making sure to smooth out any wrinkles or bubbles.
- Once the glue has dried, use a ruler to measure and mark the center of the box’s top.
- Cut a slit into the center of the box’s top, large enough for pens and pencils to fit through.
- Use the washi or decorative tape to add a border around the box’s edges, to give it a finished look.
- Your Fruity Box Pen Holder is now complete!
- Now you have a unique and fun way to keep your pens and pencils organized, while adding some fruity flair to your workspace.
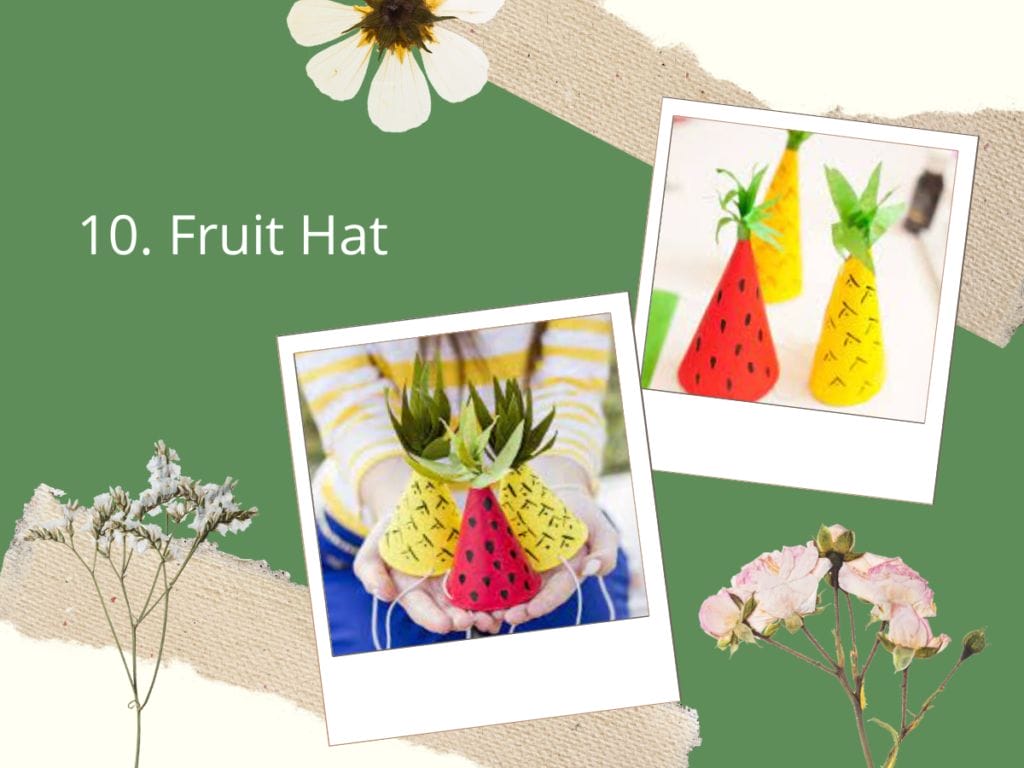
10. Fruit Hat
In almost every birthday party, one of the most important things is a birthday hat. Many kids won’t agree to cut the cake without wearing a birthday cap. Believe me, I have seen such incidents. When you visit a shop, you will be surprised with the prices of the birthday caps.
Moreover, the designs are limited and you might not be satisfied with it. So here is a March Crafts for Kids tutorial to help you make your own birthday cap.
Supplies needed to make a Fruit Hat
To make a simple Fruit Hat, you will need:
- A large paper plate
- Craft paper in various colors (to represent different fruits)
- Scissors
- Glue
- Stickers or markers (optional)
How to Make a Simple Fruit Hat
- Cut out different fruit shapes from the craft paper, such as apples, bananas, or watermelons.
- Glue the fruit shapes onto the paper plate to create the hat’s brim.
- If desired, add details to the fruits using stickers or markers.
- Cut the center of the plate to create a hole for the head to fit through.
- Hold the hat up to your head to make sure it fits and make any necessary adjustments.
- Your fruity hat is now ready to wear! Have fun and enjoy the summer sun.
March Preschool Crafts and Activities for Kids
Let’s now learn to make some cool and interesting things to make. I am sure you haven’t ever considered making them. Because most of you don’t know that they are very easy to make even though they look complicated.
So, here’s a tutorial of some of the most fun and enjoyable spring arts and crafts.
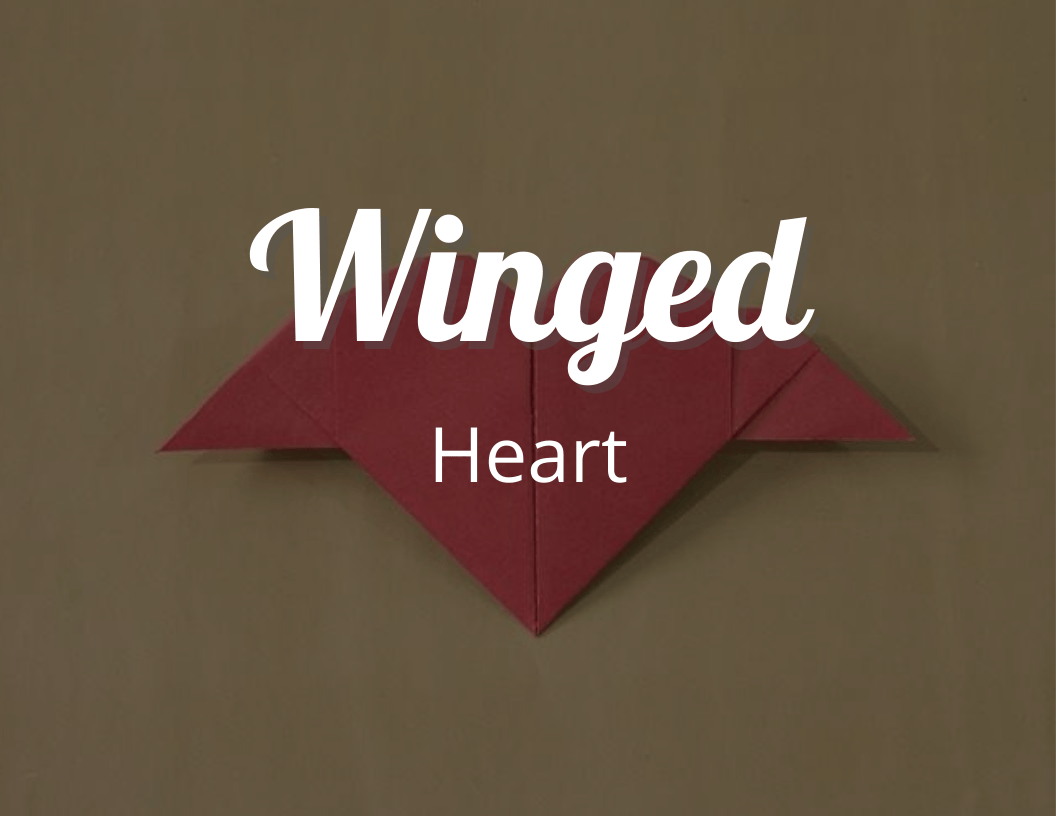
How to Create Fancy Winged Hearts Step By Step
Origami winged hearts are made by using only a square piece of paper and includes few and simple steps. So, let’s get started. Check out these amazing…
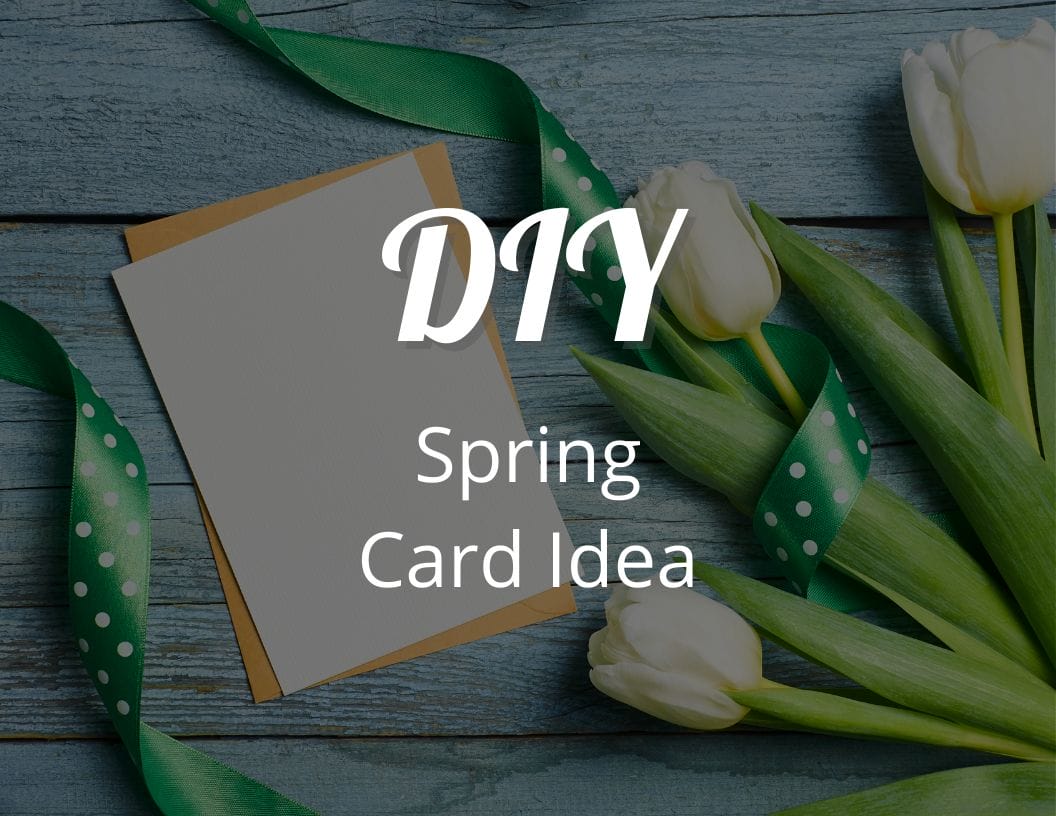
Spring Card Ideas That Will Bring a Smile to Your Loved Ones’ Faces
With the arrival of spring comes a reminder to show your loved ones just how much you care about them. What better way to do this…
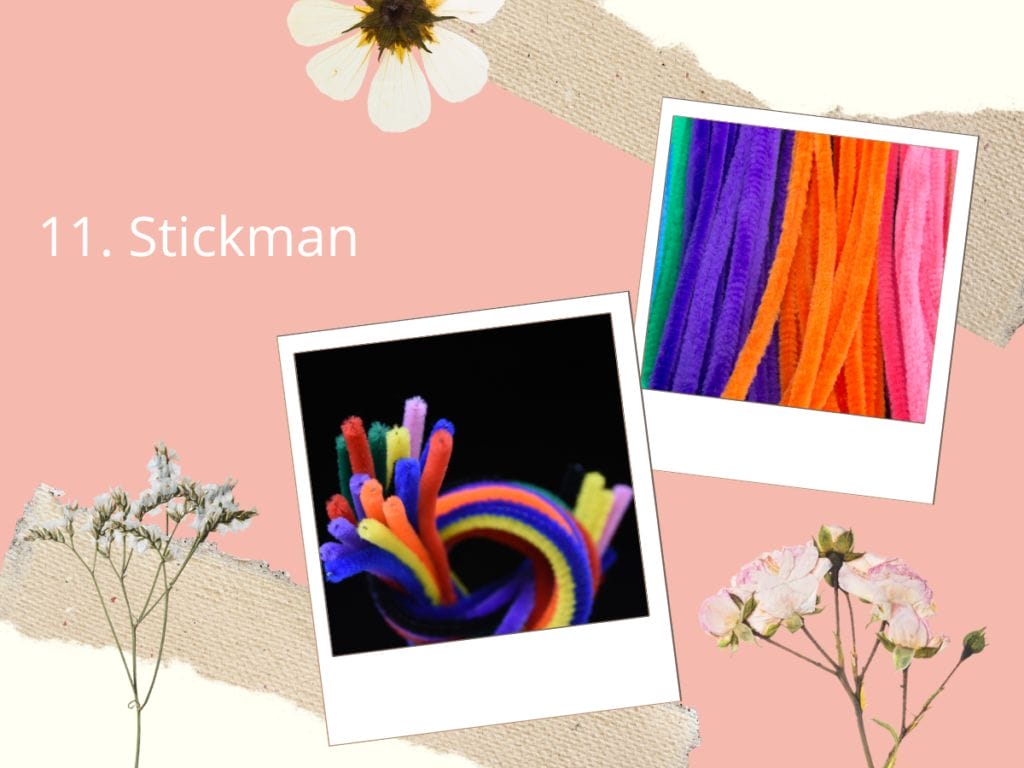
11. Stickman
Let’s now focus on making some cool toys. I am sure you will agree that many kids love to play with humanoid toys more as compared to other toys and stick men are perfect for those kids.
Stick men are very easy to make and can be made with no hard effort. When you get into making a stickman, you can make one in just 5-7 mins.
As stick men are extremely easy and quick to make, they are a very good option as spring craft for kids and beginners.
Supplies needed to make a Stick Man
To make a simple Stick Man, you will need:
- You will need 6-8 pipe cleaners in the color of your choice
- scissors
- and optional materials such as googly eyes, pom poms, and felt for decorations.
How to Make a Simple Stick Man
- Make the body: Twist two pipe cleaners together to form the body of the stick man.
- Make sure they are tightly twisted together so they stay in place.
- Make the arms: Cut two pipe cleaners in half and twist each half around the body near the top to create arms.
- Make the legs: Cut two more pipe cleaners in half and twist each half around the body near the bottom to create legs.
- Decorate: If desired, add googly eyes, pom poms, or felt decorations to the head of the stick man.
- Display: Your stick man is now ready to be displayed!
You can use him as a decoration, toy, or for imaginative play.
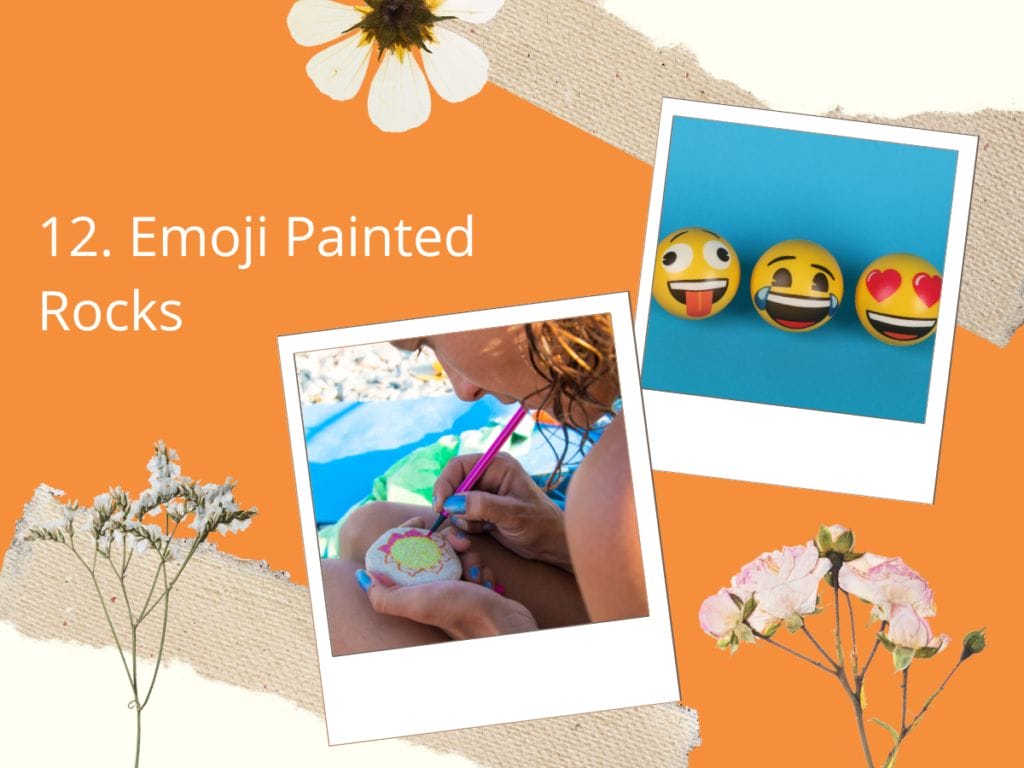
12. Emoji Painted Rocks
I don’t know why but my young kids love emojis. Their enthusiasm seems to have intensified as recently no children can text-chat without using them. So now we have a beautiful collection of embellished emoji stones to share with our community which is crafts fun.
Many stones carry more traditional emoji but our favorites will have to be more special, custom-made art craft ideas representing our family and friends.
Supplies needed to make Emoji Painted Rocks
To make an Emoji Painted Rocks, you will need:
- Rocks
- Acrylic paint
- Paint brushes
- Black permanent marker or pen
- Clear sealer (optional)
How to Make Emoji Painted Rocks
- Collect and clean rocks of different sizes and shapes.
- Paint the rocks in different colors to resemble the emoji you want to create.
- Once the paint is dry, use the black permanent marker or pen to draw the facial features and details of the emoji.
- If desired, you can apply a clear sealer to protect the paint from chipping or fading.
- Your Emoji Painted Rocks are now ready to use as decorations or toys!
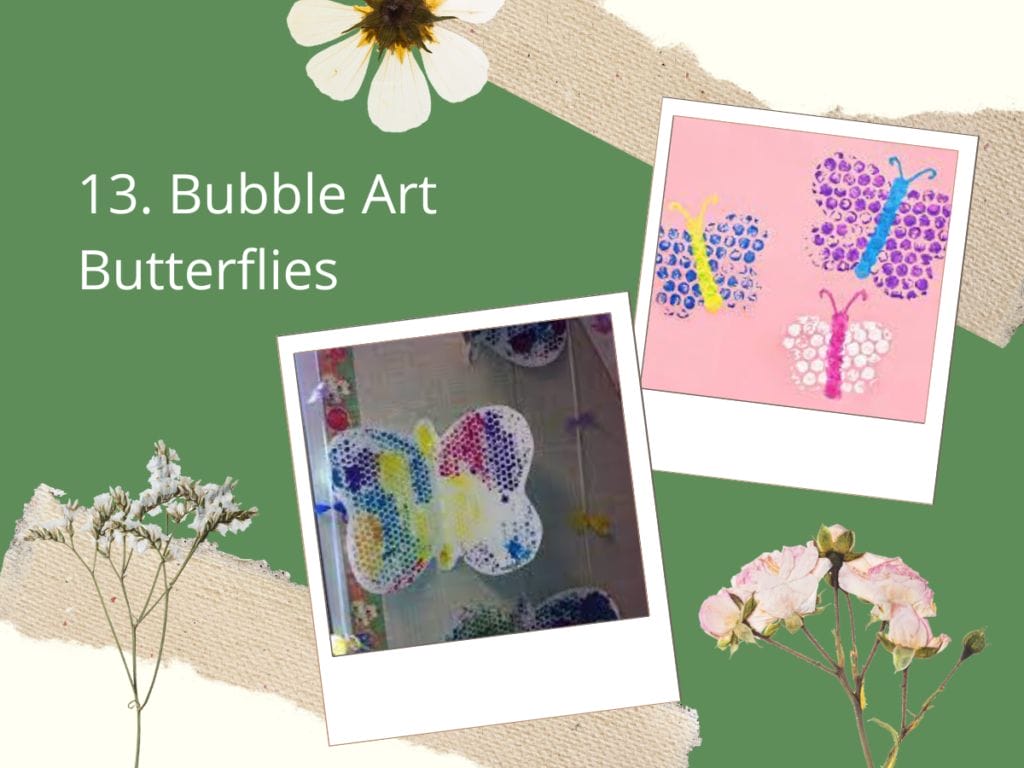
13. Bubble Art Butterflies
The process of bubble blasting art itself is a great activity for kids so even if you choose not to turn your art into butterflies, kids will love the fun process of creating beautiful bubble blowing art. We love bubble art!!!
It’s great and there are hundreds of Bubble March Crafts for Kids This butterfly art project is a great way to get kids out this spring to enjoy bubble-blowing art and then turn their beautiful art into colorful butterfly art later.
Supplies needed to make Bubble Art Butterflies
To make Bubble Art Butterflies, you will need:
- Colored bubble solution (made by mixing dish soap and water)
- White paper
- Shallow dish or tray
- Straw
- Paintbrush
- Colored marker or paint
How to Make Bubble Art Butterflies
- Pour the colored bubble solution into a shallow dish or tray.
- Blowing through a straw, make small bubbles in the solution.
- Quickly place a piece of white paper over the bubbles and press gently to trap them on the paper.
- Lift the paper up and let it dry.
- Once the paper is dry, use a paintbrush or marker to add details to the butterfly. You can add antennae, eyes, and other features to your liking.
- Repeat the process to make multiple Bubble Art Butterflies.
- Enjoy your colorful and unique Bubble Art Butterflies!
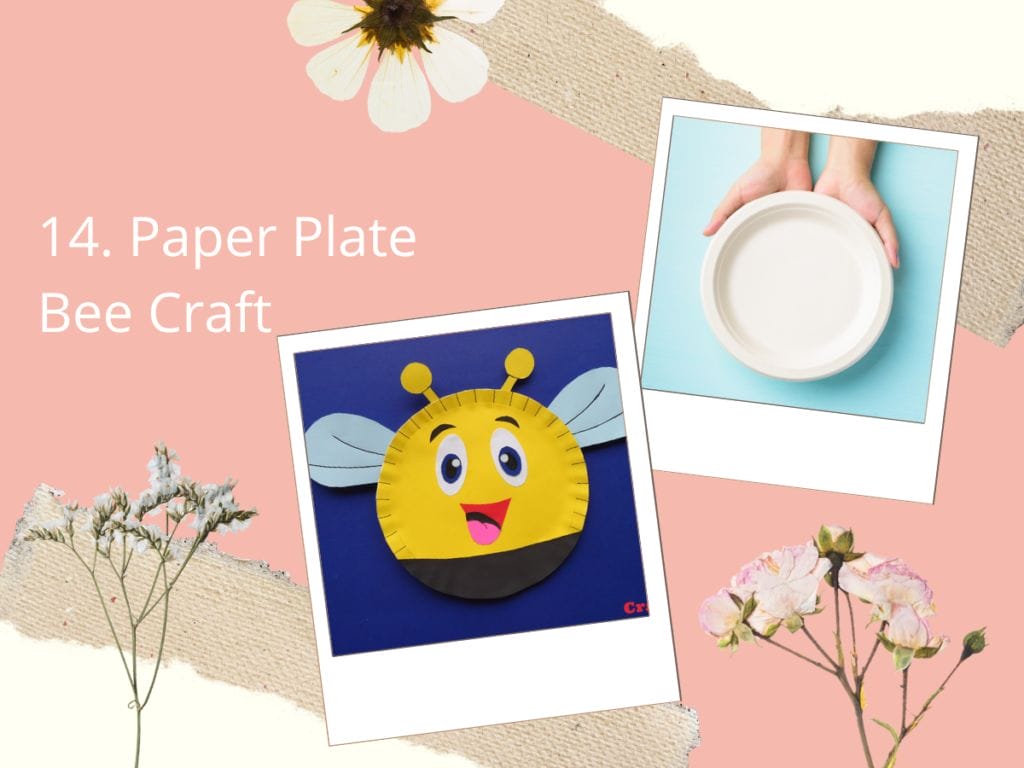
14. Paper Plate Bee Craft
I try to come up with simple March Crafts for Kids Projects that most of the young kids can make on their own. We love insect art and you can see here our whole collection of bee art.
If you have kindergartens or older children, I recommend trying this bee plate craft. Bees are one of the cutest insects, thus I am sure kids will love to work on this craft.
Supplies needed to make a Paper Plate Bee Craft
To make a Paper Plate Bee Craft, you will need:
- Yellow and black paint
- Paint brushes
- 2 paper plates
- Scissors
- Glue
- Black pipe cleaners or chenille stems
- Googly eyes
How to Make a Paper Plate Bee Craft
- Cut the center of one paper plate so that it forms a donut shape.
- Paint the donut yellow and let it dry.
- Cut two small wings from the other paper plate and paint them black.
- Glue the wings to the back of the yellow donut.
- Cut two small antennae from a pipe cleaner or chenille stem and glue them to the top of the bee’s head.
- Glue googly eyes to the bee’s face.
- Your bee is now ready to buzz around!
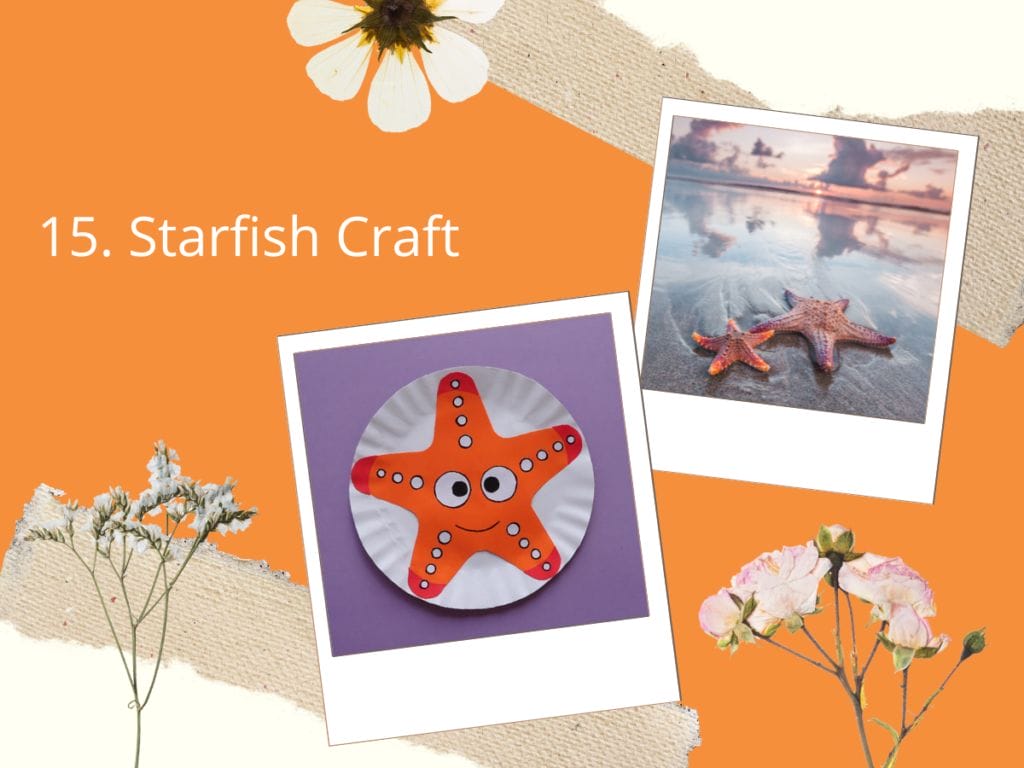
15. Starfish Craft
Starfish or sea stars are some of the most favored invertebrates from the sea. Today I am going to share how to make one using paper, buttons and gum.
The buttons add a nice touch and keep this artwork almost non-existent and help kids develop their good creativity skills as they add each button to their starfish.
So, let’s take a trip to the world of star fishes and start building this amazing Spring Arts And Crafts!
Supplies needed to make a Starfish Craft
To make a Starfish Craft, you will need:
- 5 sheets of paper (preferably in a contrasting color to create a 3-dimensional effect)
- Scissors
- Glue
- Ruler
- Pencil
How to Make a Starfish Craft
- Take one sheet of paper and fold it in half to create a crease. Unfold it.
- Cut strips along the crease, leaving a half inch at the folded edge uncut.
- Cut each strip in half, but stop at the uncut section to create fringes.
- Repeat steps 1 to 3 with the other sheets of paper.
- Take one piece of paper with fringes and roll it up, starting from the uncut section, and secure with a drop of glue.
- Repeat with the other pieces of paper.
- Arrange the rolled-up paper sections around a center point and glue together to form a star shape.
- Once the glue has dried, your paper starfish is ready to be displayed.
24 Easy Easter Crafts for Kids That Will Delight the Whole Family
Easter Crafts for Kids are the perfect way to celebrate the holiday and spend quality time with your family. From painting eggs to making bunny ears,…
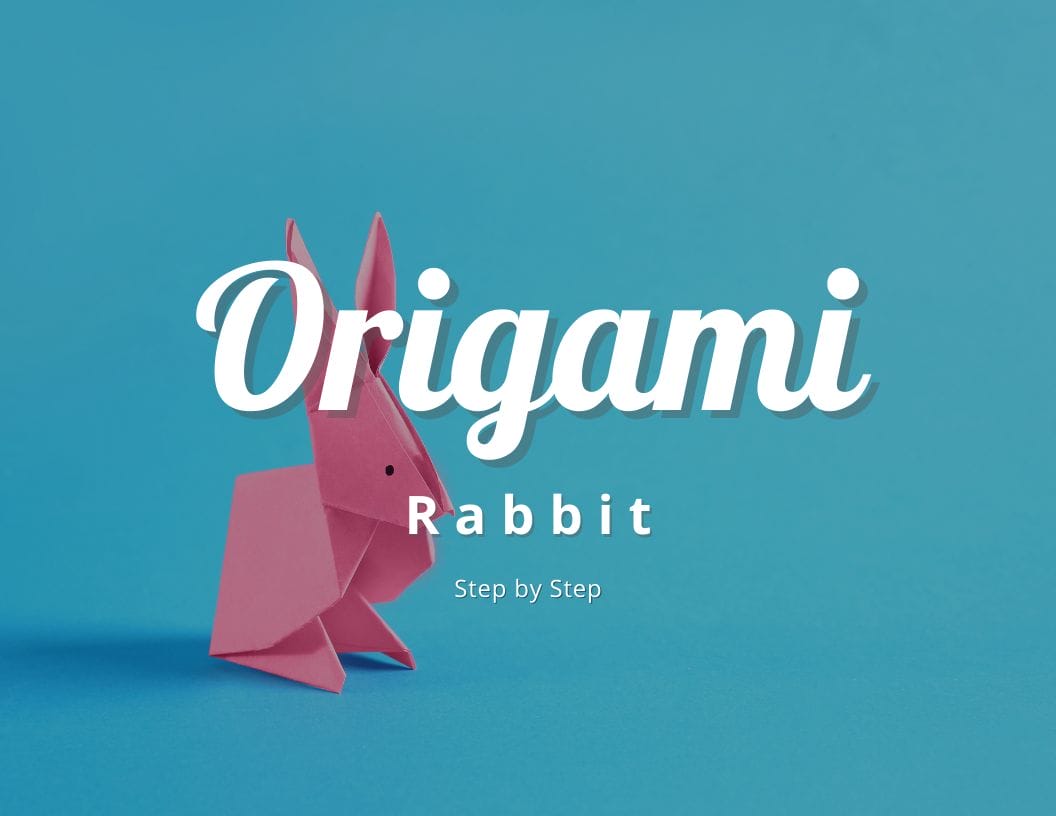
How to make an Origami Rabbit with Free Flip Book
You want to learn how to make an origami rabbit, but you are not sure where to start.Have you tried looking for a video tutorial online,…
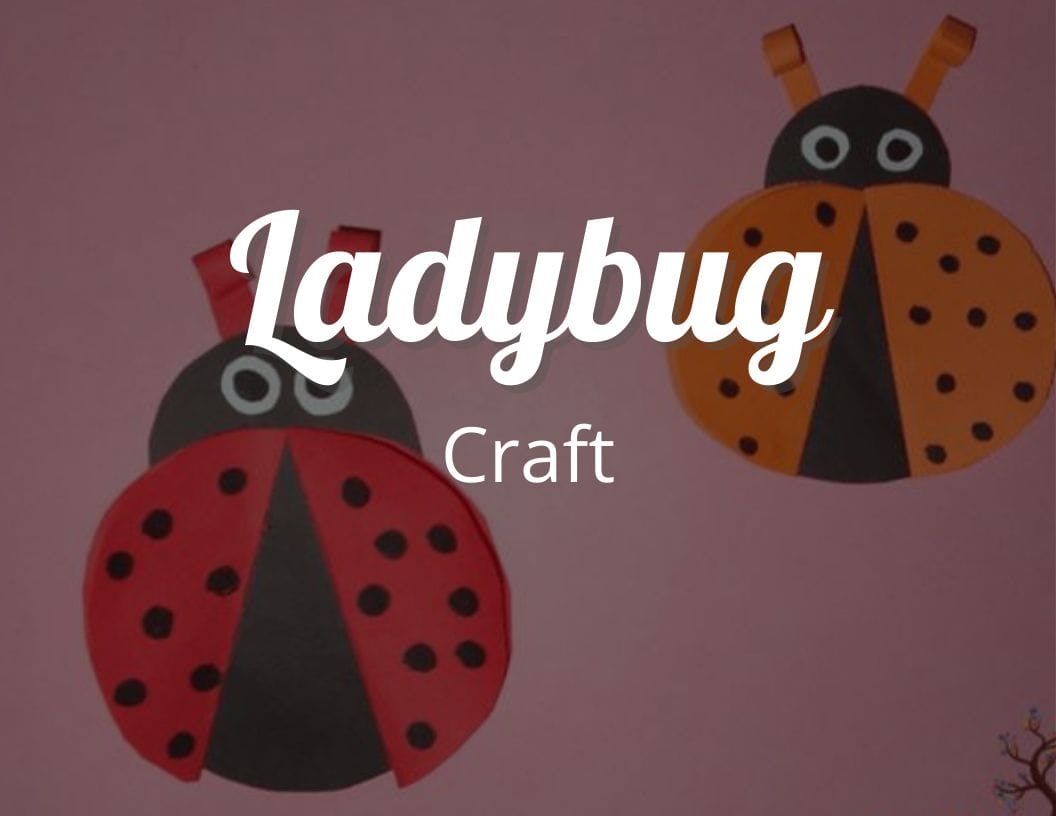
How to make an Easy Ladybug Craft
In this spring craft tutorial for this Ladybug Craft, we will learn how to make a paper ladybug step-by-step. Kids enjoy their spring vacations and it’s…
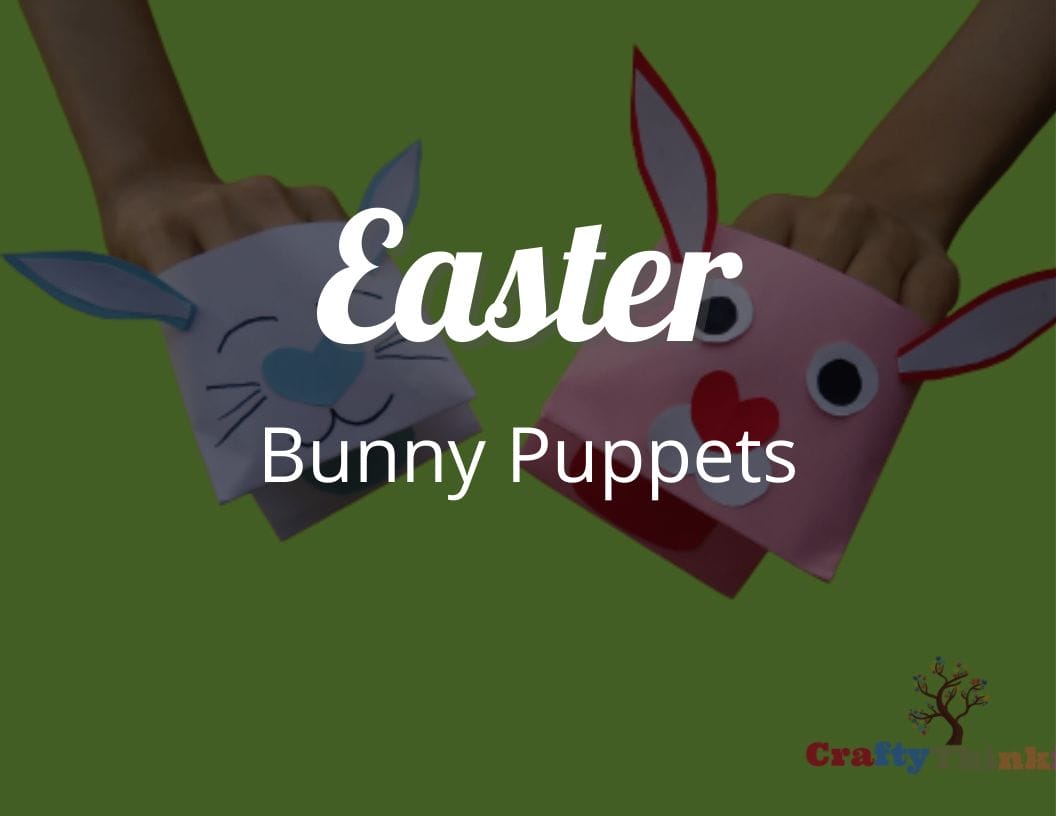
Fun Easter Bunny Puppets (Spring Crafts for Kids)
This tutorial will teach you how to create Spring Easter Bunny Puppets Craft, a fun and educational activity. Spring is a beloved season known for its…
March Arts and Crafts for Elementary
March Crafts for Elementary Students. March is a great time to get the kids involved in some arts and crafts. There are many different crafts that can be made, from Easter eggs to rainbows.
Kids will enjoy getting creative and making something unique and special. Try these fun easy DIY March Crafts for Elementary Students:
- Paper Plate Bunnies
- Shamrock Sun Catchers
- Pipe Cleaner Wreaths
- Paper Plate Flowers
- Fuzzy Pom Pom Baskets
- Popsicle Stick Frames
March is the month of the Easter Bunny Crafts
March is the month of the Easter Bunny, and it is also a great March Crafts for Elementary Students. Easter is a time when families come together to celebrate. The Easter Bunny is a symbol of Easter, and kids love to get Easter eggs from him.
March is a great time for arts and crafts, so kids can make their own Easter eggs. Here is some fun and easy Easter Bunny Crafts:
- Easter Bunny masks
- Easter Bunny ears
- Easter Bunny tails
- Easter Bunny aprons
- Easter Bunny hats
- Easter Bunny baskets
Elementary students are learning the arts at school. They are learning about different types of art, and how to create their own art. This is a great way for kids to learn about March Crafts for Elementary Students.
Happy Easter Crafts
Easter Crafts are a great way to show your loved ones how much you care. They can be used as decorations or given as gifts. There are many different types of crafts that can be made, so there is sure to be one that is perfect for you and your family.
- Easter Baskets
- Easter Eggs
- Easter Decorations
- Easter Treats
- Easter Activities
- Easter Traditions
March Crafts for Toddlers
March is a great month to do March Crafts for Toddlers! There are so many fun and easy projects that can be made with just a few simple supplies. Here are a few of our favorites:
1. Paper Plate Flowers:
This is a great March Crafts for Toddlers project for those children who are just starting to learn how to use scissors. Cut paper plates into flower shapes, then let your child decorate them with crayons or stickers.
2. Popsicle Stick Butterflies:
This is another easy project that toddlers will love. Just glue popsicle sticks together in the shape of a butterfly, then let your child decorate it with paint, markers, or stickers.
3. Pipe Cleaner Flowers:
This is a fun and colorful project that toddlers will love to make. Just twist pipe cleaners into flower shapes, then let your child decorate them with markers or stickers.
4. Paper Bag Puppets:
This is a great project for teaching your child about colors and animals. Cut out different shapes from construction paper, then glue them to a paper bag. Let your child decorate the bag with crayons or stickers, then use it as a puppet.
5. Finger Painting:x
This is a classic toddler activity that never gets old. Finger painting is a great way to teach your child about colors and textures. You can use different types of paint, paper, and brushes to create endless possibilities.
DIY March Crafts Ideas – St Patrick’s Day Crafts
March is the perfect month to get crafty and celebrate St. Patrick’s Day! Here are some fun and easy ideas to get you started:
- Make a leprechaun trap! This is a great way to get the kids involved in a fun and creative project for Patricks day. All you need is a cardboard box, some green paint, and some imagination.
- Decorate your home with shamrocks! Cut out shamrock shapes from construction paper or felt, and use them to decorate windows, walls, or doors.
- Make a St Patrick’s Day mobile! This is a beautiful and easy craft that kids will love. All you need is some cardstock, crayons or markers, string, and tape.
- Paint rocks to look like shamrocks! This is a fun project for both kids and adults for Patricks day. All you need is some rocks, green paint, and a little bit of creativity.
- Have a St Patrick’s Day picnic lunch outdoors! This is the perfect activity for a sunny day. Pack up some sandwiches, snacks, and drinks, and enjoy a lovely meal surrounded by nature.
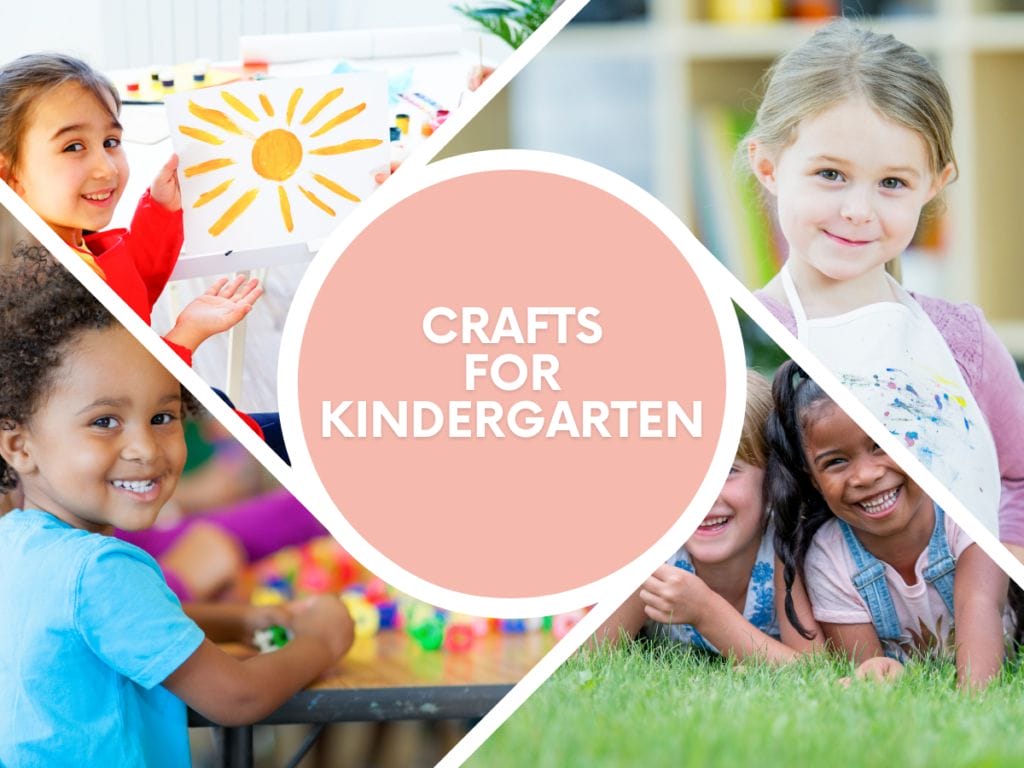
What are some march crafts for kindergarten?
Here are some simple march art projects for kindergarten:
- Paper Plate Shamrock
- Pipe Cleaner Clover
- Painted Rocks
- Yarn-Wrapped Pot of Gold
- Paper Cup Leprechaun Hat
- Cotton Ball Rainbow
9 Amazing March Preschool Themes for Kids
Try these amazing march themed crafts:
- Springtime Fun
- Easter Celebration
- Frogs and Turtles
- A Rainbow of Colors
- Down on the Farm
- Let’s Get Moving!
- Flower Power
- Green Day
- March National Craft Month
6 Fun Rainbow Crafts
Looking for some fun and easy crafts to keep the kids entertained this March? Check out these rainbow crafts!
- Rainbow looms
- Rainbow loom bands
- Rainbow bracelets
- Rainbow necklaces
- Rainbow earrings
- Rainbow hair bands
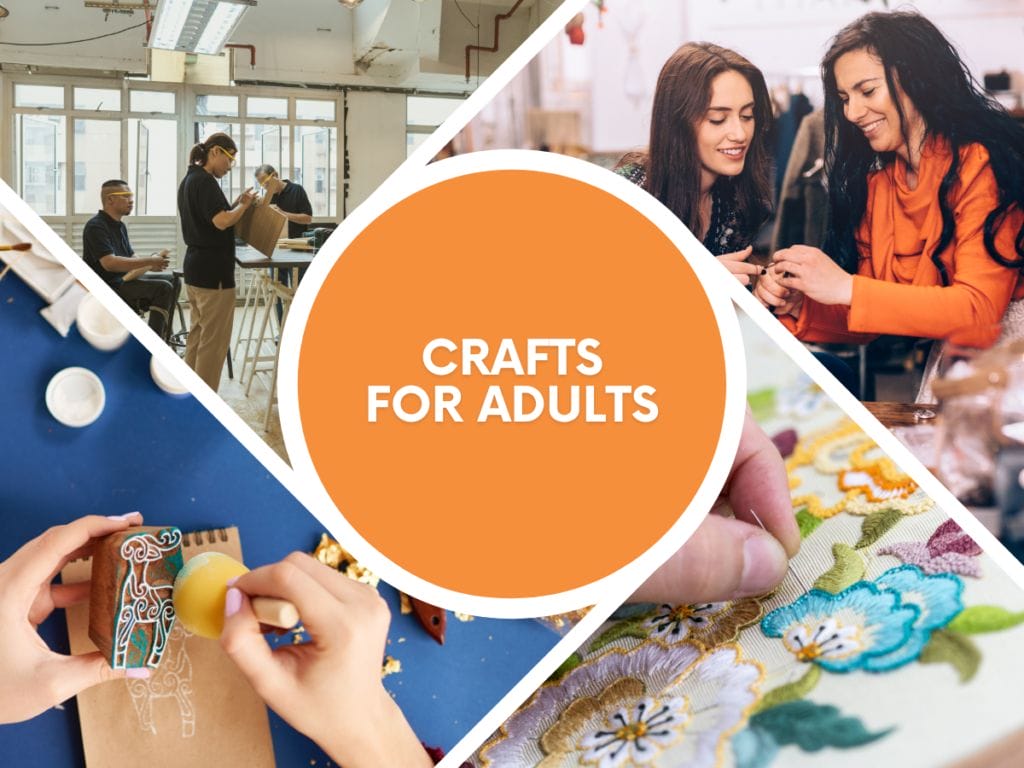
Easy to Do March Crafts for Adults
Looking for some fun and festive March crafts for adults? From shamrock wreaths to leprechaun hats, there are plenty of ways to get into the spirit of the season.
Whether you’re looking for a fun project to do with friends or something to keep you busy during those long winter nights, these crafts are sure to put a smile on your face.
- Make a Paper Plate March Hare
- Create a Fabric Covered Button Spring Wreath
- Sew a Simple Shamrock Pin
- Paint a Pretty Pot of Primroses
- Make a Glittery Easter Egg Candle Holder
- Decorate a Mason Jar with Bunnies and Eggs
Simple March Crafts for Seniors
- Paper Flowers
- Shamrock Wreath
- Paper Plate Leprechaun
- Handprint Shamrock
- Pot of Gold
Our Favorite March Crafts Supplies
- Glue guns
- Paint
- Markers
- Construction paper
- Pipe cleaners
- Buttons
- Paper Plates
- Paper Bags
- Glue Sticks
- Pencils
- Scissors

Benefits of March Crafts for Kids
- March is a great time to get creative with your kids
- March crafts are a fun way to celebrate the month of March
- March Crafts for Kids are a great way to keep kids entertained all month long
- Arts and crafts can be educational
- March is a fun way to spend time with your family
- Great way to show your children how to be creative
- Teach kids about recycling is crafts fun
- March is the month of St. Patrick’s Day, so it’s a perfect time to do some fun and easy St. Patrick’s Day crafts with your kids!

Importance of Arts and Crafts
- Arts and crafts can help teach children about teamwork and collaboration.
- the importance of patience.
- the importance of hard work.
- the importance of creativity.
- importance of having fun.
- importance of being unique.
- importance of following instructions.
- importance of being organized.
- improve focus and concentration skills.
Frequently Asked Questions about Crafts for March
Looking for fun crafts to do with the kids this March? Check out our list of frequently asked questions for ideas on the best craft projects for March!
-
What activities can do for March?
Activities you can do for March are to celebrate St. Patrick’s Day, make paper flowers for spring, do a spring cleaning of your home, visit a local botanical garden or park, read books about Women’s History Month, start planning your summer garden, make homemade Easter decorations, plan a family movie night, and participate in March Madness activities.
-
What are good craft ideas for kids?
Some good craft ideas for kids includes paper mache, finger painting, collage, clay modeling, beading, origami, paper cutting, and making a tie-dye shirt.
-
What crafts are good for 3 year olds?
Crafts that are good for 3-year-olds are finger painting, coloring, playing with playdough, drawing with crayons, and making simple paper crafts like a paper plate mask or a paper flower.
-
What crafts can 4 year olds do?
Crafts that 4-year-olds can do include painting, cutting and pasting, drawing, playing with clay, making simple jewelry, and building with blocks.
-
What do 4-5 year olds like to play?
Games that 4-5 year olds like to play are pretend play, board games, building with blocks, memory games, and simple card games.
-
What do most 3 and 4 year olds draw?
3 and 4 year olds typically draw simple shapes like circles and lines, and may also draw basic objects such as houses, animals, and people.
-
How many puzzle pieces should a 3 4 year old have?
3-4 year olds can usually handle puzzles with 20 to 30 pieces.
-
What can 5 year olds draw?
5 year olds can typically draw more complex shapes and objects, such as people, animals, and landscapes. They may also begin to draw abstract designs and patterns.
-
When should kids stop scribbling?
Kids should not be discouraged from scribbling, as it is an important developmental stage that helps them to develop their motor skills and creativity.
However, most children will begin to transition to drawing more recognizable shapes and objects around 4-5 years old.
Conclusion on March Crafts for Kids
If you’re looking for a fun way to keep your kids entertained, why not try some crafts? Crafting is a great way for kids to learn new skills and be creative.
In this article, we’ve collected some of our favorite crafts for kids that are both fun and educational.
We hope you and your children enjoy them! Do you have any favorite crafts that we didn’t mention here?
If you like this article about March Crafts for Kids and would like to know more?