Fascinating Paper Santa Claus
Todays tutorial is Paper Santa Claus. Winter is a cold and blessed season that is loved by more than half of the population. Winter reminds us of the most important even ever- Christmas. Days before Christmas we start decorating our houses with glittery and colorful ornaments along with Christmas trees.
Legend says that Santa Clause enters into houses on Christmas Eve and leaves presents and candies for well-behaved children and only coal or nothing for naughty children. Santa has a bright red and white appearance and is known to be a magical character that pays elves to work with him. Santa Claus is known to have eight dears who accompany him in transporting gifts to houses.
Paper Santa Claus
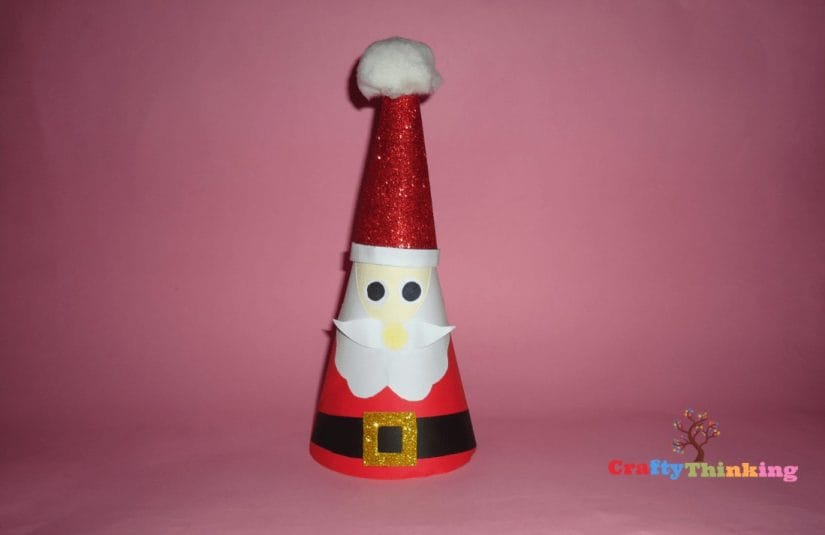
Santa belongs to the North Pole and loves cookies with a glass of milk. Today, why not we learn some winter crafts! Why not we try making a paper Santa Claus? It will look amazing!
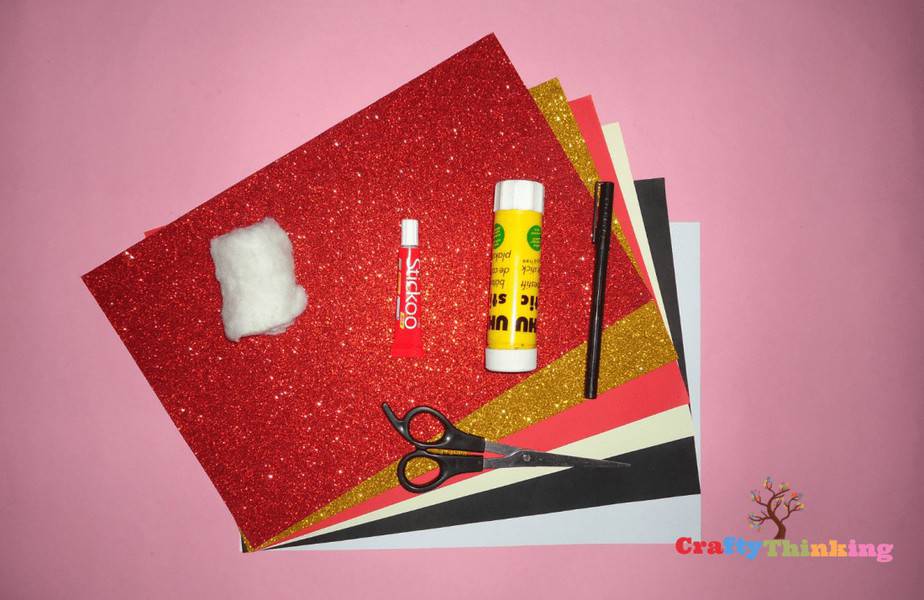
What You Need:
- Red sticker glitter sheet
- Golden sticker sheet and a piece of cotton
- Red and skin-colored paper
- Black and white-colored paper
- Stick glue and liquid glue
- Black marker and scissors
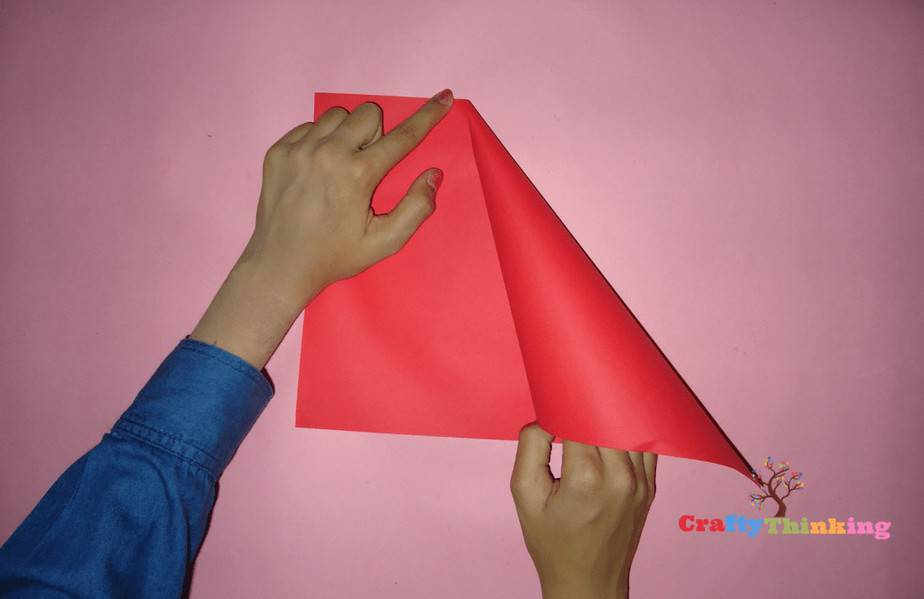
Step 1:
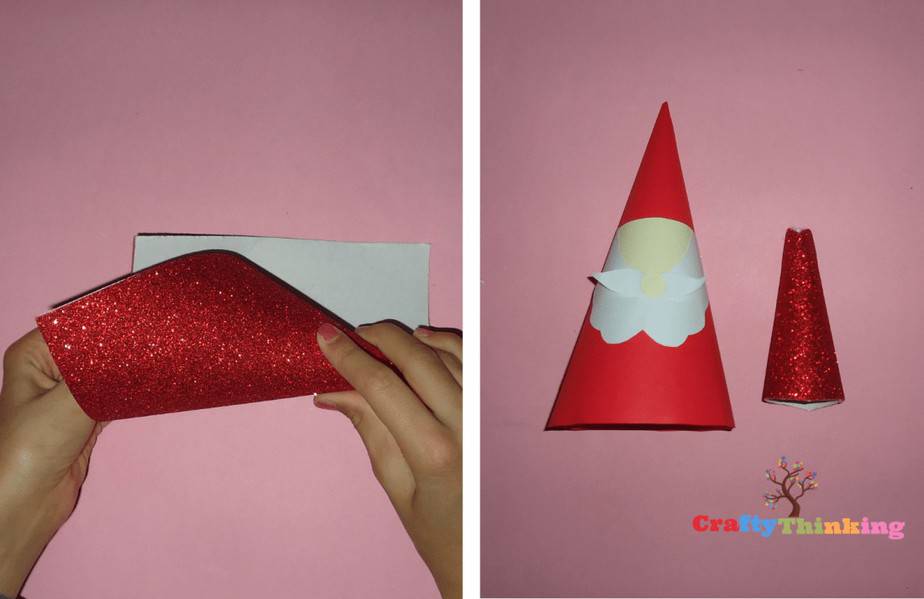
Now take red paper and fold it into a cone-like shape as we are doing.
Step 2:
Now glue the side of the paper and stick it to the cone shape.
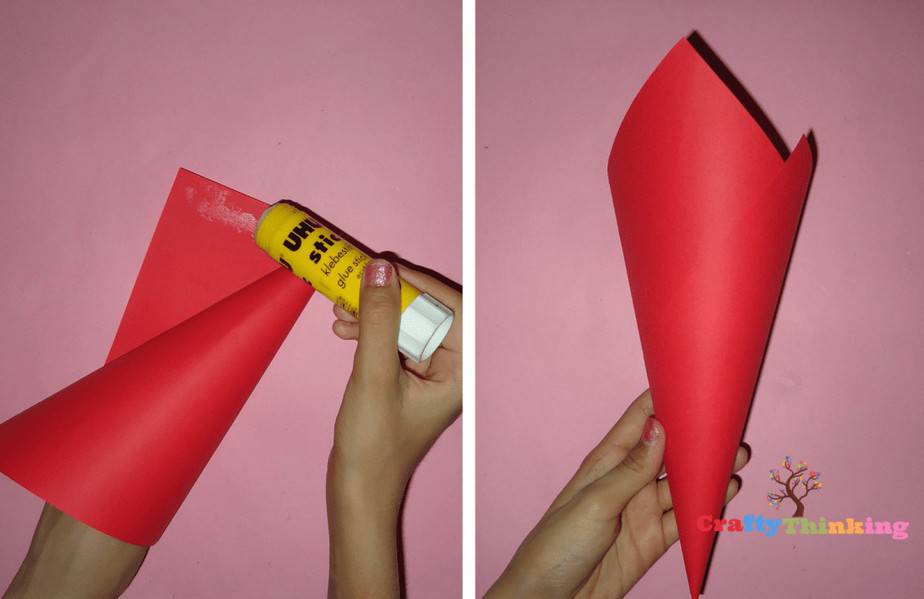
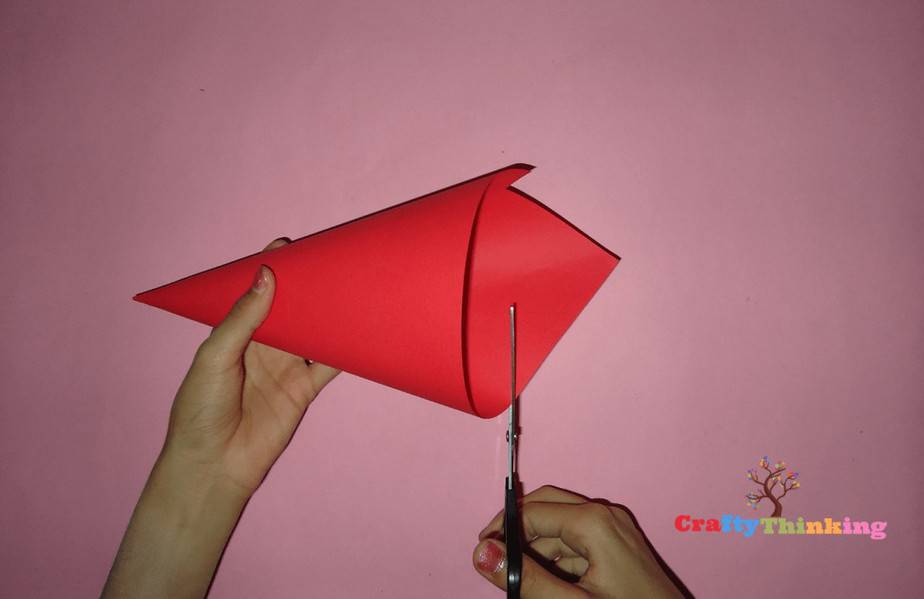
Step 3:
Now cut the cone from the bottom making a smooth surface so that the cone can stand on its open surface.
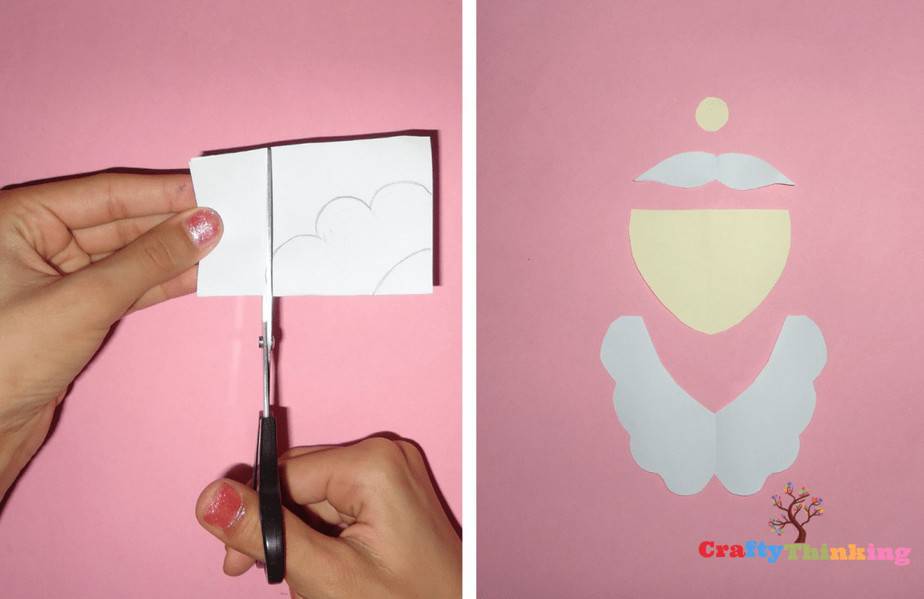
Step 4:
Now take a piece of white paper and fold it in the middle. Make three or four bumps on the folded side and a curved line on the top. The shape should look like ours and when you cut it, it should form a beard. Also, fold white paper once again and draw the shape of a half mustache on the folded side and cut it out.
Now using skin-colored paper cut a shape of a semicircle which is slightly pointed at the top; this will be the face. Also cut a small circle that can fit in the middle of the mustache and will act as a nose.
Step 6:
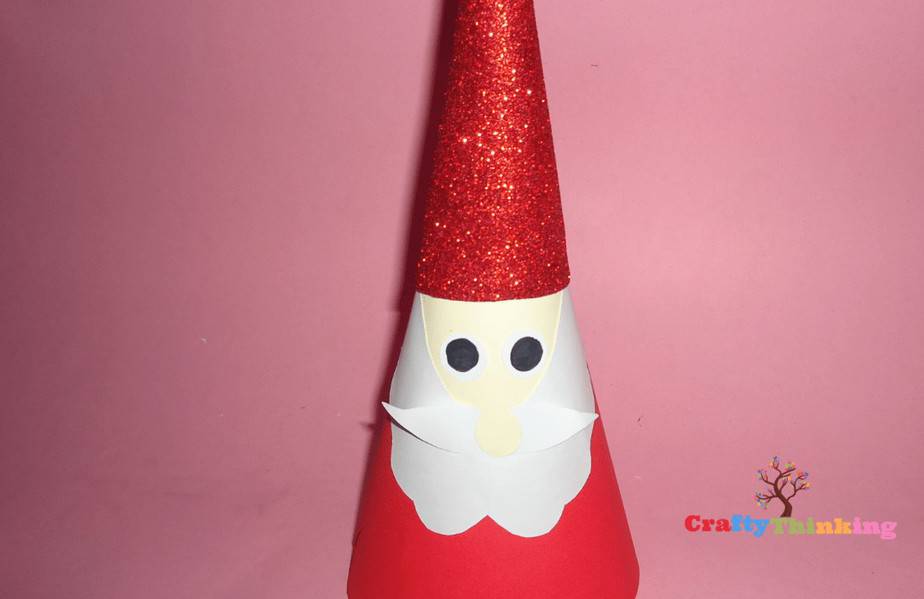
Now apply glue to the four shapes and stick them in the middle of the one. First, stick the face, and on top of it stick the beard whose topsides should match with the top side of the face.
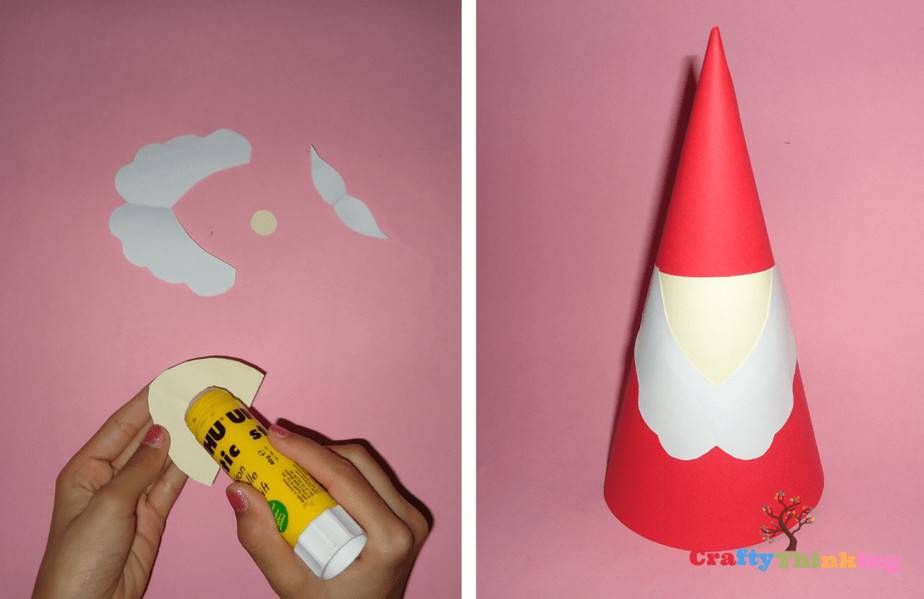
Step 7:
Now stick the mustache with the beard and the circle nose in the center of the mustache using glue.
Step 8:
Now take a square piece of glitter sheet and form it into a cone as we did in Step 1.
Step 9:
Now cut white circles and fill them in with a black marker in the middle to make the pupil of the eyes. Stick these eyes on top of the beard and mustache. Also from the inside of the glitter cone, remove the sticker and adjust and stick it just on the top side of the face as we have done in the illustration below.
Step 10:
Now cut a strip out of black paper. Also, grab the golden glitter sheet and cut out a piece from it. Fold the piece from the middle, and on the folded side, cut out the half of a square about the size of the thickness of the black strip. The black strip will be the belt and the golden shape will be the buckle.
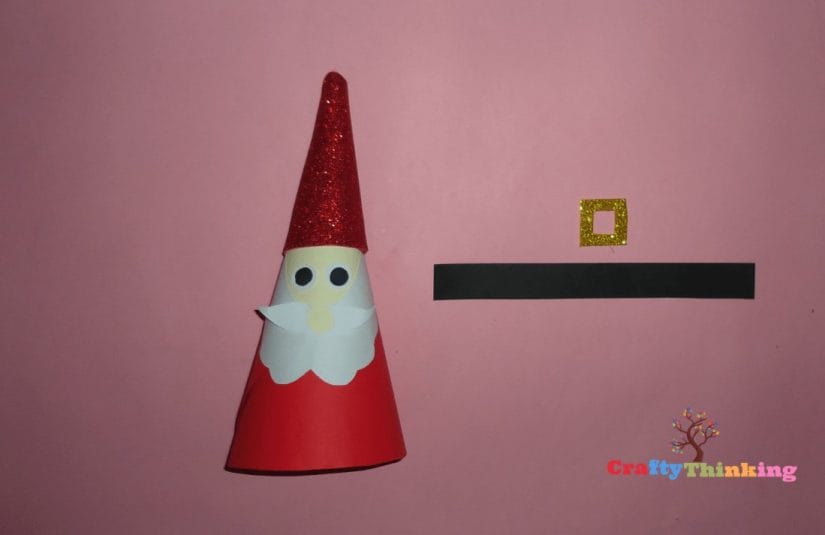
Step 11:
Now stick the black strip near the bottom of the cone and the buckle on it. The Santa is nearly ready and then you will learn some cool winter crafts for toddlers.
Step 12:
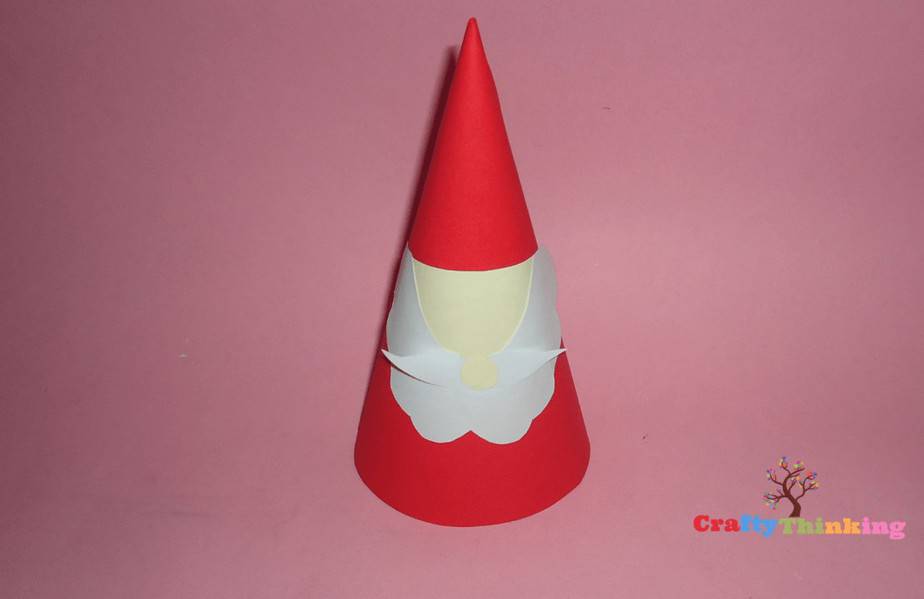
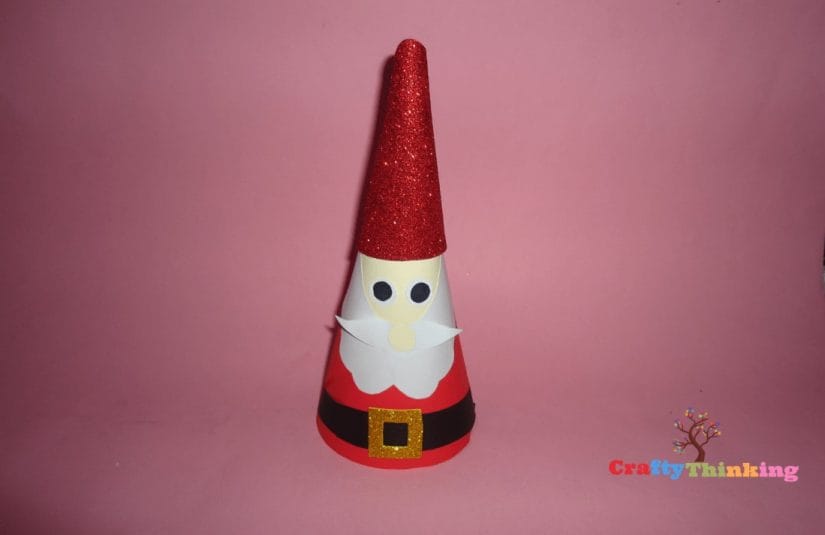
Now roll the cotton piece into a ball and using liquid glue, stick it on the top of the cone. The snowman is ready.
Congratulations! You have completed learning easy winter crafts.
Now you can place this Santa Claus anywhere in your room and make more for Christmas and decorate them everywhere in your house to make every corner of your place sparkle.
If you like this article and would like to know more, please comment below.