8 Fun Spain Arts and Crafts for Kids
Spain Arts and Crafts for Kids
Spain has a long and rich culture that is often reflected in Spain Arts and Crafts for Kids created by its people. Kids will love learning about some of the famous Spanish artists and creating their own works of art inspired by Spain’s beautiful landscape and traditions. There are so many fun projects to choose from, and you can even get your kids involved in the planning! Whether you’re looking for a classroom project or something to do with your family this weekend, these Spain arts and crafts for kids are sure to be a hit.
What is Spain’s art and crafts history?
Spain has a long and proud history of art and crafts. From the beautiful paintings and tapestries of the Renaissance period to the intricate pottery and jewelry of today, Spain has always been a leader in the arts. But what about the crafts? Spain is also known for its superb craftsmanship, with everything from knives and swords to guitars and furniture being handcrafted in this amazing country. If you’re looking for something special to add to your collection, or you’re just looking for a new hobby, take a look at the amazing art and crafts of Spain!
When did Spanish arts and craftsmanship begin?
The art and craftsmanship of Spain has a long and proud history that dates back to the Renaissance period. During this time, Spain was known for its beautiful paintings and tapestries, as well as its intricate pottery and jewelry. Today, Spain is still known for its amazing art and crafts.
How has the Spanish Arts Movement changed?
The Spanish Arts and Crafts Movement has changed over time, with new styles and techniques emerging over the years. The movement began in the Renaissance period, with Spain becoming known for its beautiful paintings and tapestries. Later, in the 19th century, Spain became known for its intricate pottery and jewelry.

Why are so many people interested in Spain’s Arts?
There are many reasons why people are interested in Spain’s arts and crafts today. For one thing, Spanish craftsmanship is legendary. Anyone who owns a piece of Spanish-made furniture, or a knife or sword with a steel blade, knows how amazing the quality is. The Spanish have mastered many different crafts and continue to work with them today. There are also many pieces of art that have been made in Spain over the centuries. Many people hold these works their own special collections because they appreciate the time and effort that went into each piece.
Seven things you didn’t know about Spanish arts
There’s a lot more to Spanish art and crafts than meets the eye! Here are seven things you may not have known:
- Spain is home to some of the world’s most famous painters, including Velázquez, Picasso, and Dalí.
- The art of tapestry weaving is centuries old, and Spain is considered to be one of the best countries in the world for this type of art.
- Spanish pottery is some of the most beautiful in the world, and pieces from famous potters like Gaudí and Picasso can be quite valuable.
- Spain is also well-known for its jewelry making skills, with intricate designs and beautiful materials.
- Spain is known for its guitars, and these instruments are world-renowned for their craftsmanship and sound quality.
- The art of baroque furniture making is still alive today in many regions of the country, with talented artisans producing delicate and intricate designs like no others can do.
- Handmade items from all over Spain can be found at local markets and fairs; it’s a great place to start if you’re looking to buy handmade goods!
Celebrations of Easter and Christmas
In Spain arts and crafts for kids are heavily influenced by the celebrations of Easter and Christmas. In Easter eggs or “Ostie de Colores” as they are called in Spanish, children decorate their egg with paint that is mixed from natural resources such as flowers, grasses, leaves and berries. They also cover them with lace to make them more attractive and colorful. The tradition of making these Easter eggs dates back to the 18th century when they were considered a sacred relic by many people in Spain.
Christmas is a very important craft holiday in Spain which involves exchanging gifts around December 6th: “La Nochebuena. According to tradition, children are supposed to write letters and place them in their shoes by the fireplace. On Christmas Eve they enjoy a delicious dinner with their family and a midnight mass is held at midnight which is followed by the exchange of gifts. The tradition of making ornaments with candies and chocolates goes back to the early 18th century and has been a Christmas tradition ever since.
Valentines’ Day is celebrated in Spain with a pastry called “Torta de San Valentín” which originated from a small church where it was served to the poor during the 14th century. Today, people all over the world continue this tradition of making special desserts for their loved ones in February and sharing them at their table on February 14th.
For those who are interested in learning more Spanish crafts for highschool, there are countless opportunities throughout the year to see demonstrations, classes, books on different topics, magazines etc. Here are some of the most popular Spain arts and crafts for kids:
Our favorite Spain Crafts for Kids
1. Puppets
Puppets in Spain are traditionally called “Marionetas”. Traditionally, in the north of Spain, adults would carve out wood to make them and children would paint the faces while in the southern parts of Spain they were made from paper mache. There are many different puppet companies throughout Spain. Children anywhere can learn about puppetry, get their own puppets and enjoy performances when visiting for a vacation.
What you will need
1 – Wood or paper mache
2 – Black paint
3 – Sharp knife
4 – Glue (optional)
5 – A black costume for puppet
How to make your Marionetas puppet?
1. Cut out the paper or wood so that it is as flat as possible.
2. Apply a thick layer of black paint to the puppet with a paintbrush or squeegee.
3. Cut a piece of fabric that is double the size of your puppet and cut strips about 4 inches long from it using scissors. Glue them across your puppet’s head and around its arms and legs near where they meet your body (like clothes). Glue the fabric down to the paper or wood.
4. Cut your puppet’s head out of black cloth. You can choose to glue it on or to sew it on (but don’t sew it into place yet). This is where you will stick your mouth and eyes.
5. After that, you can add any other details such as a scarf, earrings, a hat, etc. There are many different ways that people decorate their puppets.
Here is some simple Hand Puppets to try

Shop Now https://amzn.to/3h1HpSg
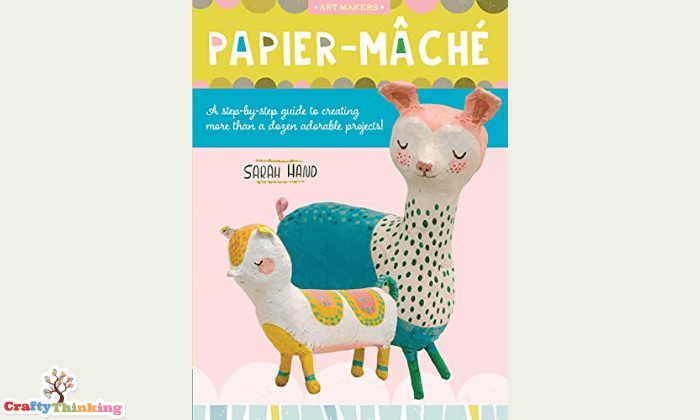
2. Paper Mache
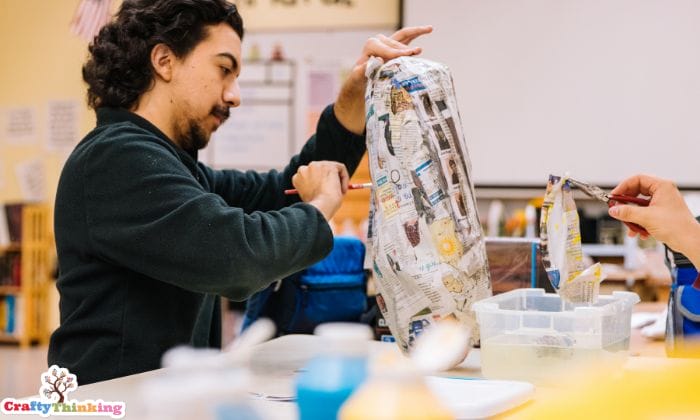
One very popular Spanish craft for toddlers is paper mache or “Técnica del Papel Mache”. This technique is used to create different figures which are then painted with tempera paint and covered with fabric or cellophane glued on with wheat paste. Some artists choose to paint directly on the cellophane or fabric, but most prefer to hand paint the figures with tempera paint before giving them a coat of varnish. The finished products are decorative figurines that can be kept for years.
There is a wide selection of books and magazines available for those who are interested in learning about the art of paper mache. Some of the books that are available focus on how to make paper mache figures while others include instructions plus stories and poems about them.
There are also many different art schools in Spain and all over the world which teach this technique.
One example es el “Centro de Formación y Atención al Cliente” (CFA) situado en San Sebastián.
There are also courses that are offered throughout the year for Seniors and Special Needs.
What you will need
1- Basic Papers
2- Basic Fabric
3 – Taste or Spice Colors for Painting
4 – Decoration Touches
5- Water plaster
6- Wood stain, varnish, and sandpaper (optional)
7 – Funnel (used to collect the water plaster)
How to make your Paper Mache Figure:
1. Choose a subject matter. It can be made out of anything that you like. For example: a flower, a bird, a person or even a fruit. You need to find your inspiration!
2. Choose what size your paper mache will be when it’s finished.
3. Cut out the picture you are going to take from a piece of thin paper. It should be a little bigger than the paper mache.
4. Decide if you are going to cover your paper mache with other fabrics, tissue, or cellophane or paint all at once or if you will do each one individually. For example, if I were making a flower then I would first paint it with tempera paint and then cover it with tissue before painting the petals separately.
5. If you choose to cover your picture with other fabrics then it is necessary to put down glue for this purpose so that they stick together properly when covered with more fabric later on 6. Once you have covered your paper mache with fabrics then it is time to paint its entire surface.
7. Now that your paper mache is dry, begin to make the decorations on it separately. For example, I would paint the leaves first, then add details such as a stem, leaves, or fern leaves.
8. Next you need to put down the water before painting your finished product with tempera paint so that it has a nice smooth finish.
9. To dry and harden your paper mache leave it for a while before applying varnish to give it a nice polished texture (optional)
10 . And finally, once it is fully dry you can add finishing touches with wood stain or varnish and sandpaper (if you want) and finish off your creation.
Check Out this Papier Mache step-by-step Guide
Shop Now https://amzn.to/3BxYc8O
3. Pottery
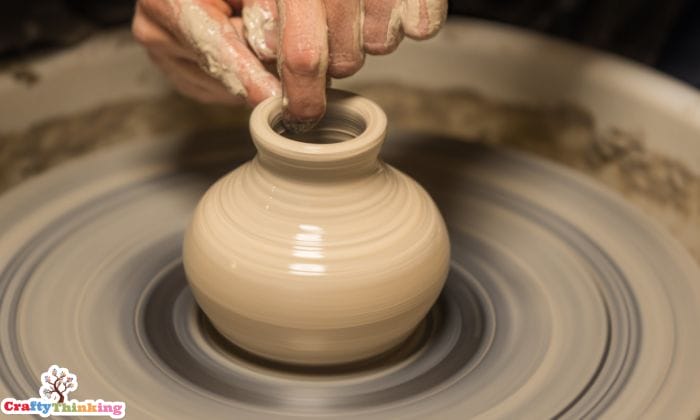
Pottery is an art popular in Spain and around the world. The tradition of making pottery can be traced all the way back to ancient civilizations. In the Renaissance, peasants would make their own potteries to sell at local markets. In more modern times the art of making pottery was used by Pablo Picasso as a method of creating sculptures when he started making ceramics in the beginning of his career. Creating pottery with children is a fun activity that everyone can enjoy. It will not only allow them to express themselves creatively but it will also strengthen their hand muscles and train them to become better at using tools and other art supplies.
What you will need:
1 – Clay
2 – Dimension or other artistic tiles, stencils and/or stamps.
3 – Plastic or paper to put down on the table.
4 – Wooden or plastic spoons for mixing the clay.
5 – Water and oil based adhesives for Decorations.
How to make Pottery:
1- With your child, work with all of the ingredients to form a ball (adding more water if needed) that is the proper size for your hand and slowly roll out the ball onto a clean table so that it can be flattened evenly.
2- Then add the tiles, stamps, and stencils to your clay so that they leave an impression.
3- Put adhesives such as water and oil based glues on top of your clay.
4- Press it down with a spoon or any other suitable object.
5- After it is set, let the child paint and decorate with colored pencils.
Check Out this Kid’s Pottery Wheel
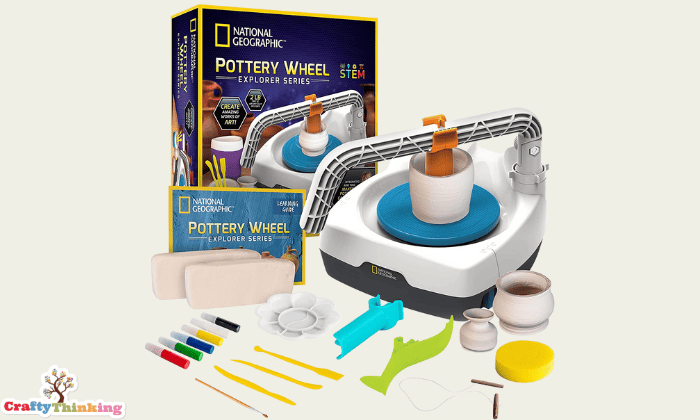
Shop Now https://amzn.to/3BvWN2q
4. Stick Figure Art
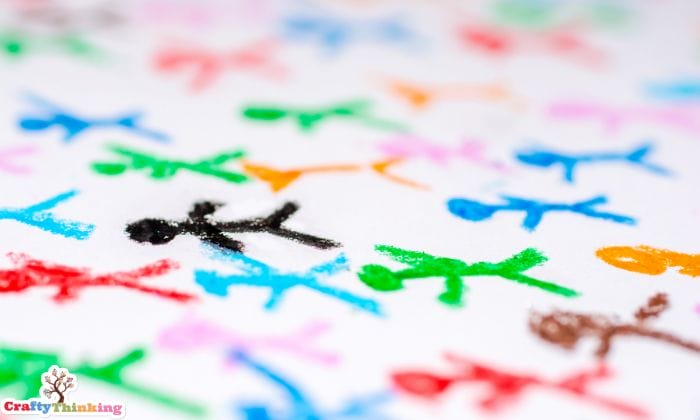
It’s easy to make your own stick-like figures. You just need to use adhesive and some imagination. They can be used for many different things, like decorations or puppet displays, or even for an art project. While the figures look simple, they are a lot of work!
What you will need:
1- A piece of paper about 4 feet long and 3 feet wide (you could also use poster boards or cardboard).
2 – Duct tape (or if you have a more advanced kind of tape like masking tape then that will work as well).
3 – Markers, pencils, or paints to decorate with.
4 – A lot of time and effort! You will need to use a ruler to carefully measure the body and head parts so that everything stays in proportion. The body should be about 6″ long and the head should be about 3″.
5- A small piece of paper or a label for the belly button (optional)
6- Crayons/paints/markers, etc. (Optional)
How to make Stick Figure Art:
1- Measure out pieces of duct tape that are 6 feet long. Make sure they are wide enough for your fingers.
2- Tape them to the floor, stick side up. They should be close together so that you don’t have to move around too much.
3- Decorate your characters by drawing simple shapes in the blank areas or by coloring in with crayons, paint, or markers. You may want to draw on the faces before you begin sticking them down, so that they are easier to stick on straight.
4 – Sticking! Start with the feet and work your way up. Use flat pieces on this part to make it easier for younger children. Keep sticking in an up and down pattern until you get to a point where your character could stand alone.
5- Once you have the figure where you want it, use the tape on the floor to cover the figure up completely.
6- Sticking one foot will be slightly different than sticking another foot. This is because feet are usually a little longer than they are wide. To make sure that they don’t move around too much, you can stick each foot down with individual pieces of tape. You can also cover each toe with a single piece of tape (for bigger ones this may not be necessary).
7 – Once your figure is covered up, let it dry for about 24 hours. It may take longer, depending on the kind of tape you use.
8 – Once your figure is dry, peel off the tape slowly! If it doesn’t come off easily, let it sit longer or try again later.
9 – Optional: If you want to make a belly button, use a small piece of paper or a label for this. Stick it onto the figure with tape and then peel off with the rest…it should stay stuck on!
10- Display them!
Check Out this Stick Sketch School
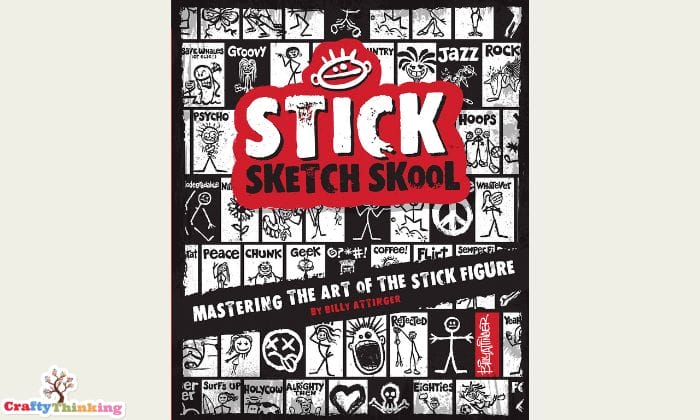
Shop Now https://amzn.to/3sQmuXS
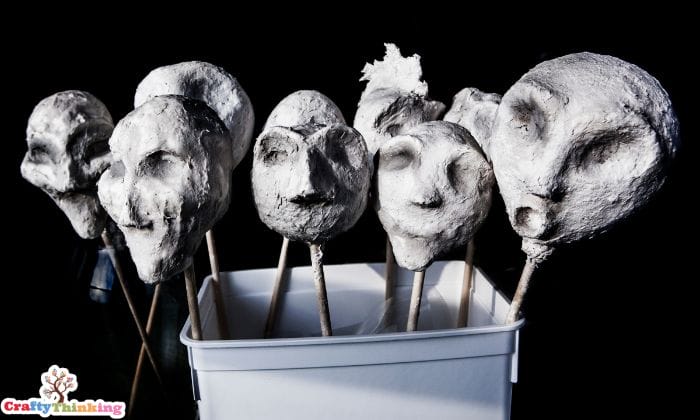
5. Clay Totem Spain Arts and Crafts
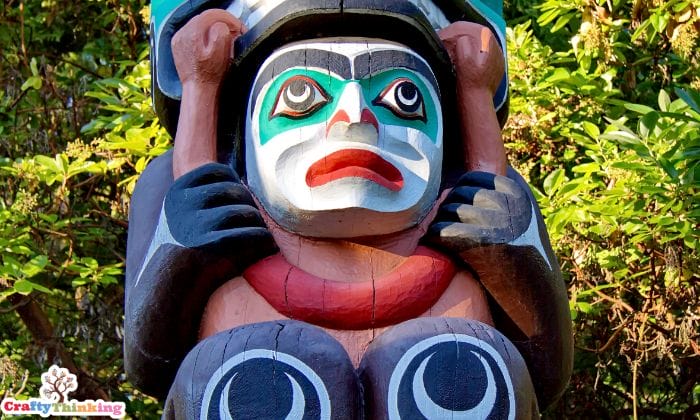
These Spanish class crafts are easy to make and fun to decorate with paint or markers. For more advanced artists and children, you can paint them any color that you want.
What you will need:
1. Clay or clay-like materials such as playdough or polymer clay.
2. Wooden sticks cut into 7-12″ pieces depending on the size you would like your totem to be.
3. Paint and paintbrushes (optional)
4. Optional: Decorative feathers, beads, and other small objects to glue on the totems for decoration or give them a more authentic look (just make sure not all of them can be knocked off easily).
How to make Clay Totem:
1- If you want to decorate your totems with small objects then start doing that now with the paint, beads, and feathers. You can also try adding a decorative design in the middle of each totem if you would like. If you want to paint them with paint, then this can be an option for the end step when your totems are dry. If you would like to just add on items to decorate them after they have been completely dry, then you are good to go!
2- Once each totem can stand on its own without being knocked over or falling over easily, glue your small pieces of wood onto them with hot glue.
3- After the totems are completely dry, use a glue gun or pipe cleaners (or other wire) and hang up your totem poles. Paint or Ikea hacks with paint and decorate as desired. You can also add feathers, beads, or other small decorations to the top of each totem.
Tips:
– If you would like your sticks to be uneven, then you can try cutting them with a x-acto knife at a slight angle.
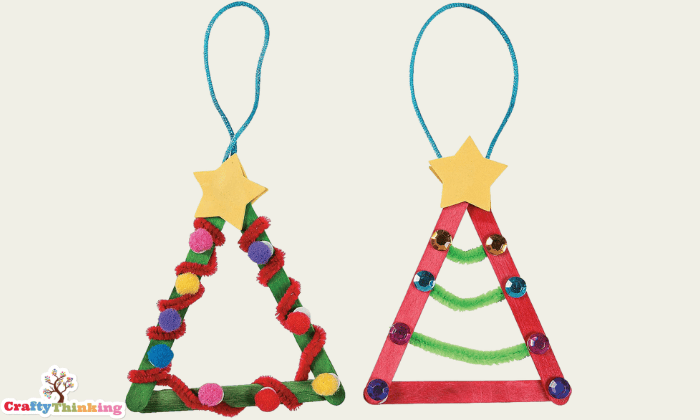
6. Wood Popsicle Stick Ornaments
Wooden popsicle sticks are so easy to make and they look great when decorated! You can decorate them with paint, glitter glue and embellishments if you wish. If your child hasn’t tried gluing before this is a good opportunity to practice the technique and get used to using all of the different glues that are available.
What you will need:
- Wood Popsicle Sticks (any color)
- Glue (see below for options!)
- Paint and paintbrushes (or other art supplies)
- Popsicle sticks or other round objects that can be decorated (optional) You can use decorative paper, stickers, glass beads, buttons, and other various items to decorate these ornaments with.
How to make Wood Popsicle Stick Ornaments:
1- Decorate your wood popsicle sticks or other round objects with acrylic paint using a paintbrush. If you would like to add embellishment then do so now. Try using paper, stickers, beads, or other objects. You can also glue on a small piece of paper or a label to the back.
2- Let your ornament dry and then paint over it with glue (for popsicle sticks I would recommend white glue).
3- Once the first coat of glue is completely dry you can add on another coat if you would like. You could also use other types of glues like Mod Podge for a shiny finish and glitter spray if you want something shiny AND sparkly!
4- Let them dry completely for about 24 hours before hanging them up!
Tips: – You can make circles to attach to your finished piece as well if you would like.
Check Out this Craft Stick Ornaments
Shop Now https://amzn.to/3I7jKf4
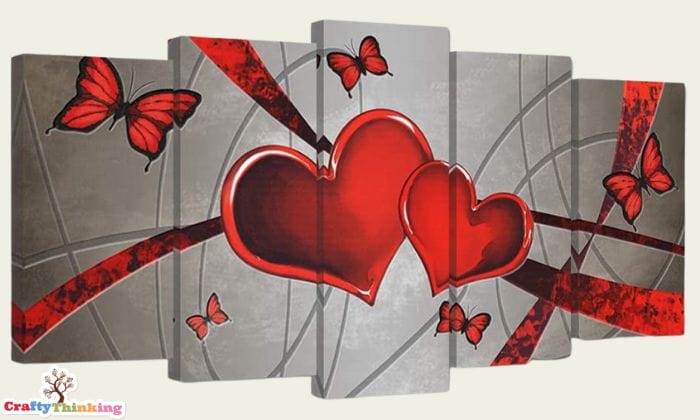
7. Heart Art
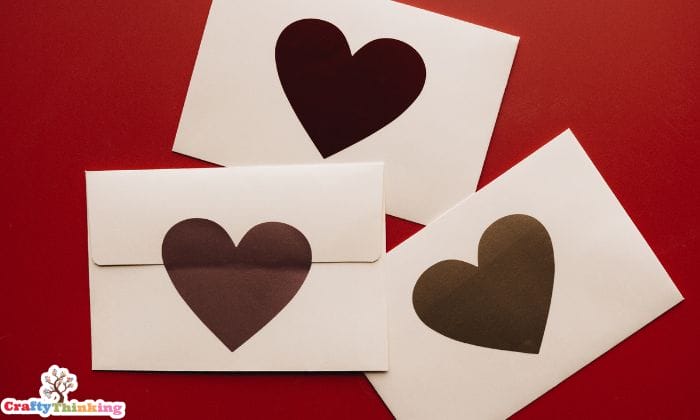
This is among some great arts and crafts Spanish culture project ideas for Valentine’s Day, but it can be done at any time of year. All you need are simple heart shapes and paint. If you would like to do something more decorative, then you can cut out heart shapes out of paper and make them the same way.
What you will need:
-Paper or cardboard heart shapes (see tips below)
– Paint (optional)
– Paints can be painted on with paint brushes but if your child hasn’t done this before I would recommend starting with crayons. You could also use Mod Podge or glue for a shiny finish (or both).
– Water or Glue (optional)
How to make Heart Art:
1- Start by painting the heart shape with paint or crayons. You can also use glue if you would like.
2- Let the hearts dry and then paint them with water. If you want glitter glue as a shiny finish, add a little on first and then let it dry completely before doing all of the other lights.
3- Let them dry completely and then add light bulbs to the center of your heart. You can glue or tape on some rope lights as well if you would like.
4- Now you are ready to hang up your hearts! You can also cut out little hearts out of paper and paint them before hanging up as well.
Tips: – If you would like, you can print out your own simple heart shapes (you can find free ones here) and paint them with craft paint or crayons instead of using a cardstock heart shape. This is an easier option if you don’t want to print any out yourself!
Check Out this 5 Piece Heart Canvas Wall Art
Shop Now https://amzn.to/3GYJBnT
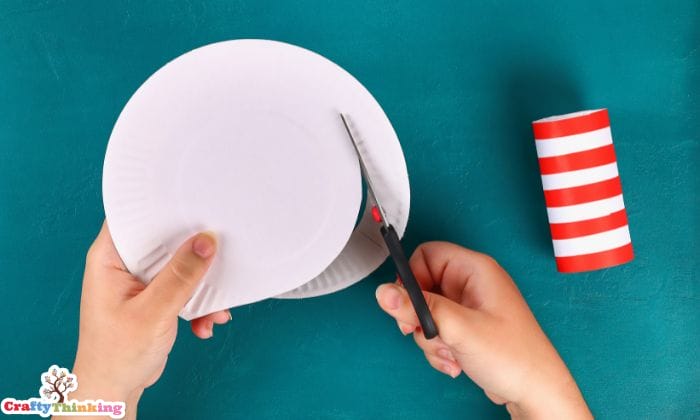
8. Paper Plate Art
What you will need:
1. Paper plates
2. Markers, crayons, or paint (or Mod Podge as a shiny finish)
3. Optional: Decorative items like feathers, stickers, and small objects to decorate your art with (you can also use stickers or labels to color the plate if you want). You could also try gluing on some decorative paper around the edge or in the middle of the plate.
How to make Paper Plate Art:
1. Start by coloring your plate! If you would like a shiny finish, add on a coat of Mod Podge after all of your coloring is done.
2. Next, you will simply draw on your plate using a marker or crayon. You can use any type of art medium you would like. Some options are: crayons, markers, paint, glitter glue, glitter spray (more colorful than the glitter glue), and of course traditional finger painting! If your child hasn’t done this before this is a good opportunity to have them practice using various art mediums and get used to doing simple designs.
3- Depending on the size of your plate you can draw all over it or leave some space at the top for more detail. You can also color the edges if you want.
4- Now you are ready to hang these Spanish culture crafts up on your wall! Use thumbtacks or small nails to keep it up and be careful about using anything that will poke holes in the paper plate.
Tips: – You can also make a simple frame by cutting out a rectangle from a piece of cardboard and coloring it with paint or markers before gluing it onto a larger piece of cardstock. You could also use decorative paper, stickers or other objects!
Check Out this Paper Plate Art Kit
Shop Now https://amzn.to/3h23P5O
Arts and Crafts from 5 Different Cultures
Conclusion on Spain Arts and Crafts for Kids
I hope this simple art project ideas guide has inspired your child to make some art and will get them thinking about all of the different mediums that are out there. Remember to encourage your child and help them to see that making art can be fun and is a great way to express themselves. Spain Arts and Crafts is a great place to find the perfect souvenir for your loved ones back home. From ceramics, paintings, jewelry, masks, clothing or tapestries – you will surely get something that catches your eye.
Do you have any questions about Spain Arts and Crafts for Kids If so, we encourage you to leave a comment below?