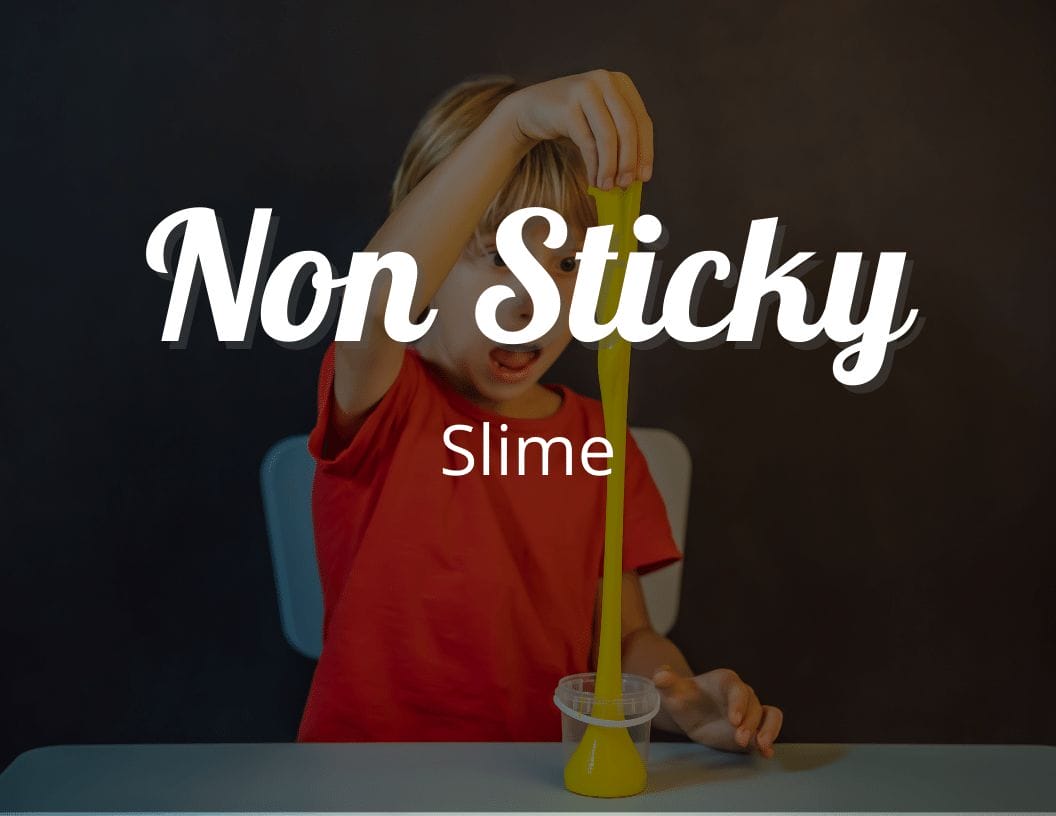
Mess-Free Fun: How to Create Non Sticky Slime in a Snap
You know how much your kids love making Slime, but the mess can be overwhelming. Every time you attempt to clean up after a slime-making session, you’re left with a sticky and gooey disaster. But what if we told you that there’s a solution to this problem?
It’s called non sticky slime, and it offers all of the fun without any of the mess. By pure coincidence, your search for an easy and stress-free way to make slime has led you here. We understand that as a parent or caregiver, you want to provide an enjoyable experience for children without having to worry about cleaning up afterwards.
That’s where non-sticky slime comes in – it eliminates the mess and allows children to have endless hours of fun. So let us guide you through the process of making non-sticky slime, step-by-step.
You might also like:
- Different Types of Slime
- Fluffy Slime
- Christmas Slime
- Halloween Slime
- Rainbow Slime
- Slime Crafts for Girls
- Mermaid Slime
- Christmas Tree Slime
- Fluffy Slime Recipe
Introduction: The Convenience of Non Sticky Slime
Imagine never having to worry about messy, sticky slime again – with non sticky slime, parents and caregivers can finally relax and enjoy the fun of sensory play without the hassle.
There are many benefits of non-sticky slime that make it a great choice for kids and adults alike. For one, it’s mess-free – no more worrying about ruining clothes or furniture. Additionally, non sticky slime is easier to handle and less likely to cause frustration during playtime.
Parents will appreciate that there are plenty of parent-friendly slime recipes available online that use safe, non-toxic ingredients. Many eco-friendly options are also available for those who want to reduce their environmental footprint.
Choosing the right activator is key in achieving a good consistency for your non sticky slime – be sure to research different options before making your selection. With so many reasons to choose non-sticky slime, it’s no wonder why it’s becoming such a popular choice for families everywhere.
Now let’s dive into how you can make your own!
Ingredients for Making Non Sticky Slime
For those worried about the mess, using the right ingredients can result in slime that won’t stick to your hands or surfaces, making cleanup a breeze. The key to non sticky slime lies in choosing the correct slime activators and achieving the right consistency.
Non-toxic ingredients like glue and laundry detergent work well as activators, but some people prefer borax or saline solution. Mixing techniques also play a crucial role in creating non sticky slime.
Kneading the mixture thoroughly before playing with it helps activate the slime and ensures that all ingredients are well combined. When it comes to color options, you can use food coloring or paint to add vibrancy to your slime.
Scented oils such as lavender or peppermint can be added for an aromatic sensory experience while playing with slime. Proper storage solutions are necessary for preserving your non-sticky slime’s texture and stretchiness factor over time, so consider storing it in an airtight container when not in use.
Slime add-ins like glitter or foam beads can also be included for added texture and visual appeal. Just remember to choose age-appropriate materials when making non-sticky slime for young children.
Now that you know what ingredients will help create non-sticky slime, let’s move on to our step-by-step guide on how to make perfect slimy creations every time!
Step-by-Step Guide to Making Non-Sticky Slime
You can create a smooth and mess-free sensory experience by following these simple steps to achieve the perfect texture and consistency for your slime.
Start by mixing 1/2 cup of clear or white school glue with your desired colorant and scent options in a mixing bowl. Gradually add 1 tablespoon of your chosen activator (such as borax solution, liquid starch, or contact lens solution) until the mixture begins to thicken and pull away from the sides of the bowl.
Next, use your hands to knead the slime until it becomes less sticky and more stretchy. If you encounter any common problems such as stickiness, stiffness, or excess moisture, try adding more activator or kneading for longer periods of time. You can also experiment with alternative activators like baking soda and vinegar or saline solution.
Once you have achieved your desired texture, store the non-sticky slime in an airtight container in a cool place for up to two weeks. Use it for various slime play ideas such as making shapes, exploring textures, practicing hand-eye coordination, and fostering creativity while providing educational benefits about science concepts like viscosity and elasticity.
To ensure that your non-stickiness lasts longer, avoid exposing it to direct sunlight or high temperatures which can cause melting or discoloration. Be sure to wash your hands before playing with it and supervise younger children who may try to eat it or put it near their faces.
With these tips in mind, you can enjoy hours of fun without having to worry about messy cleanup afterwards!
Tips for Maintaining the Non-Stickiness of Your Slime
To keep your slime from becoming sticky, remember to store it in a cool place and avoid exposing it to high temperatures or direct sunlight. This will help maintain the non-stickiness of your slime for longer periods.
Another important aspect is choosing the right activator to prevent stickiness. The best activators include borax, saline solution, and liquid starch. Mixing techniques also play a crucial role in making non-sticky slime. Over-mixing can make the slime too sticky, while under-mixing can result in lumps or clumps.
When making non-sticky slime, it’s important to choose the right type of glue for best results. Clear glue gives a transparent finish while white glue gives an opaque finish. You can also experiment with various color options and scent options to enhance your sensory experience. Texture variations can be achieved by adding different additives such as foam beads or glitter.
Common mistakes when making slime include using too much activator or not kneading enough after adding the activator which results in a sticky mess. If spills occur, clean them up immediately using warm water and soap.
In addition to these tips, there are safety precautions you should take when making and playing with slime to ensure that everyone stays safe during the activity…
Safety Tips for Making and Playing with Slime
When it comes to enjoying slime, safety should always be a top priority – so let’s take a look at some important tips to keep in mind! Firstly, make sure you store your ingredients and finished slime in safe spaces away from young children or animals.
Always clean up any spills or messes immediately to prevent slips and falls. Choosing the right activator is also crucial for making safe slime. Be sure to follow the recipe carefully and measure all ingredients accurately.
Adult supervision is highly recommended when making slime with kids, as well as ensuring safe handling of the finished product. It’s important to avoid allergic reactions by using non-toxic ingredients and checking for any allergens before starting.
Lastly, dispose of your slime properly in order to avoid harm to the environment. In conclusion, enjoy the clean fun of non-sticky slime by following these safety tips for both making and playing with it. With just a little bit of caution and care, you can ensure that everyone has a great time while staying safe!
Enjoy the Clean Fun of Non-Sticky Slime
Now that you know how to safely make and play with slime, it’s time to enjoy the benefits of non-sticky slime. With mess-free slime, parents and caregivers can relax knowing that their kids can have fun without making a huge mess.
The key to making non-sticky slime is the activator, which helps bind the ingredients together and prevent stickiness. But don’t forget about the importance of kneading! Properly kneaded slime will maintain its non-stickiness for longer periods of time.
If you do run into any common problems, like too much stickiness or not enough stretchiness, there are troubleshooting tips available to help you get your slime back on track.
With this easy recipe and simple maintenance tips, you can enjoy clean fun with non-sticky slime anytime!
Conclusion
Congratulations, you’ve successfully made non-sticky slime! Now, it’s time to enjoy the mess-free and stress-free fun that comes with playing with it.
Remember to always store your slime in an airtight container when not in use to maintain its non-stickiness.
As the saying goes, ‘the proof is in the pudding,’ or in this case, the slime. Share your creation with family and friends and see their reactions to the clean and enjoyable experience of playing with non-sticky slime.
Don’t forget to experiment with different colors and add-ins to make your slime unique and personalized. So get ready for endless hours of fun without any sticky consequences!