Fun Snowman (Winter Crafts for Kids)
What’s your favorite season?
The icy and chilly snowman winter season accompanied by the white, pure, and velvety layer of a thick blanket of snow, crystalline raindrops, and the fresh gale of cold wind, what else is left to resent this weather?
Today you will learn some cool winter crafts to embellish this season and beautify it to its fullest.
The winter arts and crafts that we have designed for you are pretty simple and fun-filled and surely you will enjoy every step. What is one of the main components of the winter season that crosses your mind when you think about it? Of course, how can we forget the graceful snowman which is as white as snow and as cool as a cucumber?
Snowman

Similarly, you will be learning how to draw a snowman using some very interesting elements and you will surely have a lot of fun.
Make sure to keep a well observe the illustration given to fully comprehend the instructions.
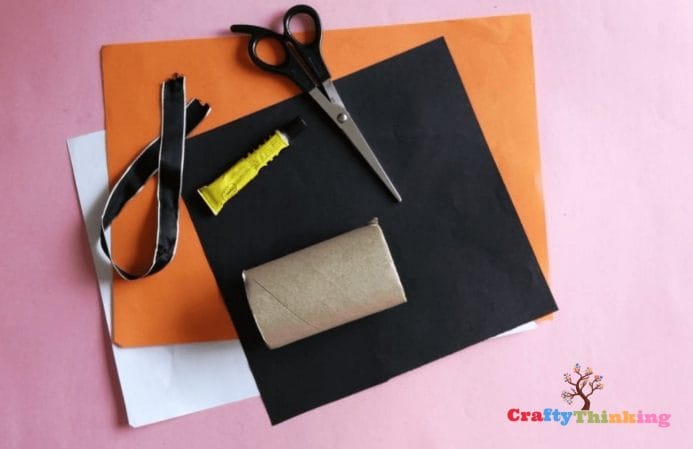
What You Need:
An empty tissue roll
A plain white paper to cover the roll (or you can even use a white empty tissue roll)
Black and orange colored sheet
Any piece of ribbon and glue
Black marker (optional)
Step 1:
For the first step, cut the white paper according to the roll’s size. Apply glue to the paper and later we will stick them together.

Step 2:
Now wrap the white sheet around the roll. If you already have a white roll, you are quite lucky as you won’t have to do the wrapping part. Snowmen are white and so we have asked you to wrap the roll in white. This snowman is going to be simple to make so you are going to have plenty of joy.

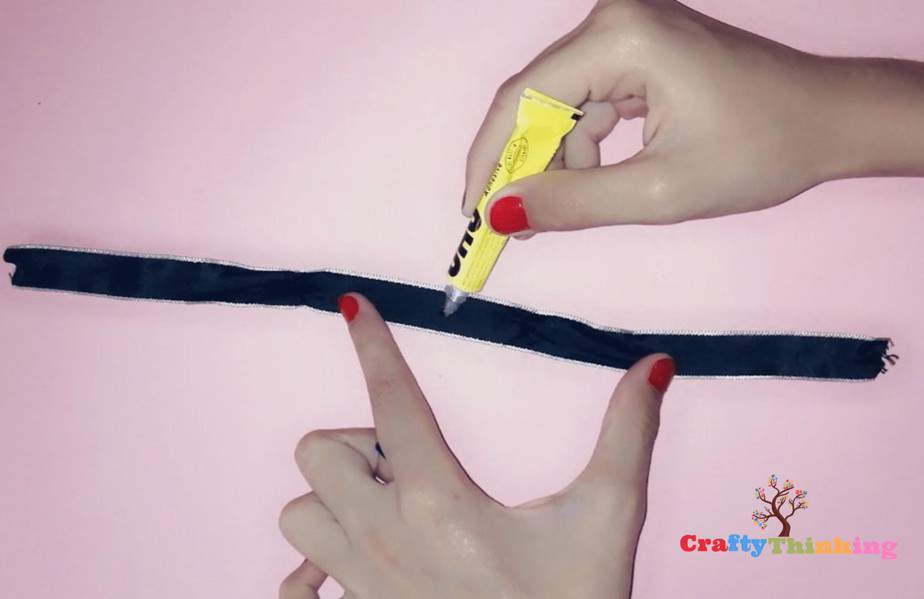
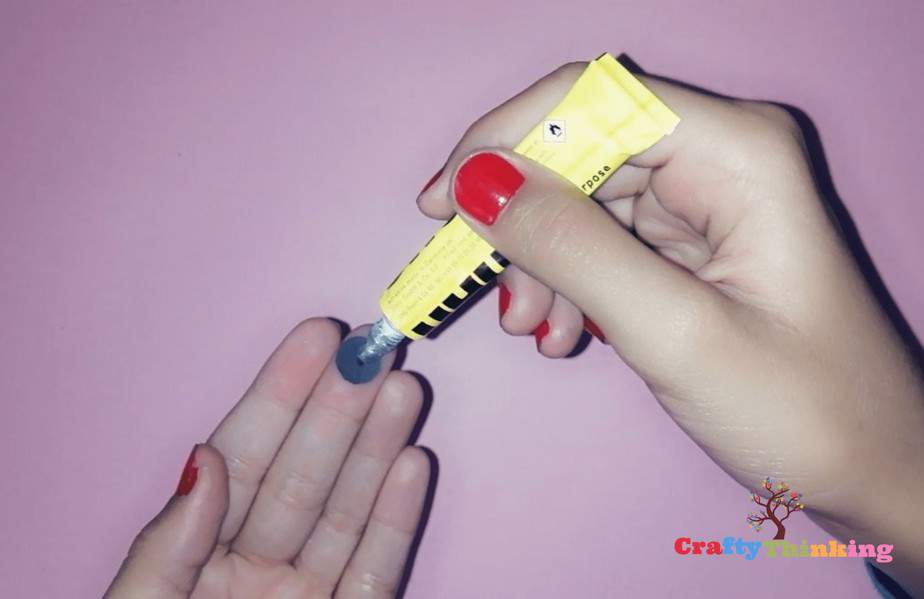
Step 3:
Now grab the ribbon and add glue to it.
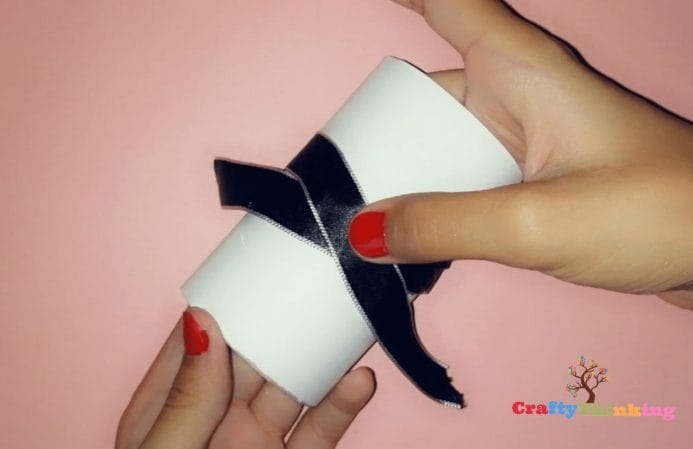
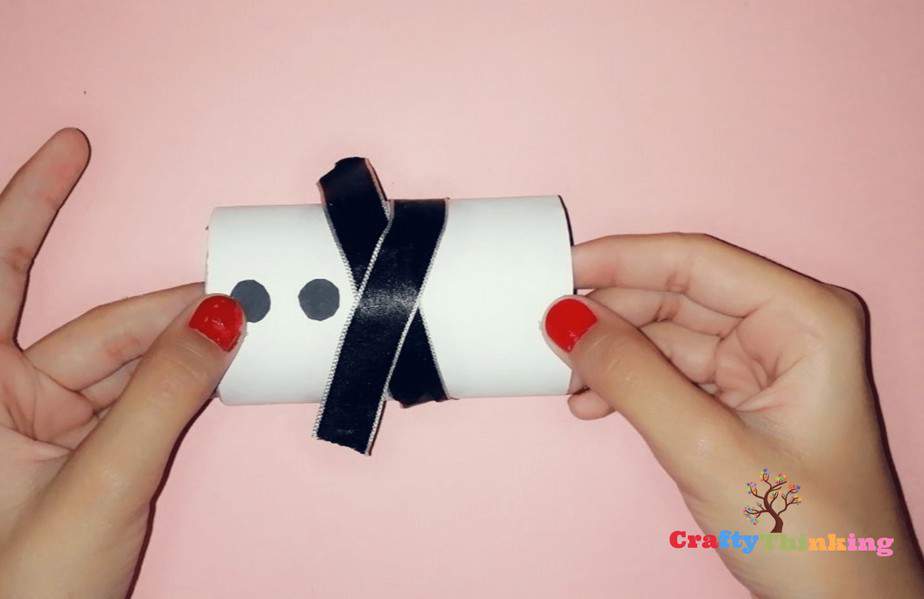
Step 4:
Stick the ribbon onto the roll proportionally, leaving space below to add buttons and above for adding eyes and a nose. The two ends of the ribbon should be crossing each other and you can cut the ribbon so that it does not look extra long.
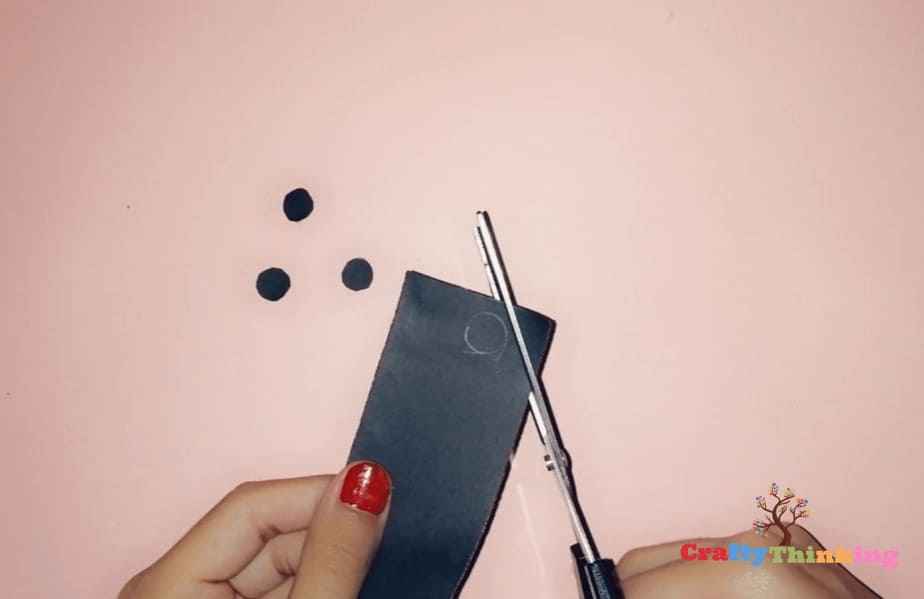
Step 5:
Now it is time to use the black piece of paper to make eyes and buttons to make our snowman even cuter. If a black paper is not available then you can use a black marker to draw the eyes and two buttons. If you want to make it look more realistic, you can add actual buttons of black color. We will be using these circles later in the steps.
Step 6:
Now add glue to the black circles so we can attach them to the roll. The snowman is going to turn out great being made by you artists!
Step 7:
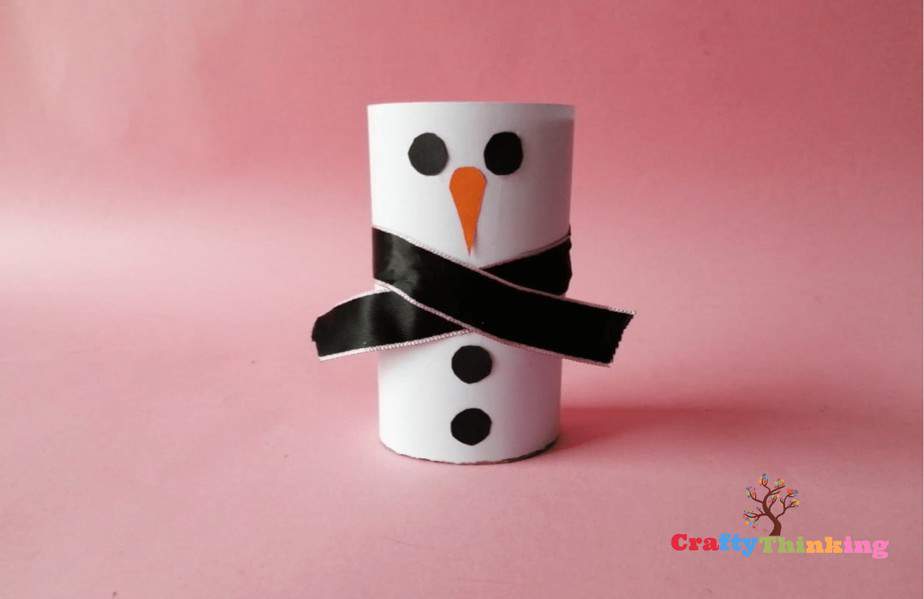
Take two of the black circles and add them below the ribbon, vertically like shown in the illustration. This is already forming an adorable snowman which can later on even be turned into a snowman by adding a solid and supportive base. You can also add the eye to the snowman proportionally.
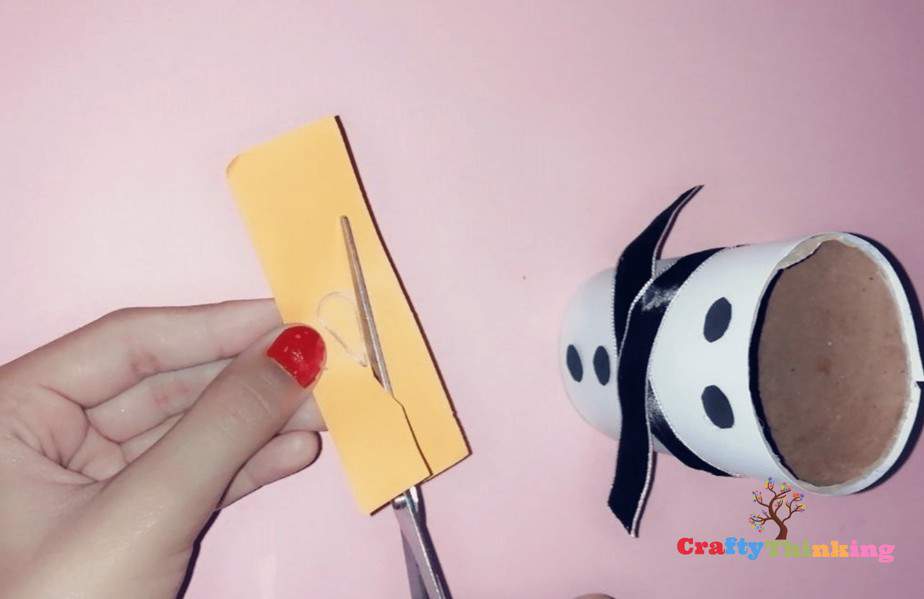
Step 8:
Now fetch the orange sheet and carve out a carrot shape without leaves. It should slightly triangle with its above side round.

Step 9:
Now cut out the shape you drew on the orange paper in Step 8. This will be the nose but it does not need to be perfect in shape and when you cut it.
Congratulations! You have finally mastered how to design these DIY, easy winter crafts.
Remember to keep on checking back for more amazing tutorials like these.
If you like this article and would like to know more, please comment below.