How to Draw a Peanut Step by Step with Free Peanut Printable
Do you like peanuts? How about drawing them? Today we’re going to learn how to draw a peanut! It’s really easy, and fun too. Let’s get started!
Here are some other things you might like.
Supplies Needed for the Chain Printable
1. Free Printable Chain Template
Peanut Drawing Tutorial Video
Draw a Peanut Step by Step Instructions
In this blog post, we’ll show you how to draw a peanut step by step! This is a great activity for kids and art teachers.
Peanuts are a delicious snack, and they’re also fun to draw! Let’s get started!
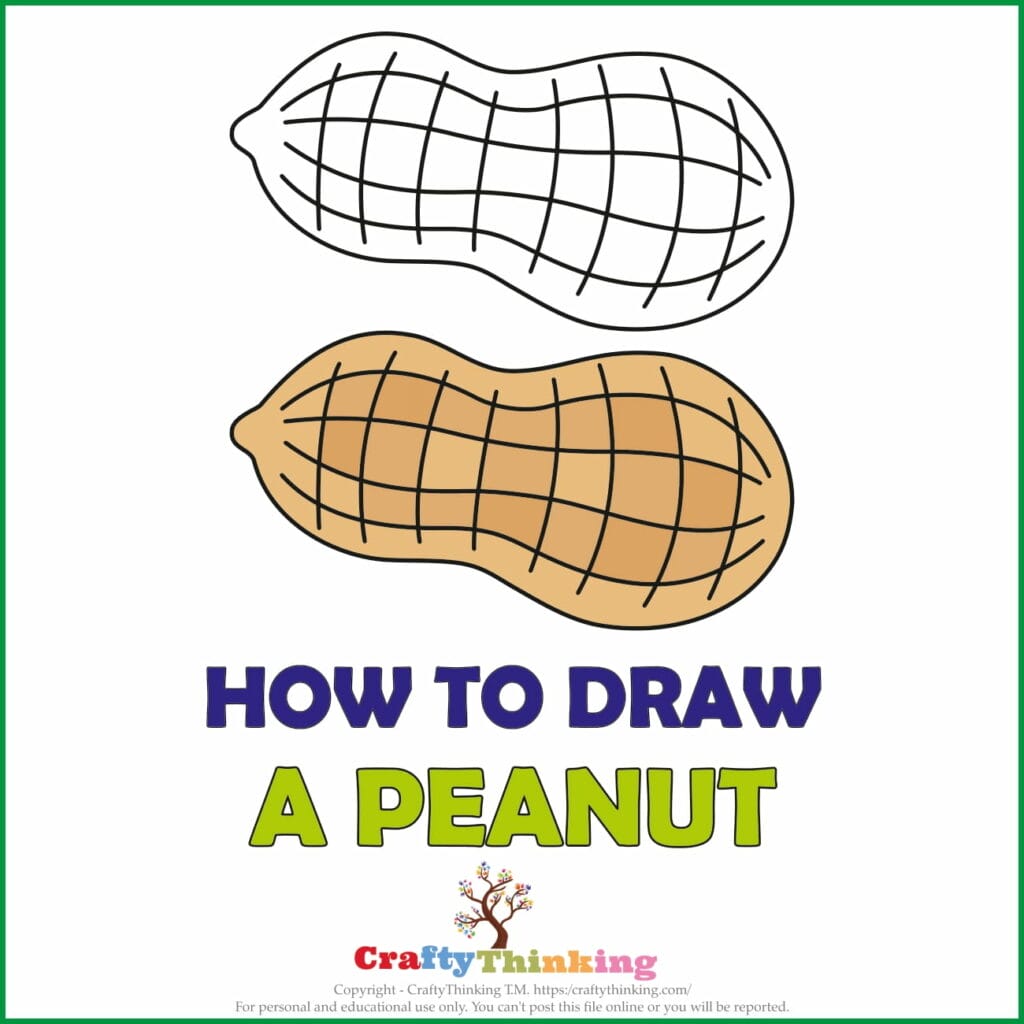
How to Draw a Peanut Step by Step
-
First, we draw a curved shape line.
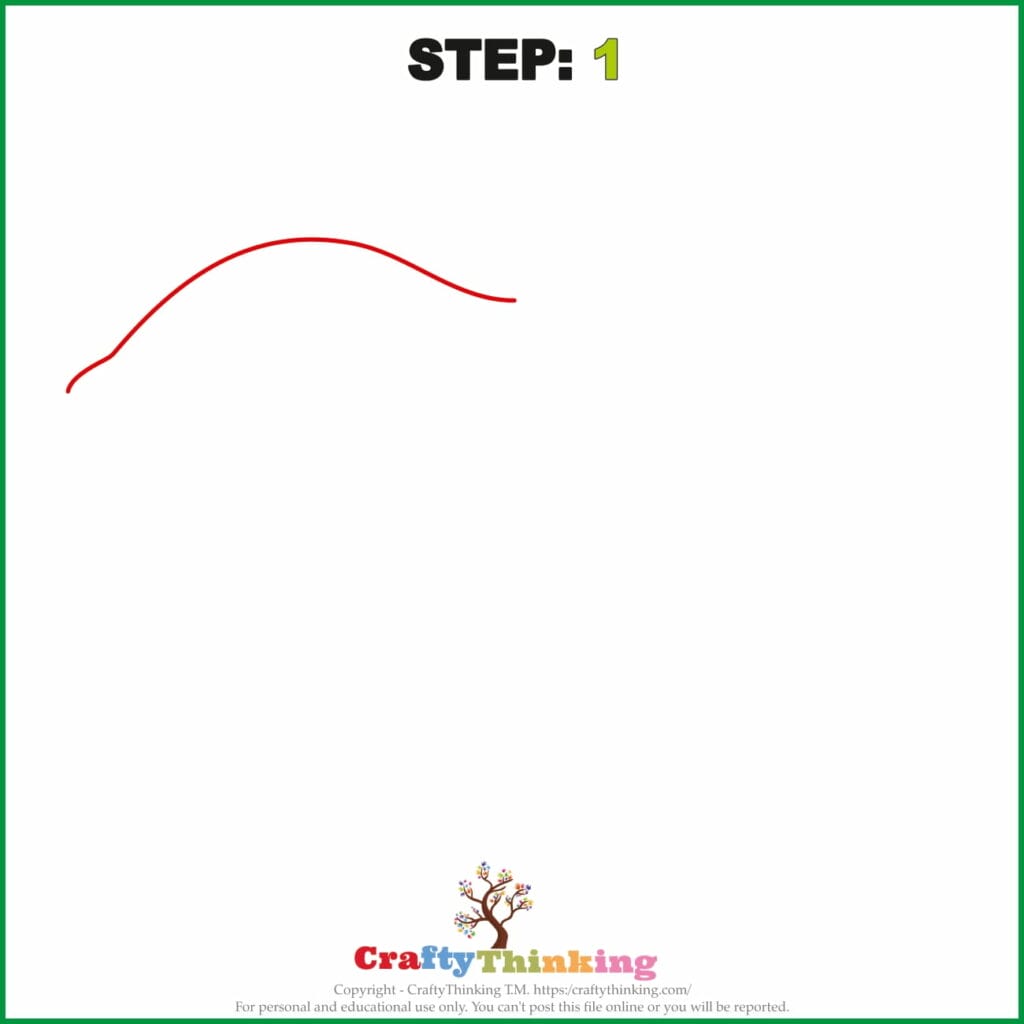
As you can see, this figure is asymmetric. Try to make the lines as smooth as possible, avoiding torn and broken edges and shapes.
-
Now we draw another line.
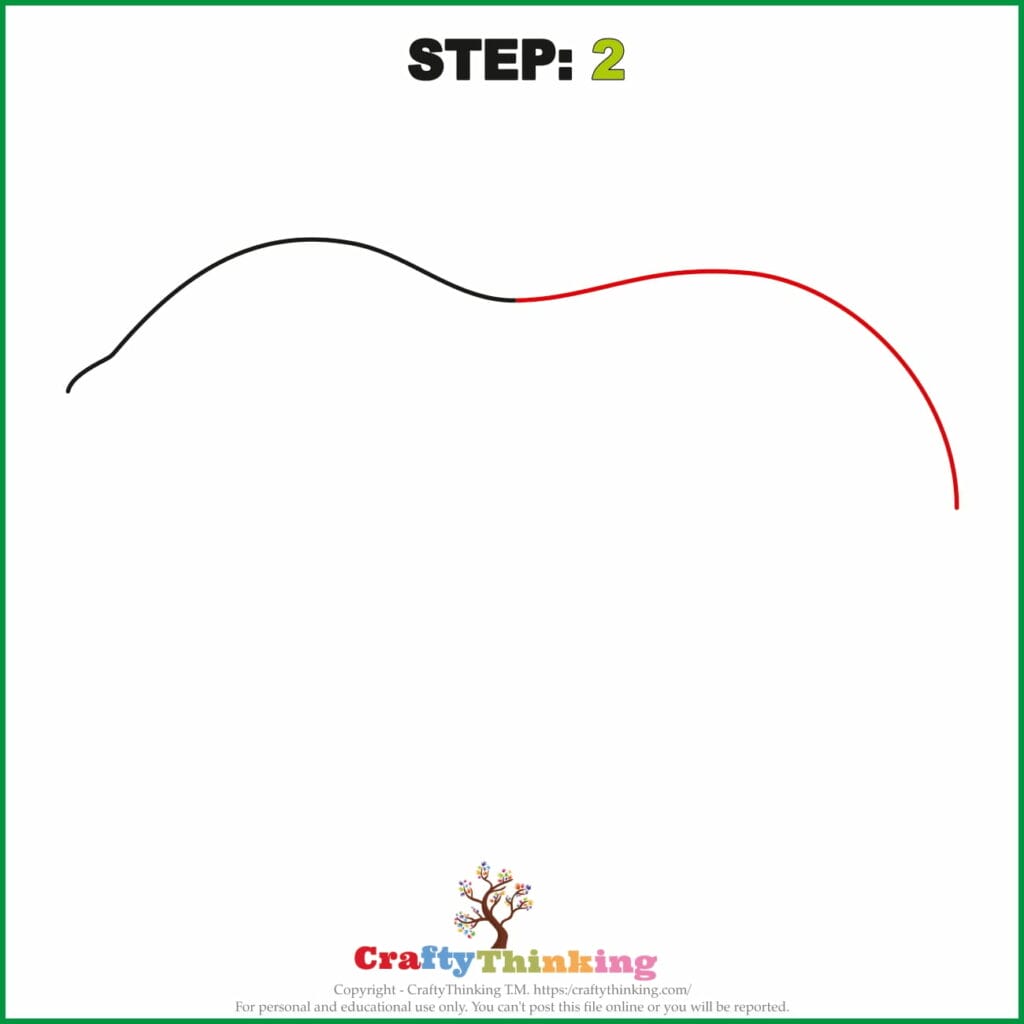
The same as the first and attach it with the first line.
-
Draw the third curved line.
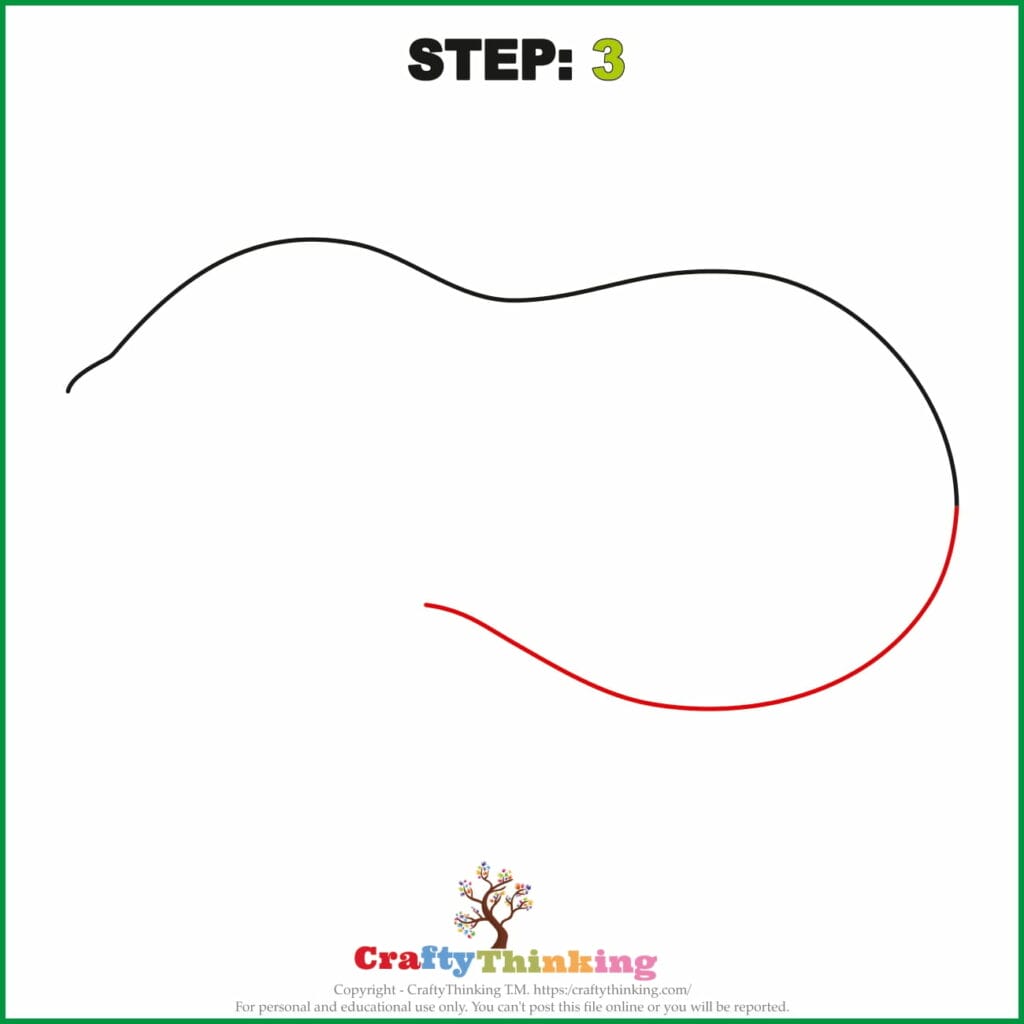
At the end of the second line, we will draw the third curved line to make the peanut shape prominent.
-
Complete the outer shape.
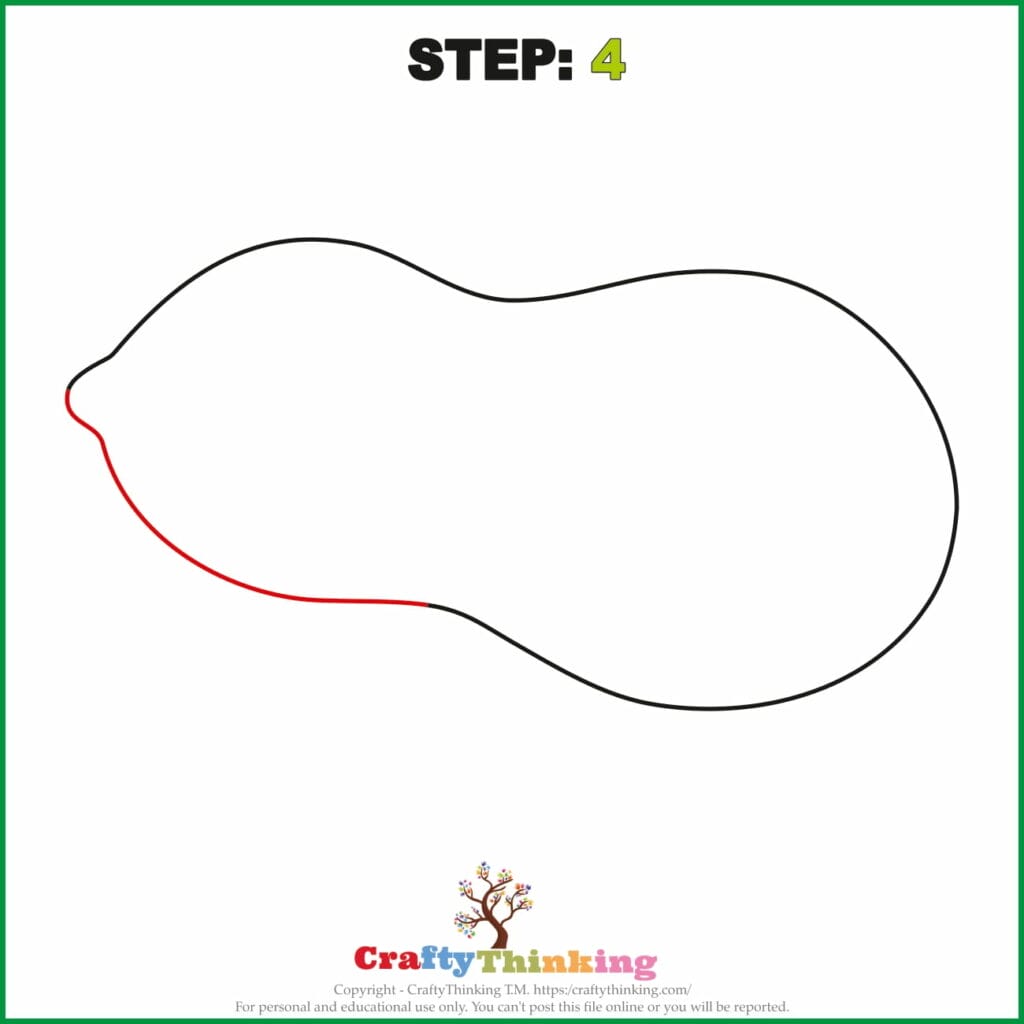
We will complete the outer shape of the peanut with the fourth curved line.
-
Now let’s work on the texture.
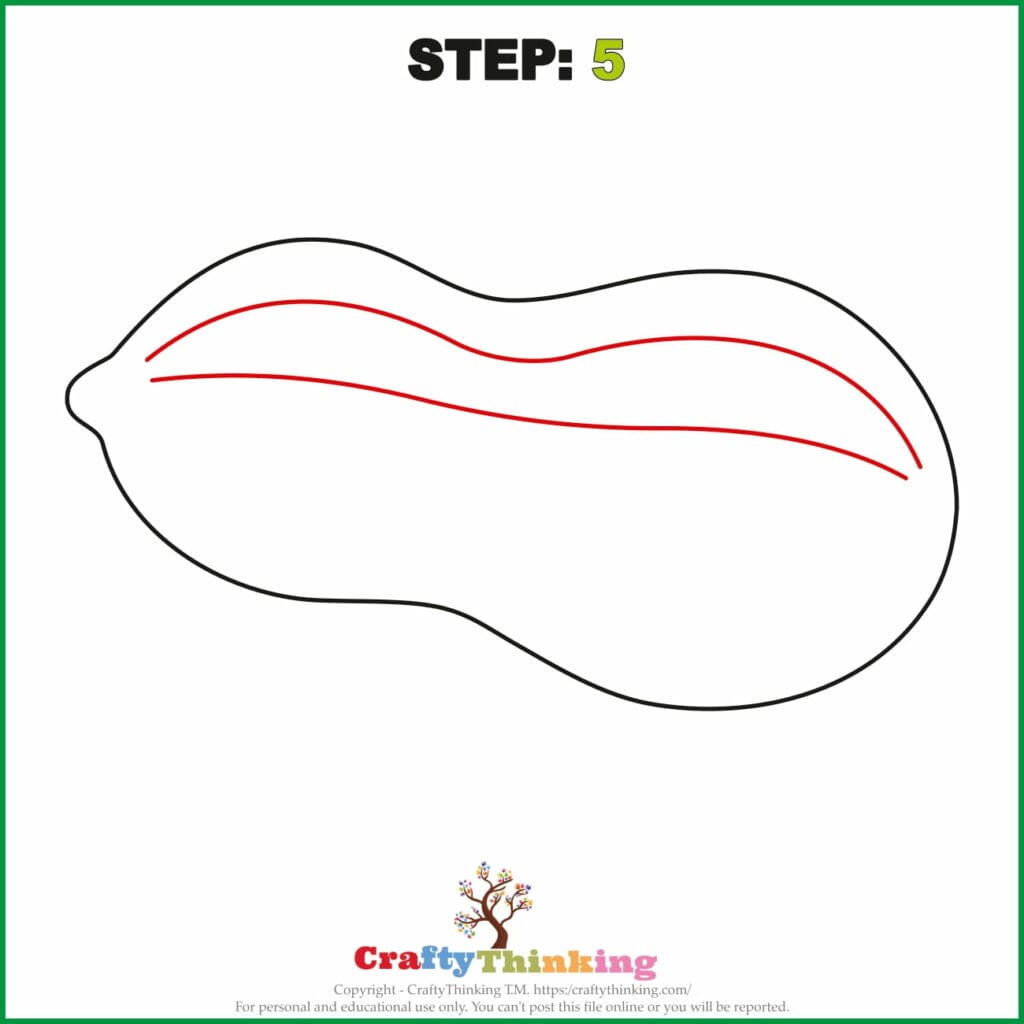
It’s much easier than it looks. We draw long wavy horizontal lines on the upper part of the peanut.
-
In the lower part of the peanut.
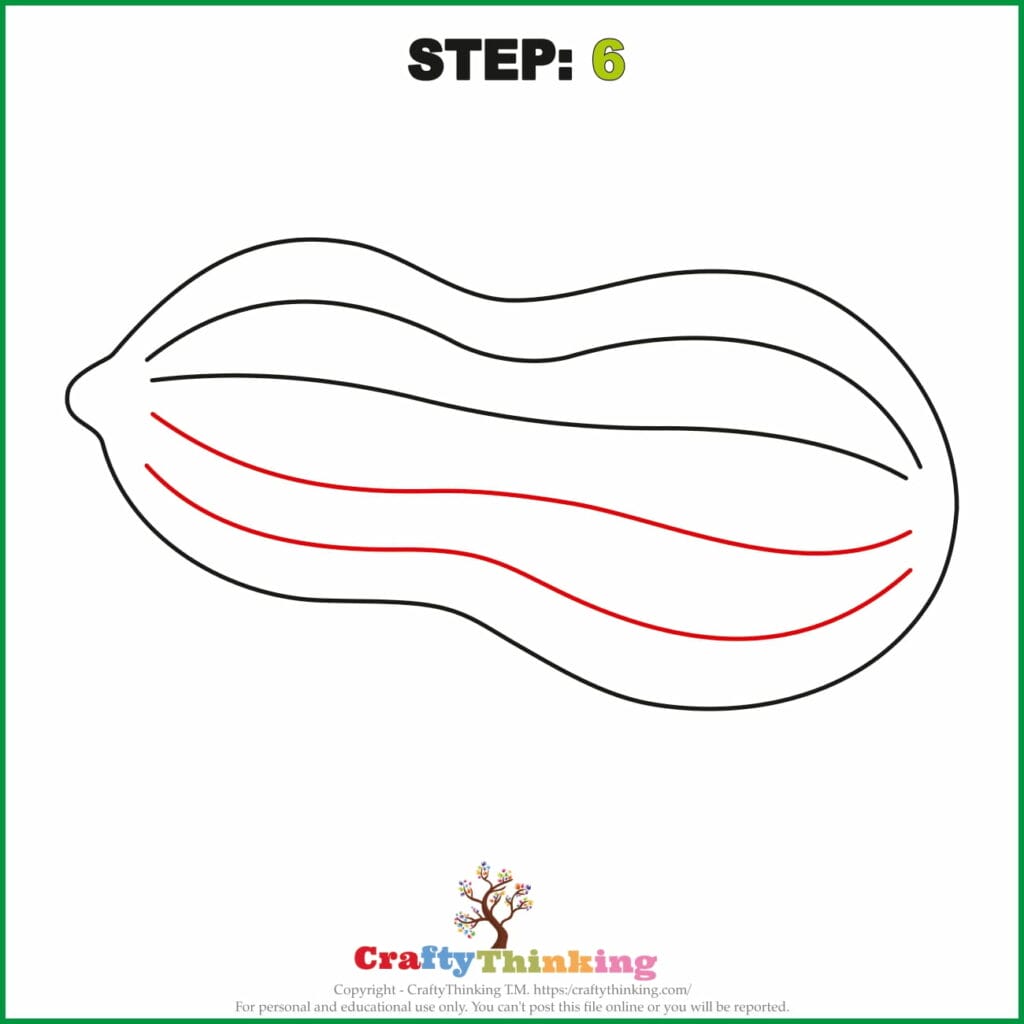
We will work the same wavy horizontal lines that we have drawn on the top.
-
Draws short vertical lines.
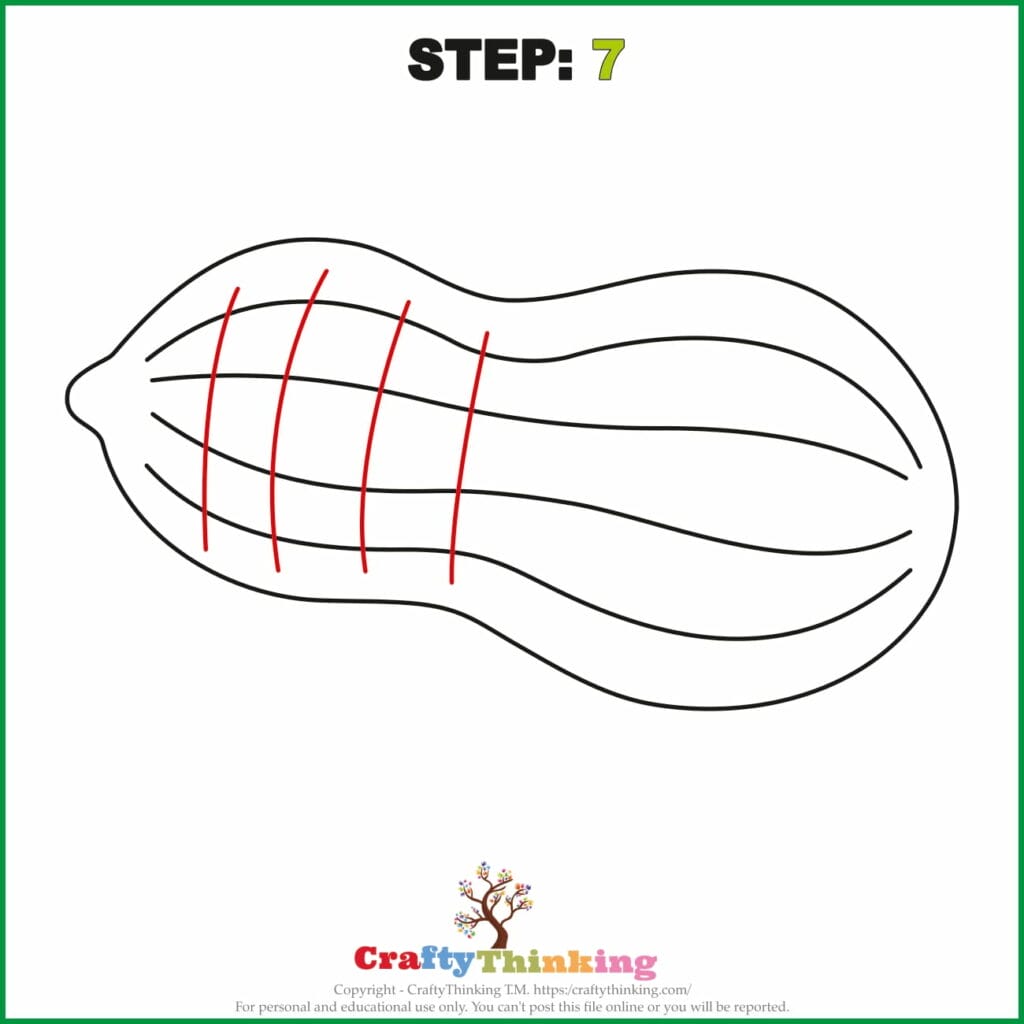
Draw short vertical lines between the peanut with a slight curve.
-
Continue to draw.
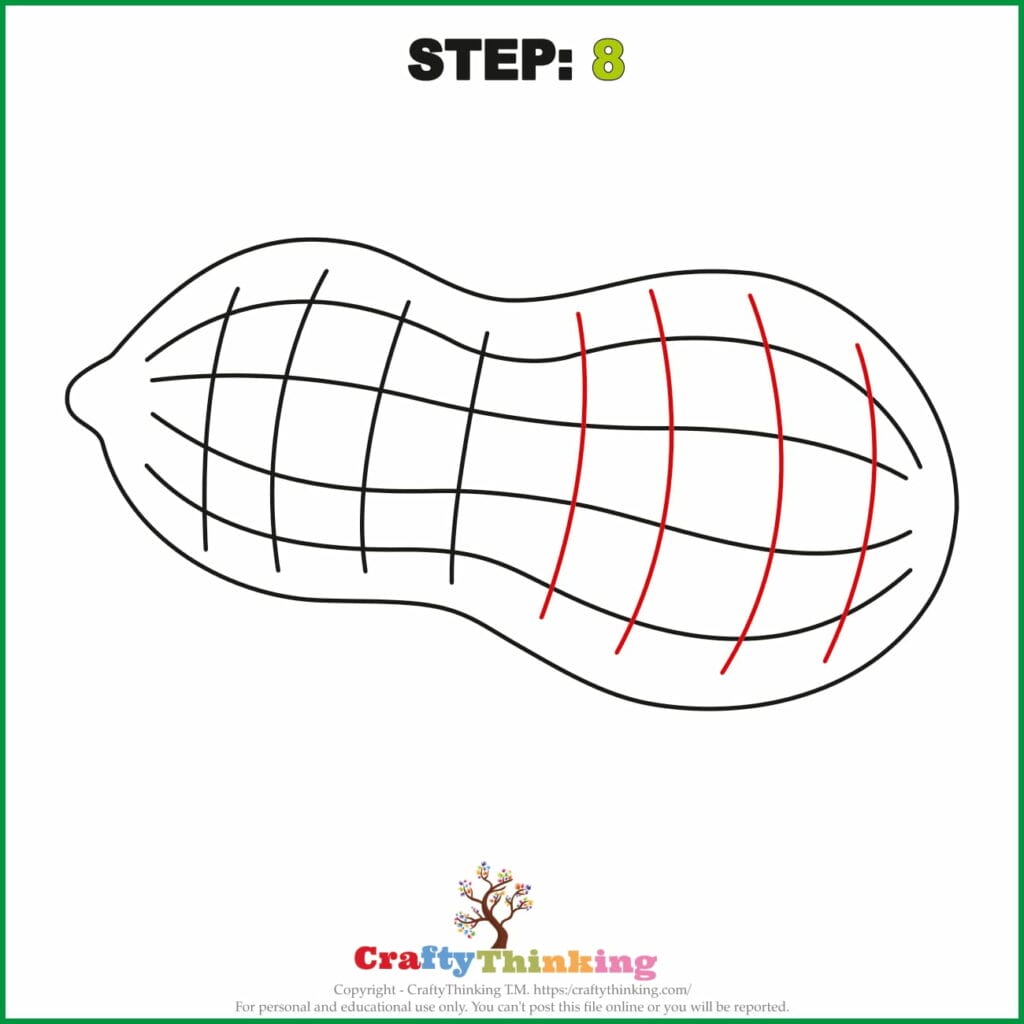
We will continue to draw our peanut image with the short vertical lines.
-
Double check.
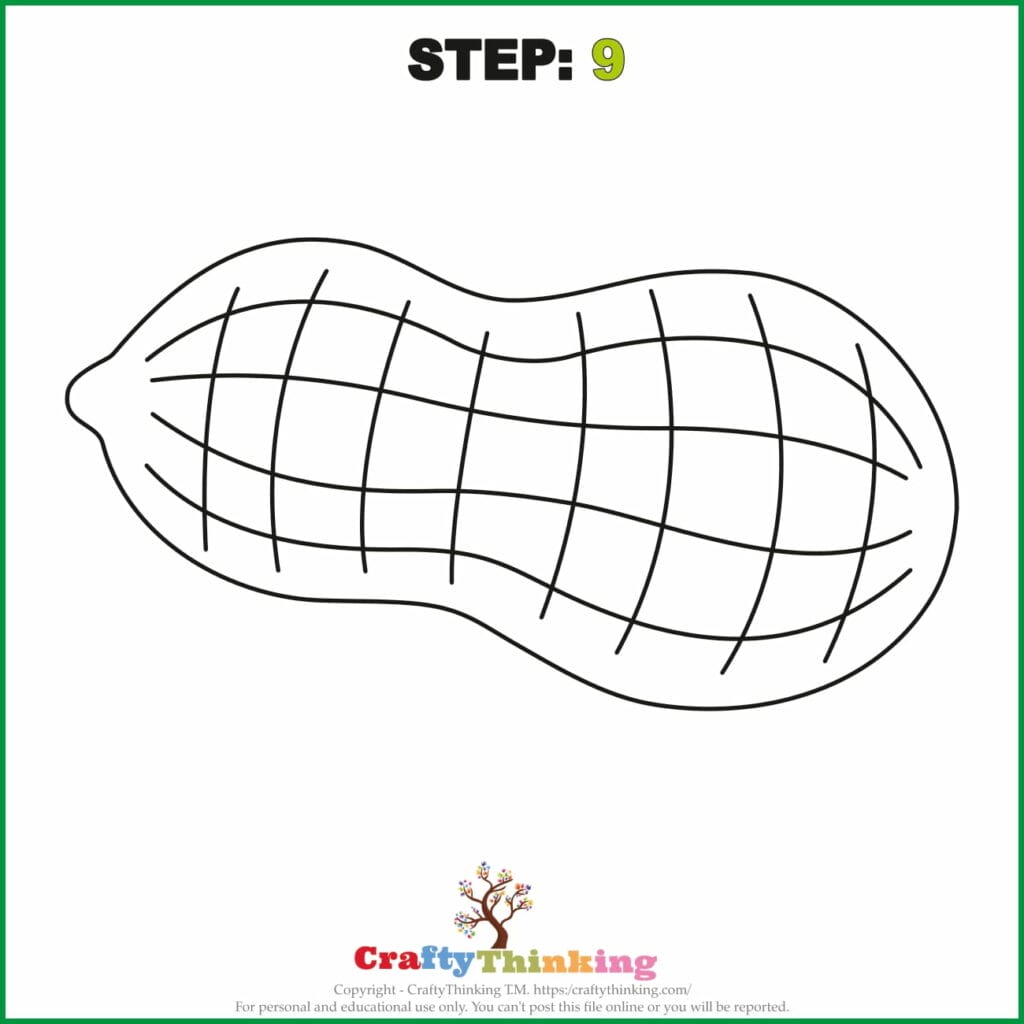
Check and see if your picture look like this.
-
Color the Peanut in.
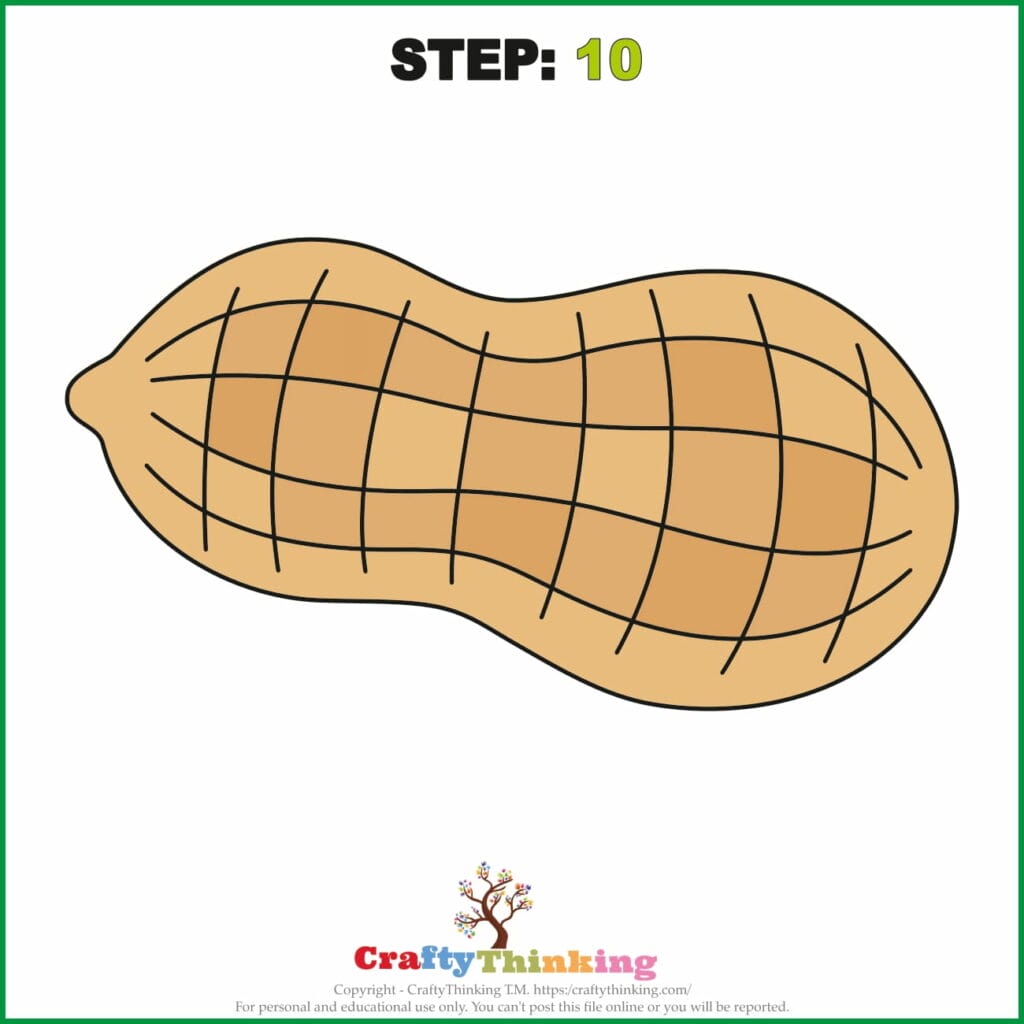
And in the last step, as always, we use color. Please remember to draw some simple shades on the surface not to give the appearance of an object suspended in the air.
Estimated Cost: 2 USD
Tools:
- Crayola Markers
- Colored Pencils
Materials: Free Peanut Template Drawing Paper
Congratulations!
You have successfully learned How to draw a Peanut.
Free Printable Peanut Template
Enter your email below to get your
Free Chain Printable and join our Newsletter.
What is a peanut?
Peanuts are a type of nut that grows underground. They are encased in a hard shell that protects the nut from predators and the elements. Peanuts are a popular food source for both humans and animals, and they are used in a variety of products, including peanut butter, candy, and oil. Peanuts are high in fat and protein, and they contain several essential vitamins and minerals.
Bottom Line About How to Draw a Peanut
That’s it for today! I hope you enjoyed learning about peanuts and how they are drawn. If you have any questions or comments, please feel free to leave them below.
I love getting feedback from my readers, so don’t be shy! And if you liked this article, please share it with your friends and followers. I appreciate your support!
If you like this article about Draw a Peanut and would like to know more, please comment below. Like and Share!