

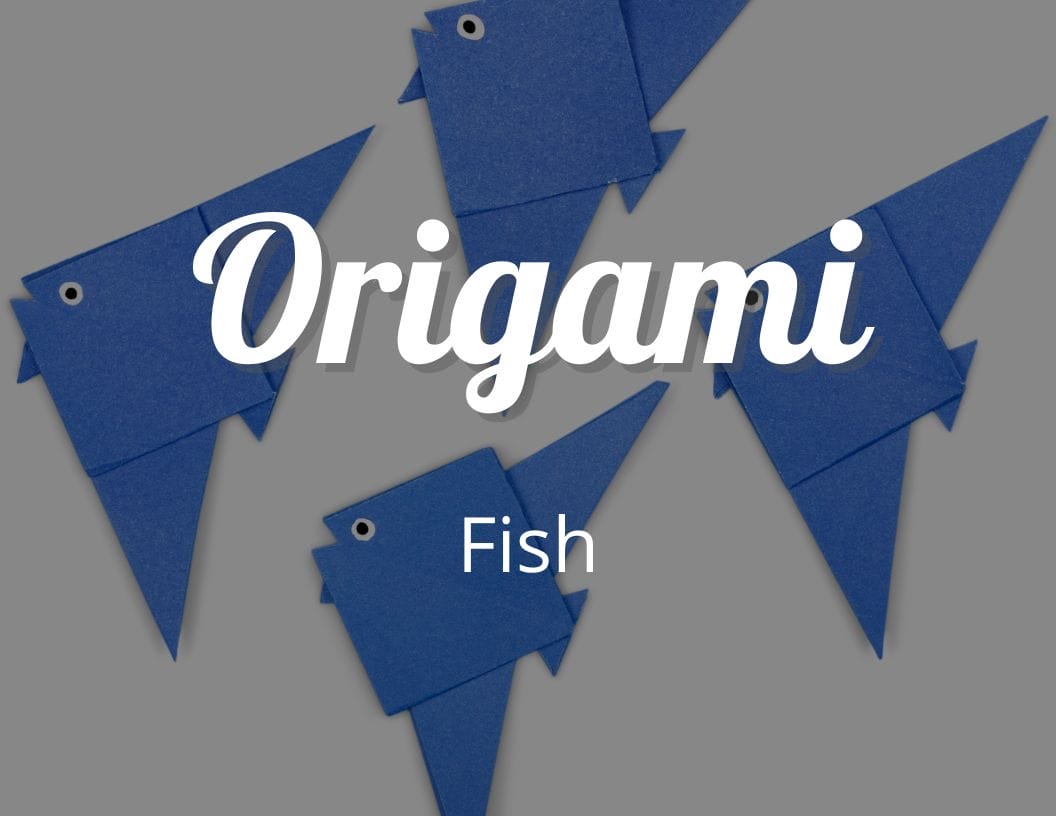
How to Make a Fun Paper Origami Fish
Kids love origami crafts because they are simple and fun to make, and the instructions are easy to follow. Origami fish is one of the cutest crafts kids would love to make. What’s your favorite origami animal? If it’s a fish, then this blog post is for you!
I will show you how to make an origami fish. This project requires a lot of patience, and the final product looks cool! Let’s get started with the instructions.
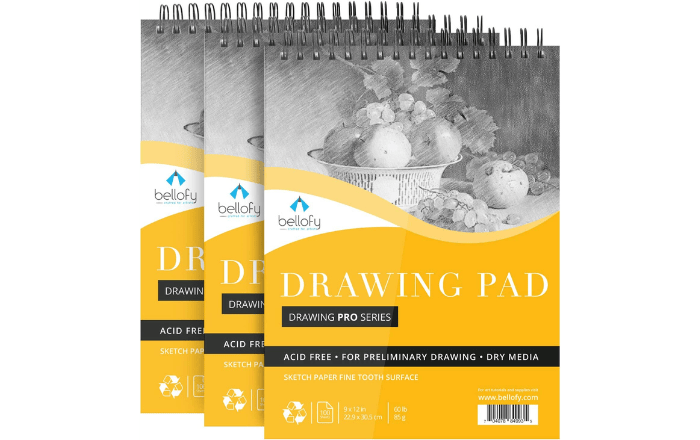
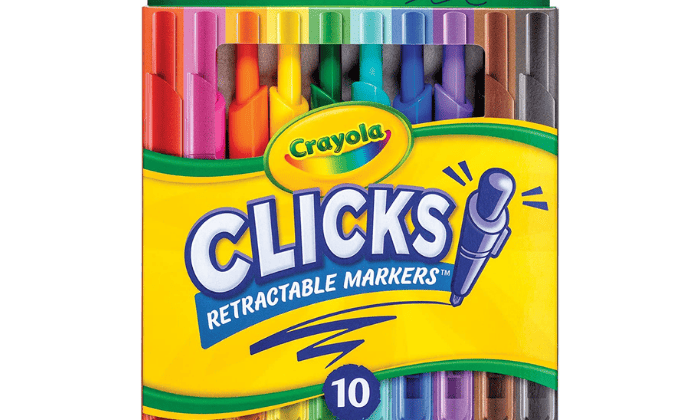
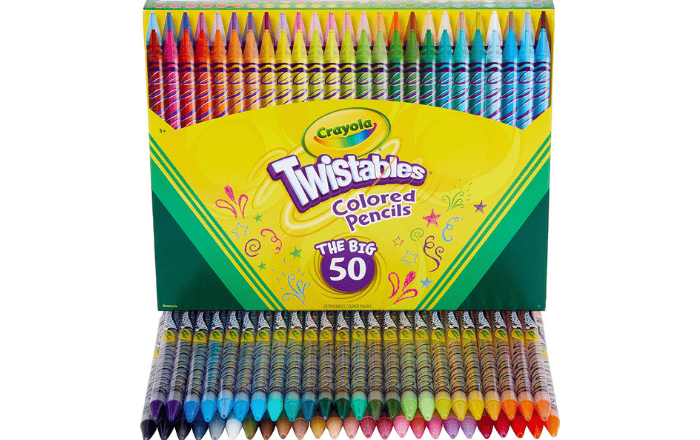
Supplies Needed for the Paper Fish Origami
If you love Origami, then click the links below!
- What Is Origami?
- What Does Origami Mean?
- The Wonderful History Of Origami Drawing
- Origami Easy for Kids
- Fun Easy Origami
- Birthday Origami Ideas
- 30 Origami Animals
- 25 Cool Origami
How to make an Origami Fish Step by Step
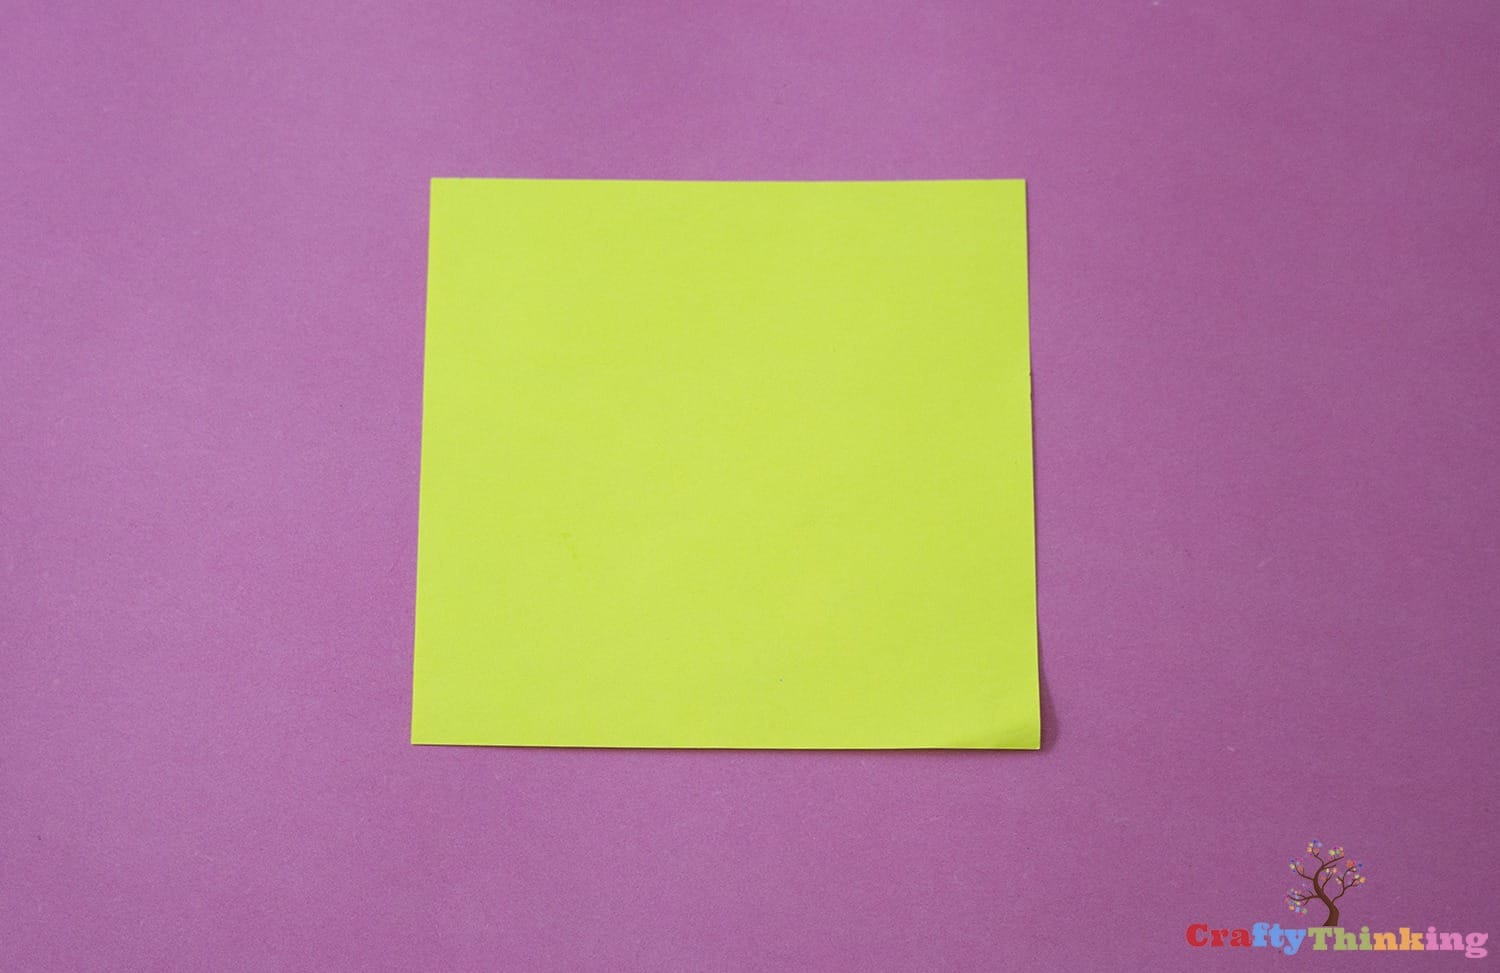
Step One
Take a square piece of paper and fold it diagonally from both sides.

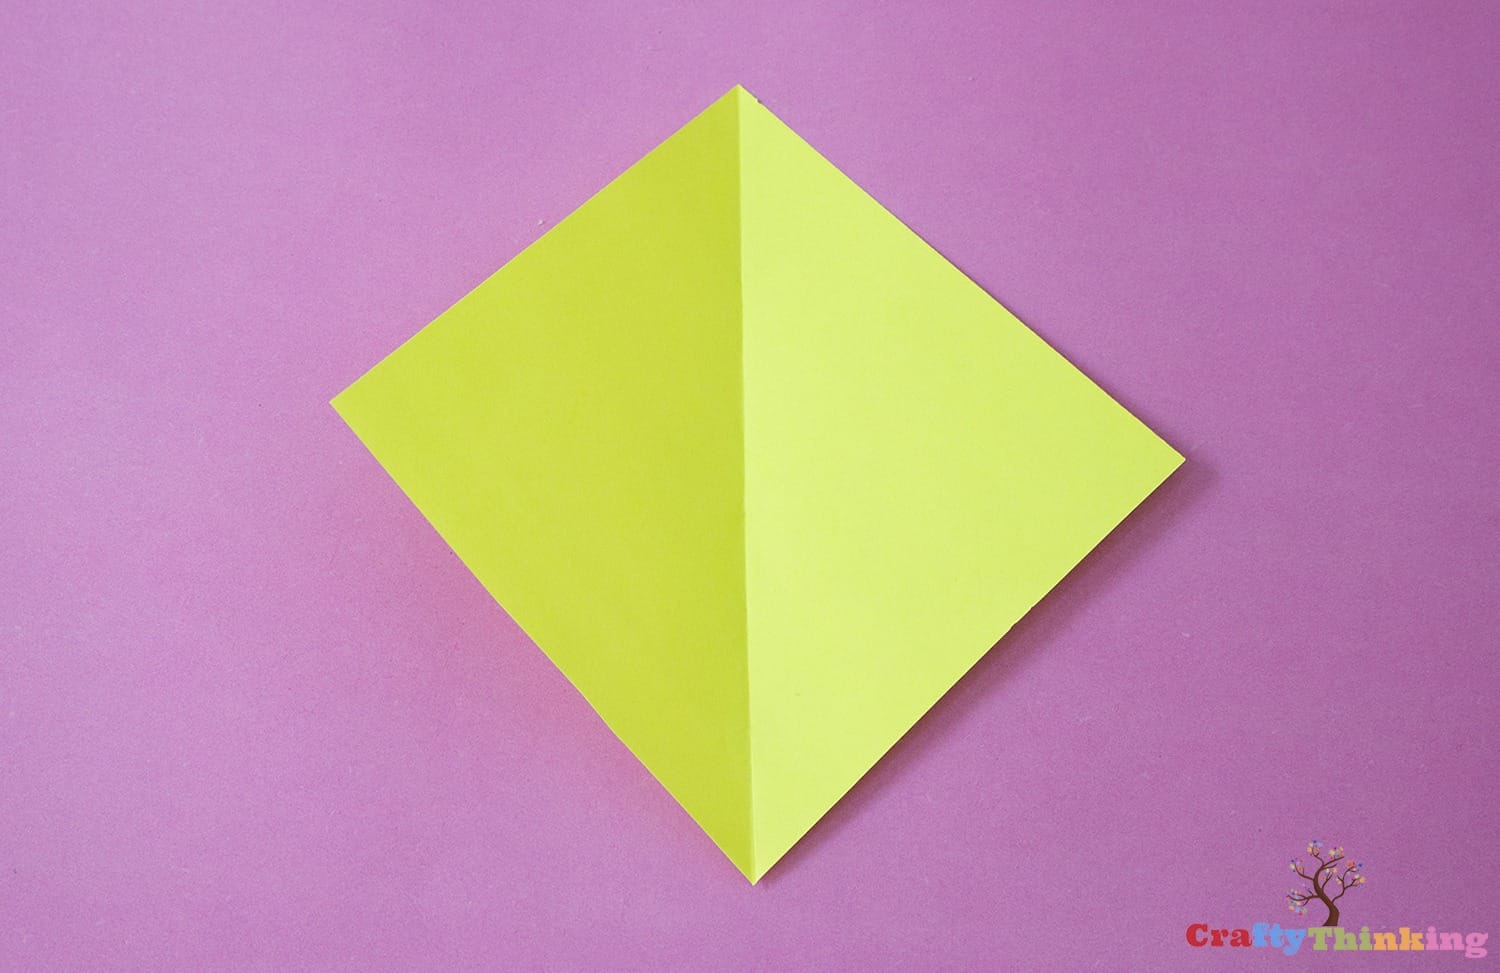


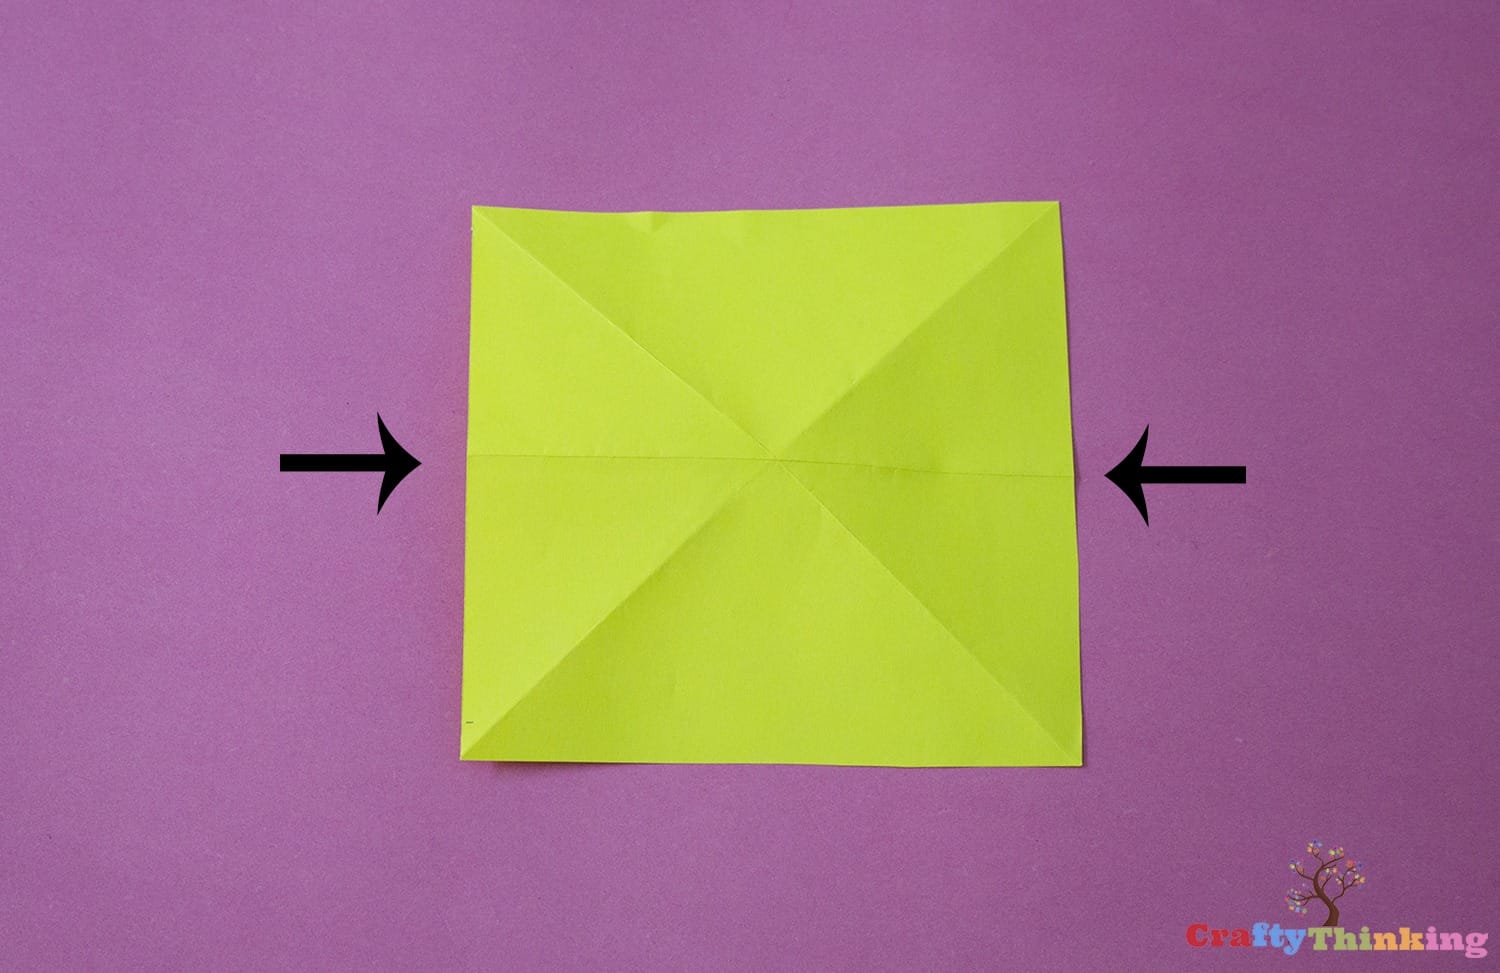
Step Two
Then fold in half. Make sure to crease well and then unfold as showing below.
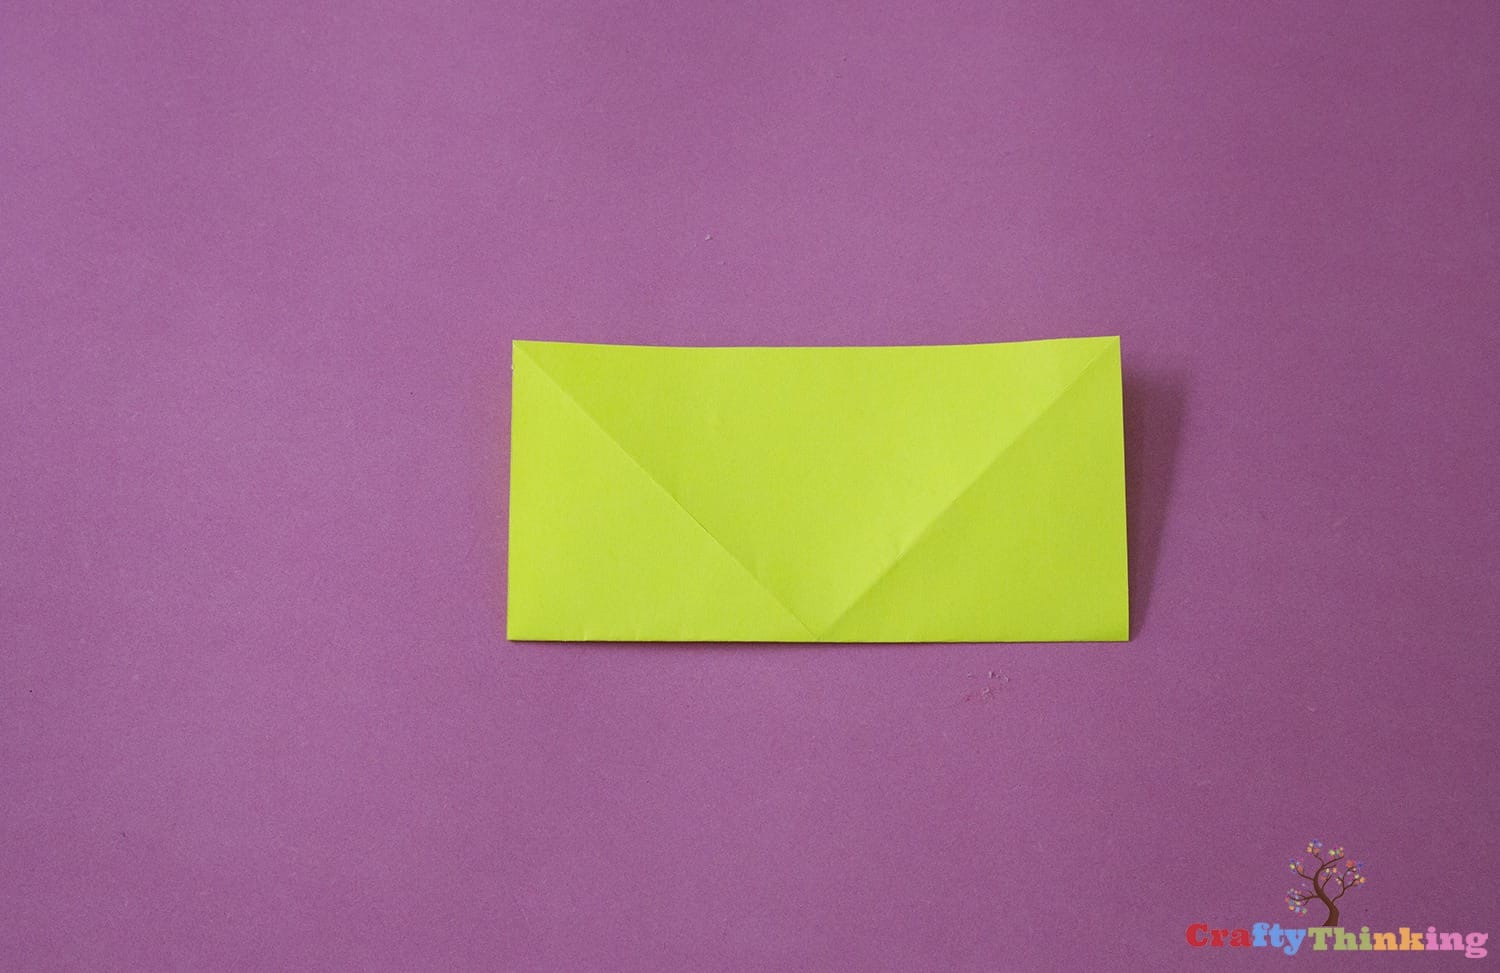
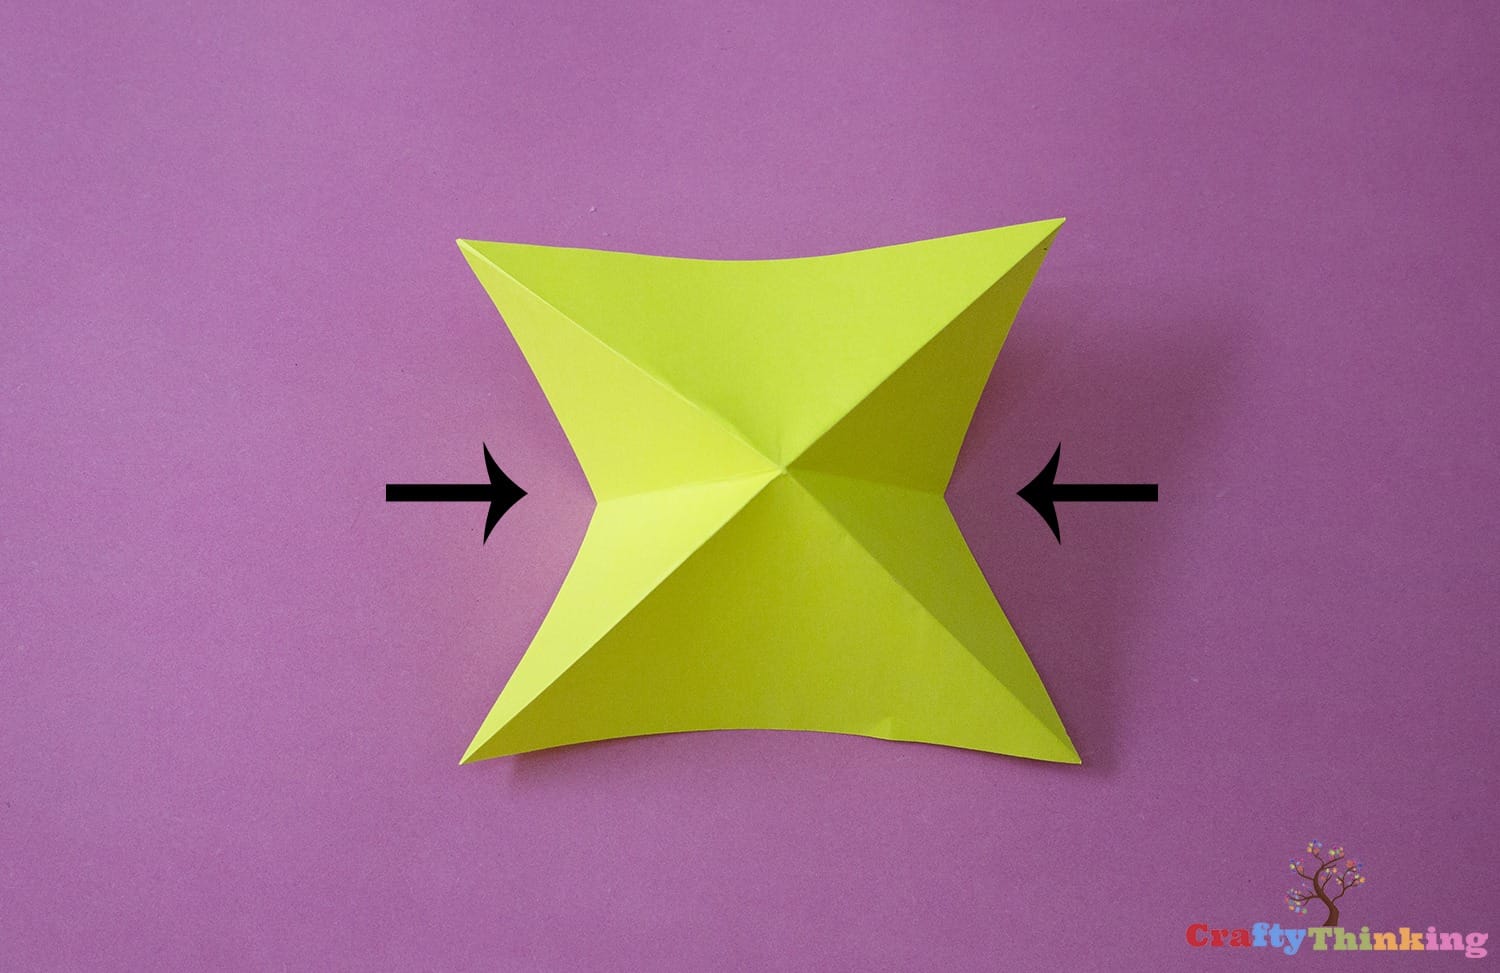
Step Three
Hold the paper as indicated with arrows and fold towards the center to get a triangle shape.

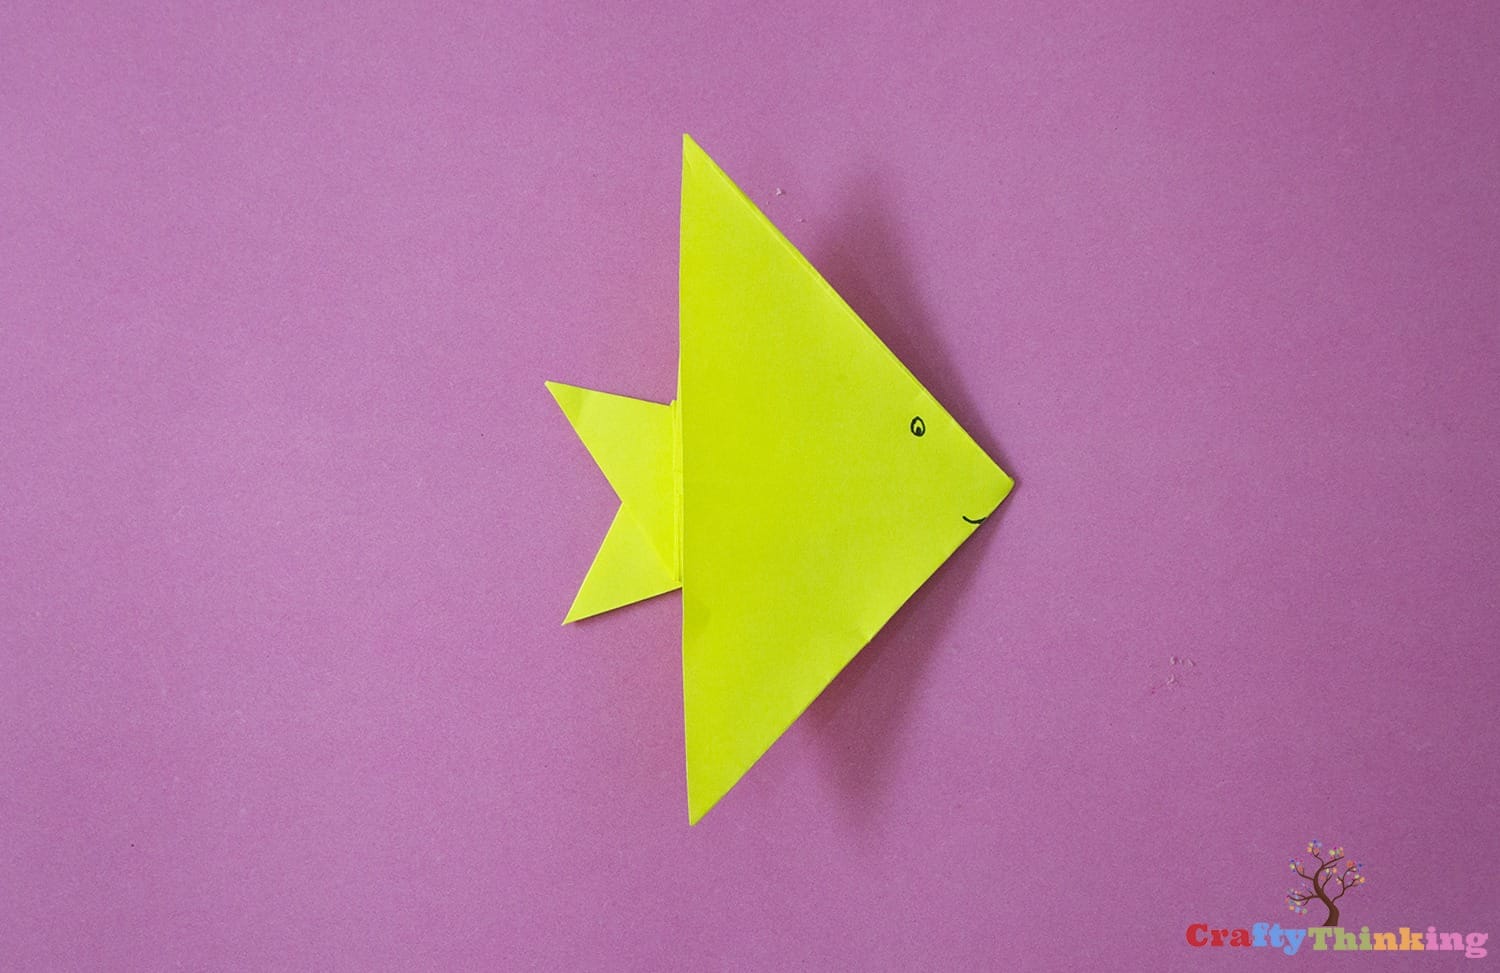
Step Four
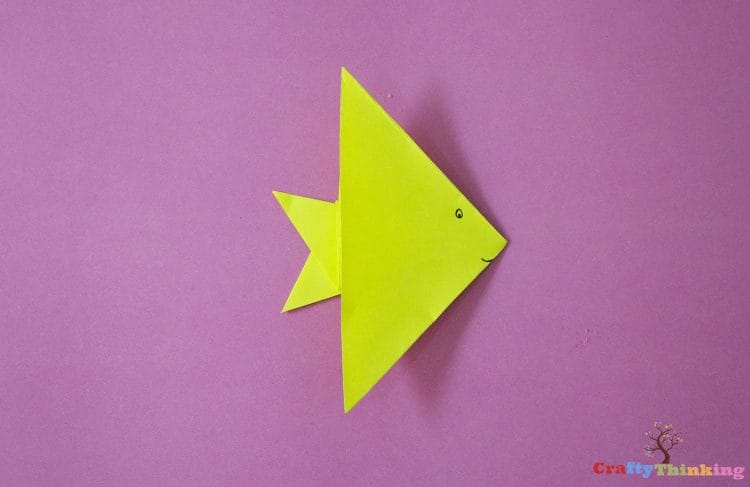
Now hold the right bottom corner of the triangle and fold it toward the center along the crease. Do the same with the other corner. And the fish tail is ready! Lastly, Take a black pen to draw eyes and lips of the fish.


That’s It! You have completed the Origami Fish.
Eazy Peezy, Lemon Squeezy!
Wrapping up How to Make a Fun Origami Fish
The origami fish is a fun and easy project that you can do with your children. It’s an excellent way to teach kids about how they can make their own toys without having to spend any money at all.
Plus, it’s also a great activity for the whole family as you’ll be spending time together outside of screens! If you’re interested in learning more about this craft or would like some other ideas on things to do with your kids outdoors, please let us know.


One Comment