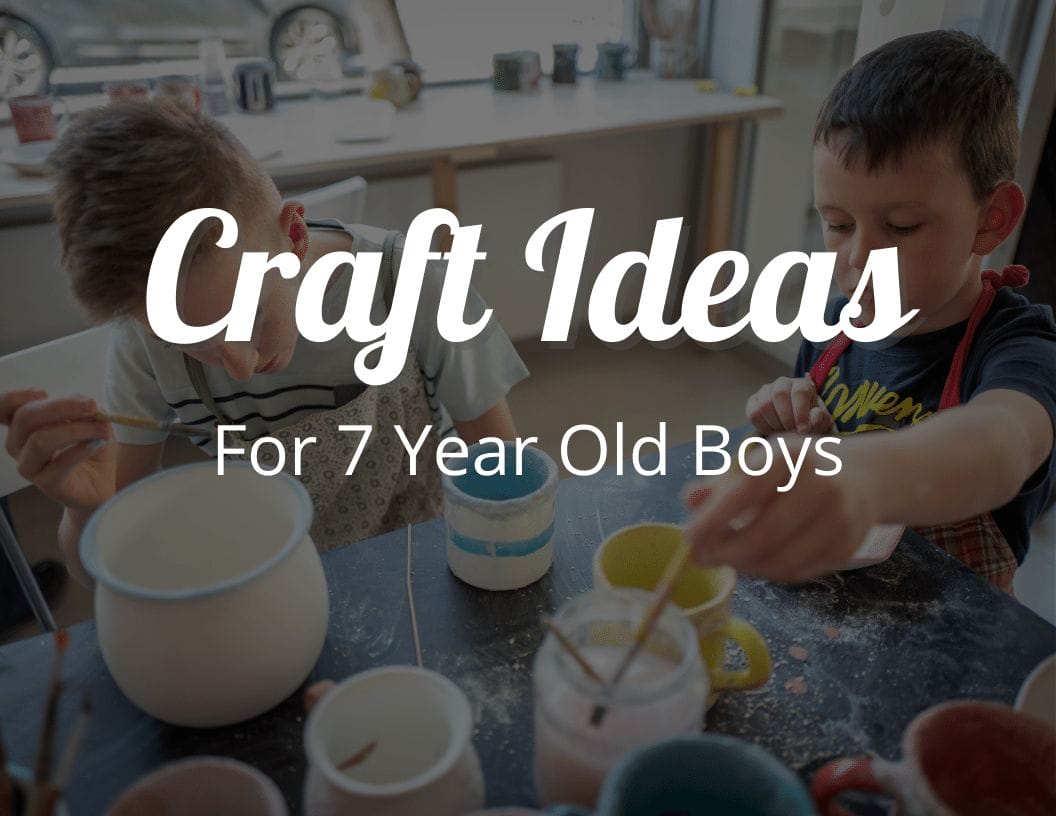
Boys Love Crafts Too! Craft Ideas for 7 Year Old Boys
Discover the Best Craft Ideas for 7 Year Old Boys! Our fun and captivating activities will inspire your child’s creativity.
Transform everyday objects into works of art and entertainment. Get started now!
You might also like:
- Craft Ideas for 2 Year Old Boys
- Craft Ideas for 3 Year Old Boys
- Craft Ideas for 4 Year Old Boys
- Craft Ideas for 5 Year Old Boys
- Craft Ideas for 6 Year Old Boys
- Craft Ideas for 8 Year Old Boys
- Craft Ideas for 9 Year Old Boys
Best DIY Craft Ideas for 7 Year Old Boys
Are you a parent or caregiver of a 7 year old boy who loves to create and craft? Do you struggle to find fun and engaging craft ideas that will keep him entertained for hours on end?
Look no further! We’ve compiled a list of exciting and easy-to-follow craft ideas that are perfect for your little guy.
Crafting is not just for girls. It’s important for boys to have the opportunity to explore their creativity and imagination through crafting as well.
These crafts can help develop fine motor skills, problem-solving abilities, and even promote relaxation and mindfulness.
Plus, the sense of accomplishment your child will feel after completing one of these projects is priceless.
So grab some supplies, gather around the table with your little one, and let’s get crafting!


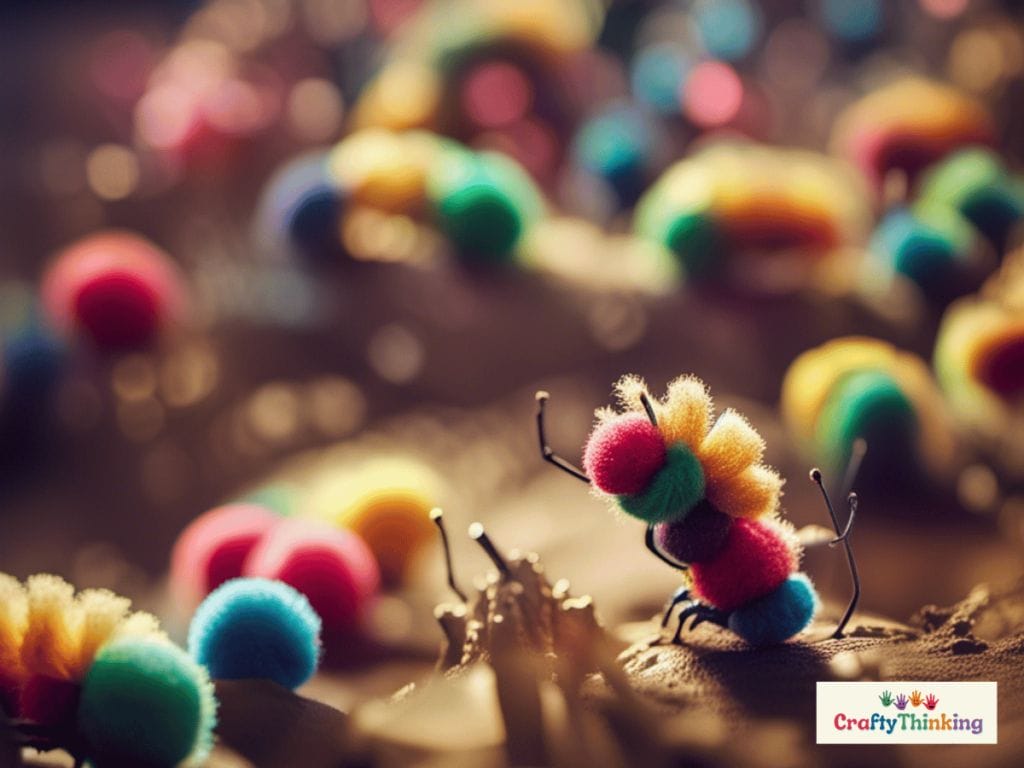
Pom-Pom Caterpillars: An Easy and Fun Craft for Kids
You’re going to love making these adorable pom-pom caterpillars – they’re super easy and a ton of fun!
This craft project is perfect for 7-year-old boys who love playing with beads, puppets, and making cute little creatures.
All you need are some colorful pom-poms, pipe cleaners, googly eyes, and glue.
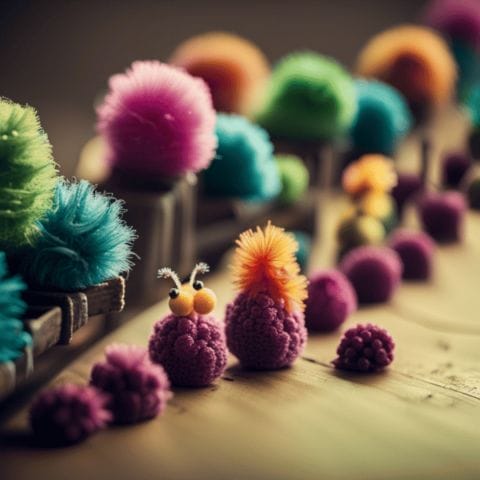
- To get started, simply take a pipe cleaner and thread it through the center of each pom-pom.
- Next, bend the pipe cleaner into a zigzag shape and add more pom-poms until it looks like a long caterpillar.
- Then use glue to attach the googly eyes onto one end of the caterpillar’s head. And voila!
- You now have an adorable little creature that can wiggle around just like a real caterpillar.
This fun craft idea is not only easy to make but also provides hours of entertainment as your child plays with their new creation.
So why wait? Grab some supplies today and let your child’s imagination run wild as they create their own unique pompom caterpillar!
How to Make Pom Pom Caterpillars
Materials
- Colorful pom-poms
- Googly eyes
- Pipe cleaners
Tools
- Craft glue
Instructions
Step 1: Arrange the Pom-Poms
Arrange your pom-poms in a line on your workspace.
This will form the body of your caterpillar.
Step 2: Glue the Pom-Poms Together
Use craft glue to stick the pom-poms together.
Allow the glue to dry.
Step 3: Add the Eyes
Glue two googly eyes onto the first pom-pom.
Step 4: Create and Attach the Antennae
Cut a pipe cleaner into two small pieces and bend them into a 'V' shape.
Glue this to the top of the first pom-pom to create the caterpillar's antennae.
Notes
Did you create this craft? If so, we would love to hear from you! Please feel free to leave a comment on the blog or share a photo of your creation on Pinterest.
Recommended Products
Thank you for supporting our family-owned business!
And if you’re looking for more exciting craft ideas for 7-year-old boys, check out our next section on DIY origami dinosaurs: a craft idea that roars!
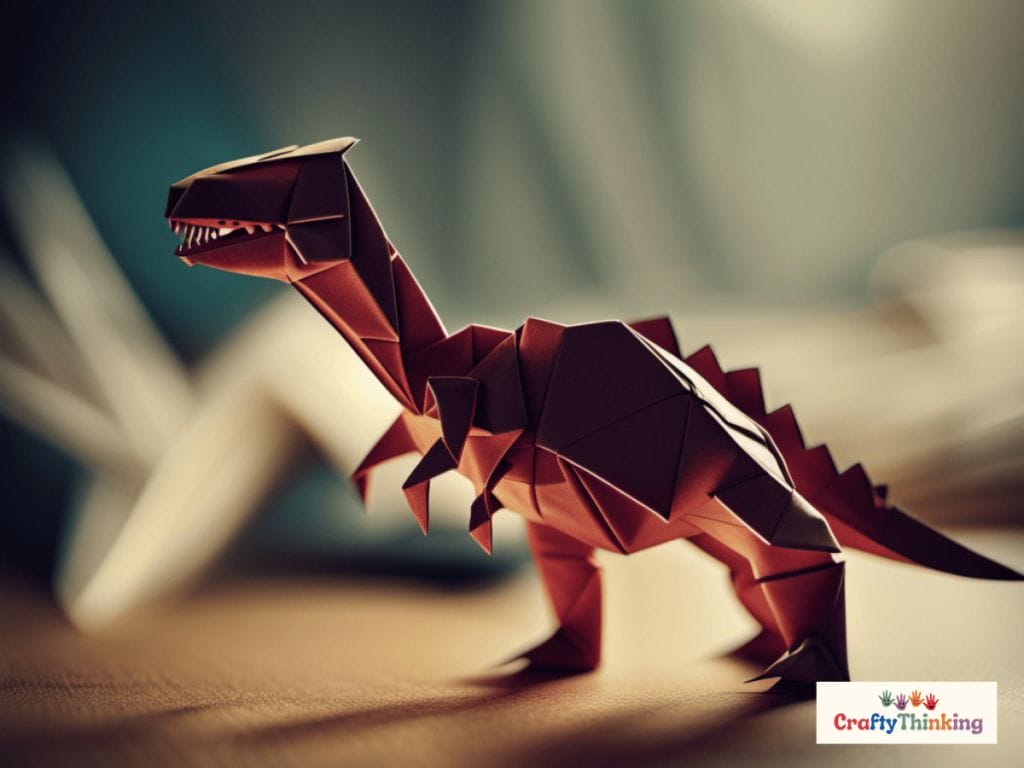
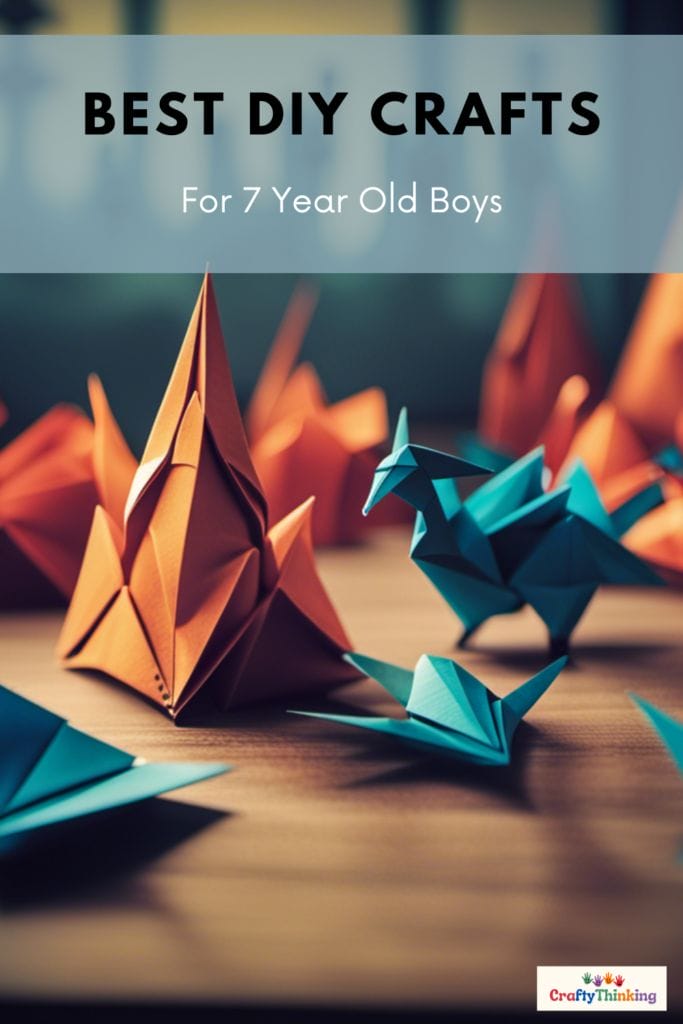
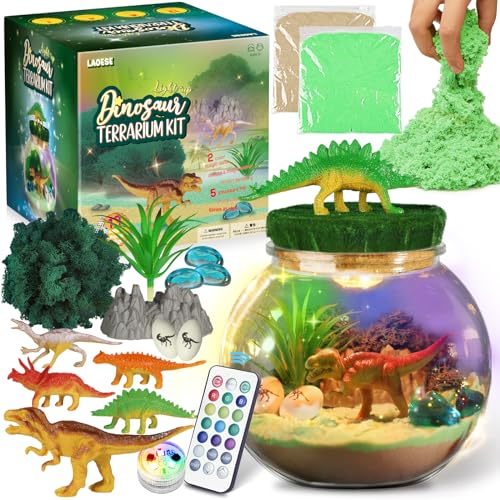
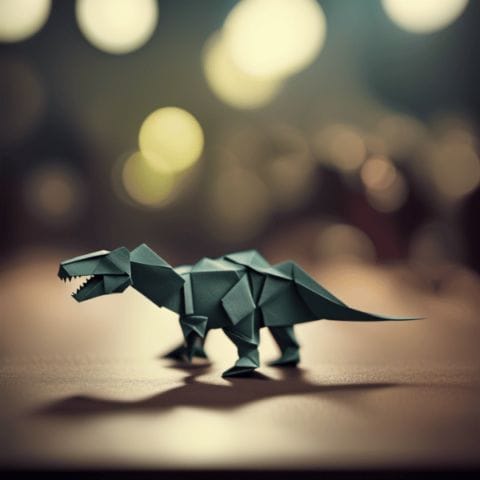
DIY Origami Dinosaurs: A Craft Idea That Roars!
Let’s get wild and create some origami dinos that’ll have your little ones roaring with excitement! Origami, the ancient art of paper folding, can be a great craft idea for boys who love dinosaurs.
Here are three reasons why you should give this fun activity a try:
It’s an easy tutorial:
With step-by-step instructions, even little hands can make these adorable origami dinosaurs.
All you need is some colored paper and a pair of scissors, and you’re ready to go.
It promotes fine motor skills:
Origami requires folding and manipulating paper in precise ways, which helps develop hand-eye coordination and fine motor skills.
Your child will feel proud of themselves as they see their creations come to life!
It’s a great way to learn about dinosaurs:
As your child folds each piece of paper into a different dinosaur shape, they’ll learn about the characteristics of each animal.
This is a fantastic opportunity to spark their curiosity and interest in science.
So what’re you waiting for? Grab some colored papers and let your kids unleash their creativity with these fun origami dinos!
How to Make Origami Dinosaurs
Materials
- Construction Paper
- Colored Paper
Tools
- Markers
- Crayons
Instructions
Step 1: Choose Your Dinosaur
Decide which type of dinosaur you want to make.
There are many origami dinosaur instructions available online that you can follow.
Step 2: Follow the Instructions
Carefully follow the origami instructions to fold your paper into the shape of a dinosaur.
Step 3: Decorate Your Dinosaur
Use markers or crayons to add details to your dinosaur, such as eyes, scales, or teeth.
Notes
Click Here to Get Your Free Dinosaur Flipbook Did you create this craft? If so, we would love to hear from you!
Please feel free to leave a comment on the blog or share a photo of your creation on Pinterest.
Recommended Products
Thank you for supporting our family-owned business!

Up next we have glitter and bead art – adding sparkle to crafts for boys.
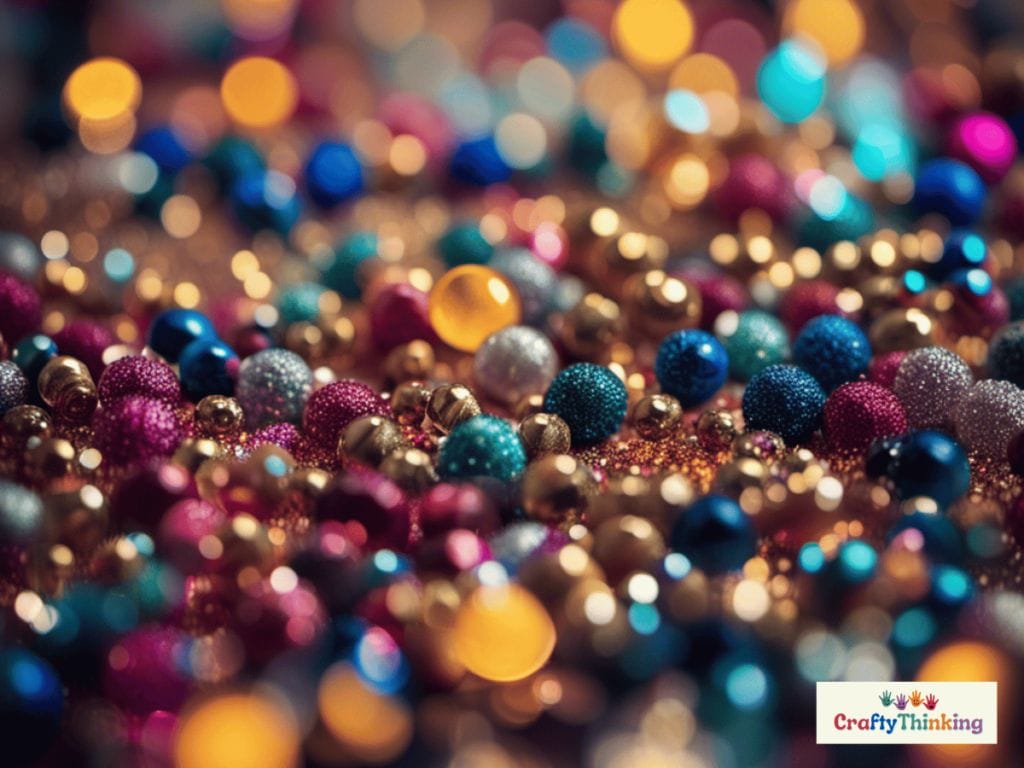
Glitter and Bead Art: Adding Sparkle to Crafts for Boys
Get ready to add some serious sparkle and shine to your little guy’s artistic creations with glitter and bead art – it’s like adding a touch of magic to their world!
Boys love crafts too, and adding glitter and beads can make craft time even more fun.
It’s easy to get started with this craft idea that will have your little ones creating pieces that are both crafty and cool.
Kids love anything that sparkles, so why not use glitter as an embellishment in their projects?
- A sprinkle of glitter on a painted rock or paper plate can add just the right amount of pizzazz to any project.
- Another great way to incorporate glitter into crafts for boys is by using glue pens or markers that have built-in glitter.
- This makes it easy for kids to add a bit of sparkle without making a mess.
- Beads are another fun activity for boys who love crafts.
- From stringing colorful beads onto pipe cleaners to making beaded jewelry, there are endless possibilities when it comes to incorporating these tiny treasures into projects for boys.
- Adding beads can also help improve fine motor skills and hand-eye coordination in young children.
So, grab some beads, glue, and glitter, and let your little guy unleash his creativity with these exciting craft ideas!

How to Make Glitter and Bead Art
Materials
- Glitter
- Beads
- Paper or cardboard
Tools
- Craft glue
Instructions
Step 1: Create Your Design
Use a pencil to sketch a design on your paper or cardboard.
Step 2: Apply the Glue
Apply craft glue to one section of your design.
Step 3: Add the Glitter and Beads
Sprinkle glitter and beads onto the glue. Shake off any excess.
Step 4: Repeat
Repeat steps 3 and 4 until your entire design is covered in glitter and beads. Allow the glue to dry.
Notes
Did you create this craft? If so, we would love to hear from you! Please feel free to leave a comment on the blog or share a photo of your creation on Pinterest.
Recommended Products
Thank you for supporting our family-owned business!
Now that you’ve added some sparkle to your boy’s crafting repertoire, let’s explore fun and easy balloon crafts that will lift their spirits!

Fun and Easy: Balloon Crafts That Will Lift Their Spirits
You’ll be amazed at how a simple balloon can transform into an imaginative creation that will lift your little guy’s spirits and inspire hours of playtime.
Balloon crafts are easy to make, inexpensive, and allow for endless creativity.
Here are some fun and easy balloon craft ideas that boys will love:
Balloon Rocket
- All you need is a long piece of string or fishing line, two chairs as anchors, and a straw.
- Blow up the balloon and attach it to the straw with tape.
- Thread the string through the straw, tie it to the chairs, and let go of the balloon to watch it fly across the room.
Water Bomb
Fill up a balloon with water for a hot summer day activity. You can have water bomb fights or play catch without worrying about breaking anything.
Animal Balloons
Use markers or paint to turn balloons into animal shapes like dogs or giraffes. You can even add paper ears or tails with hot glue gun.
These tutorials are just starting points – feel free to explore other possibilities! Balloons come in all shapes, sizes, and colors so there’s no limit to what you can do.

How to Make Balloon Crafts
Materials
- Balloons
- Craft glue
- Colorful tissue paper
Tools
- String
Instructions
Step 1: Inflate the Balloons
Blow up the balloons to the desired size.
Step 2: Apply Glue and Tissue Paper
Cover the balloon with craft glue and stick pieces of colorful tissue paper all over it. Allow it to dry.
Step 3: Pop the Balloon
Once the glue is dry, pop the balloon. You'll be left with a colorful tissue paper shell.
Step 4: Attach the String
Attach a piece of string to the top of your tissue paper shell to hang it up.
Notes
Did you create this craft? If so, we would love to hear from you! Please feel free to leave a comment on the blog or share a photo of your creation on Pinterest.
Recommended Products
Thank you for supporting our family-owned business!
Playdough creations are also a great hands-on craft idea for 7 year old boys.

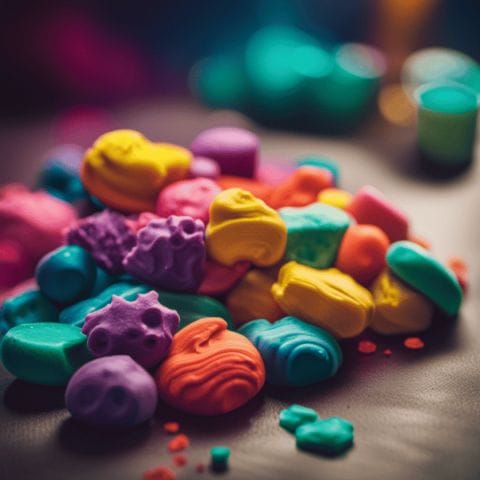
Playdough Creations: A Hands-on Craft Idea for 7 Year Old Boys
If you’re looking for a fun and creative activity that’ll keep your little guy entertained, try making some awesome playdough creations together!
Playdough is a great way for kids to make all sorts of cool things with their little hands.
- It’s easy to work with and can be shaped into anything they can imagine.
- Plus, it’s cheap and readily available at any craft store or online.
- Kids will love exploring the different colors and textures of playdough as they create unique designs.
- Encourage them to use their imaginations by asking questions like “What would you like to make today?” or “How can we make this even more interesting?”
- This will help them think creatively and develop problem-solving skills while having fun.
- Craft ideas for boys don’t have to be complicated or expensive.
- With playdough, you can keep them entertained for hours without breaking the bank.
So grab some dough, get creative, and see what amazing creations your child comes up with next!
How to Make Playdough Creations
Materials
- Playdough (store-bought or homemade)
Tools
- Rolling pin
- Playdough tools
Instructions
Step 1: Decide What to Make
Decide what you want to create with your playdough.
This could be anything from animals to buildings to abstract shapes.
Step 2: Shape the Playdough
Use your hands and playdough tools to shape the playdough into your desired creation.
Step 3: Display Your Creation
Once you're happy with your creation, display it proudly!
Notes
Did you create this craft? If so, we would love to hear from you! Please feel free to leave a comment on the blog or share a photo of your creation on Pinterest.
Recommended Products
Thank you for supporting our family-owned business!
As you finish up your playdough masterpieces, consider moving onto another craft idea that is sure to delight – tie dye wonders: colorful and easy crafts for kids!
With just a few simple materials, you can create one-of-a-kind designs that are perfect for summer days spent outdoors. Get ready to unleash your inner artist!

Tie Dye Wonders: Colorful and Easy Crafts for Kids
Looking for a fun and vibrant activity that’ll bring out your child’s creativity? Look no further than tie dye wonders – an easy and colorful craft that’s perfect for summer!
With so many craft project ideas out there, it can be challenging to find the right one that kids can make effortlessly.
- Tie dye is not only simple to make, but it also provides ample opportunities for children to experiment with their favorite colors.
- To get started on this exciting craft idea, all you need is some white t-shirts or other clothing items, rubber bands, plastic gloves, and tie-dye kits (which you can easily find at any dollar store).
- The easy tutorial involves twisting the clothing item and securing it with rubber bands in different sections before dipping it into various tie-dye colors.
- The results are always unique and full of personality.
- The step-by-step instructions ensure that this project remains simple enough for young children while offering plenty of room for older ones to explore more intricate designs.
Whether your child wants to create a rainbow-colored shirt or prefers more subtle hues like pastels, the possibilities are endless.

How to Make Tie Dye T-Shirts
Materials
- White t-shirt
- Tie dye kit
Tools
- Rubber bands
- Plastic bags
Instructions
Step 1: Prepare the Shirt
Twist or fold the shirt and secure it with rubber bands.
Step 2: Apply the Dye
Apply the dye to the shirt following the instructions on your tie dye kit.
Step 3: Let it Sit
Place the shirt in a plastic bag and let it sit for 6-8 hours or overnight.
Step 4: Rinse and Dry
Rinse the shirt until the water runs clear, then let it dry.
Notes
Did you create this craft? If so, we would love to hear from you! Please feel free to leave a comment on the blog or share a photo of your creation on Pinterest.
Recommended Products
Thank you for supporting our family-owned business!
Next up: paper mache adventures – DIY projects that stir imagination!
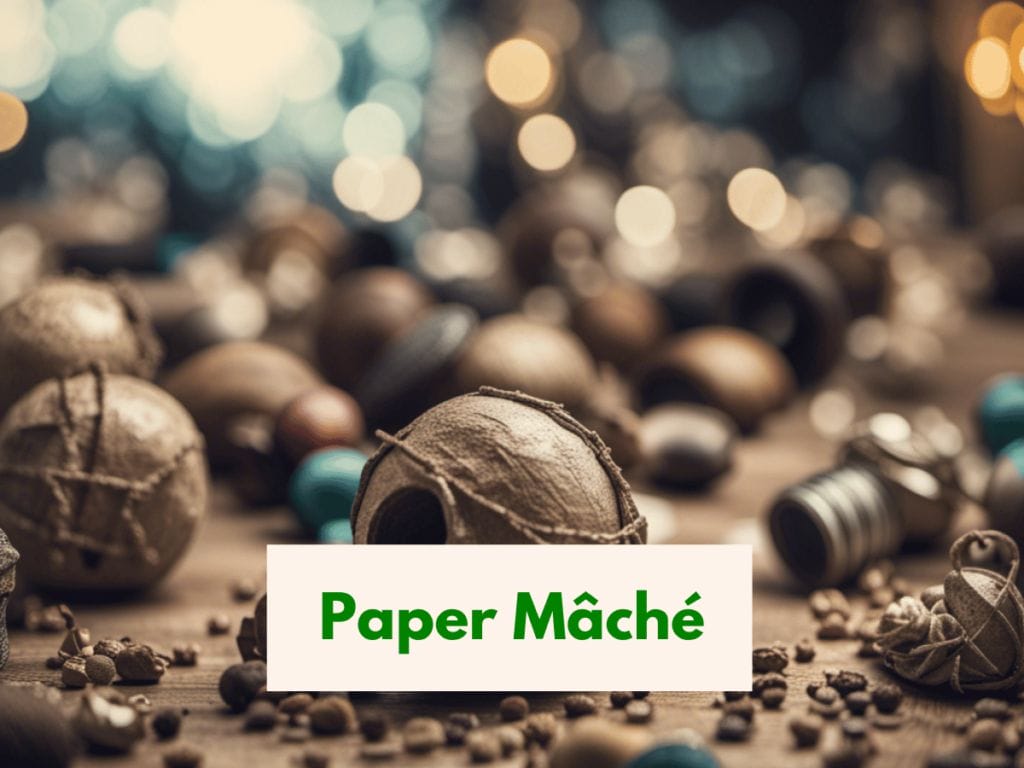
Paper Mache Adventures: DIY Projects That Stir Imagination
Looking for more craft project ideas that your 7-year-old boy will love? Look no further than DIY projects with paper mache! This simple-to-make material is perfect for unleashing your child’s imagination and gross motor skills.
With easy tutorials and endless possibilities, paper mache adventures are sure to be a hit.
To get started, gather the following materials:
| Materials | Tools | Optional Additions |
|---|---|---|
| Flour or liquid starch | Mixing bowl and spoon | Paints |
| Water | Balloons or cardboard cutouts in desired shapes/sizes | Glitter |
| Newspaper or tissue paper | Paintbrushes |
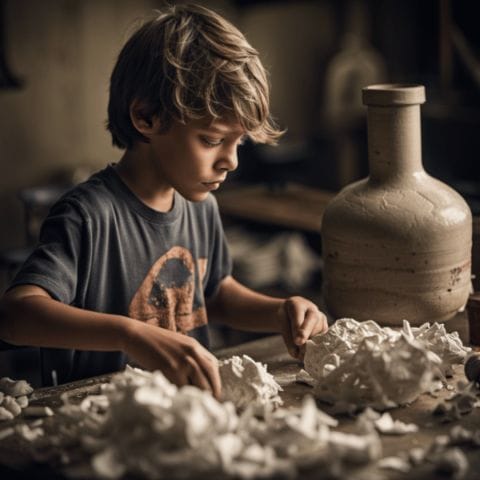
Once you have all your materials ready to go, the fun can begin! Start by mixing equal parts flour and water (or use liquid starch) until it reaches a runny consistency.
Dip newspaper strips or tissue paper into the mixture and apply to the balloon or cardboard base. Repeat until you have a few layers of paper mâché built up, then let dry completely.
From there, your child can paint their creations any way they like – from animals to planets to abstract art pieces. The possibilities are endless with this versatile material!
How to Make Paper Mâché
Materials
- Newspaper
- Flour
- Water
- Balloon or other form
Tools
Instructions
Step 1: Make the Paste
Mix one part flour with two parts water to make a paste.
Step 2: Prepare the Newspaper
Tear the newspaper into strips.
Step 3: Apply the Newspaper
Dip the newspaper strips into the paste and apply them to your form. Continue until the form is covered.
Step 4: Let it Dry
Allow your project to dry completely. This may take a day or two.
Step 5: Paint and Decorate
Once dry, you can paint and decorate your paper mache creation as desired.
Notes
Did you create this craft? If so, we would love to hear from you! Please feel free to leave a comment on the blog or share a photo of your creation on Pinterest.
Recommended Products
Thank you for supporting our family-owned business!
Ready for even more crafting fun? Check out our next section on paper plate crafts: simple and fun art for young boys!
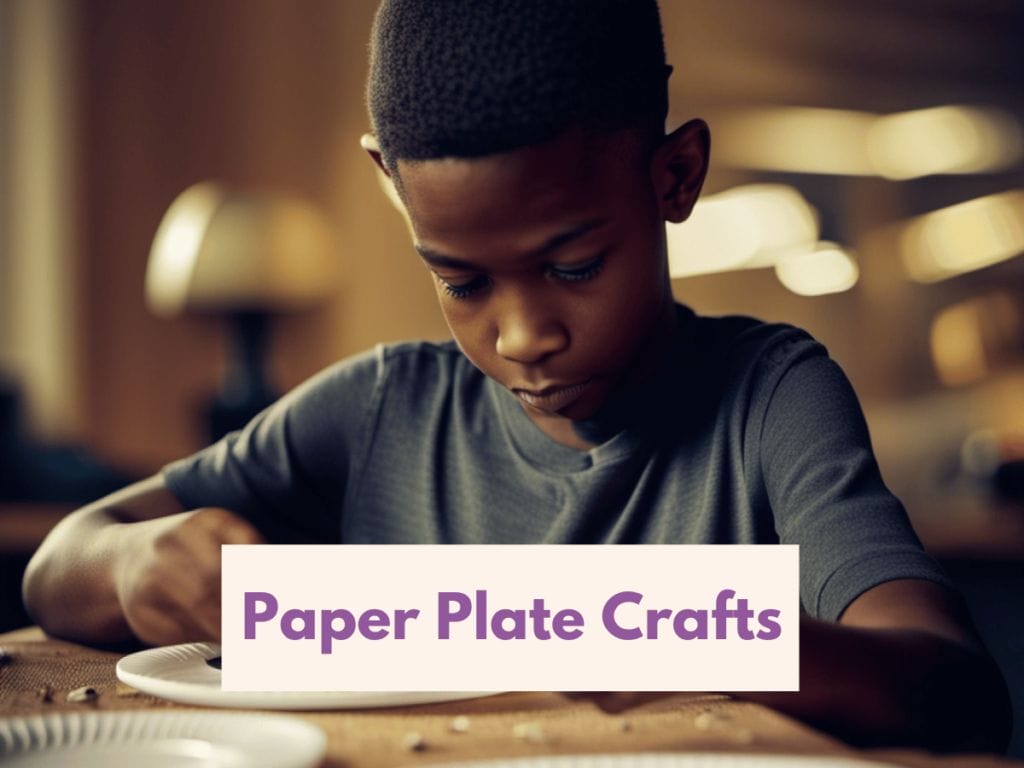
Paper Plate Crafts: Simple and Fun Art for Young Boys
Get ready for some creative and enjoyable art projects that young boys will love with these simple and fun paper plate crafts.
These craft ideas are perfect for a rainy day or when you’re looking for something to do with your child. The best part? They’re easy to make, using materials you probably already have at home.
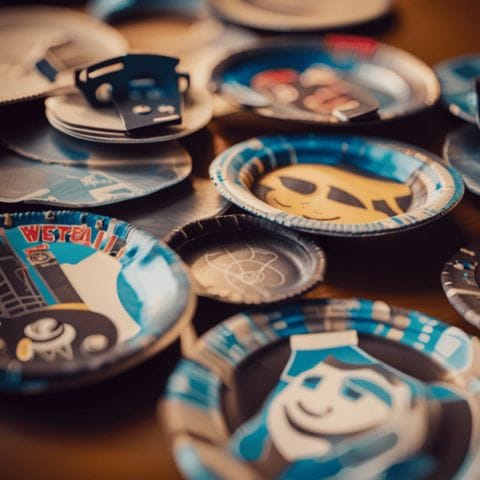
Here’s a list of four paper plate crafts that kids can make with this simple tutorial:
Paper Plate Animals
Create adorable animals by painting the plates in different colors and adding googly eyes, pipe cleaners, and construction paper details.
Paper Plate Masks
Make superhero masks or animal faces by cutting out shapes on the plates and decorating them with markers, paint, feathers, or glitter.
Paper Plate Flowers
Use clothespins as stems to attach the painted plates together and create beautiful flowers to brighten up any room.
Paper Plate Sun Catchers
Cut out shapes on the plates, decorate them with markers or paint, and use hot glue to attach tissue paper behind the cutouts. Hang them up in a sunny window for a colorful display.
These fun art projects will not only keep your child entertained, but also help develop their creativity and imagination. Plus, they’re inexpensive and don’t require a lot of preparation time.
So, gather some supplies, put on some music, and let your child’s inner artist shine!
How to Make Paper Plate Crafts
Materials
- Paper plates
- Paint
- Craft glue
- Decorative items (glitter, beads, feathers, etc.)
Tools
Instructions
Step 1: Decide on a Design
Decide what you want to create with your paper plate.
This could be a face, an animal, a scene, etc.
Step 2: Paint the Plate
Paint the paper plate as desired.
Step 3: Add Decorations
Use craft glue to add any additional decorations to your plate.
Step 4: Let it Dry
Allow your project to dry completely before displaying.
Notes
Did you create this craft? If so, we would love to hear from you! Please feel free to leave a comment on the blog or share a photo of your creation on Pinterest.
Recommended Products
Thank you for supporting our family-owned business!
Now that you’ve completed some delightful paper plate crafts, let’s move onto creating cardboard tube marvels – easy paper crafts for boys!
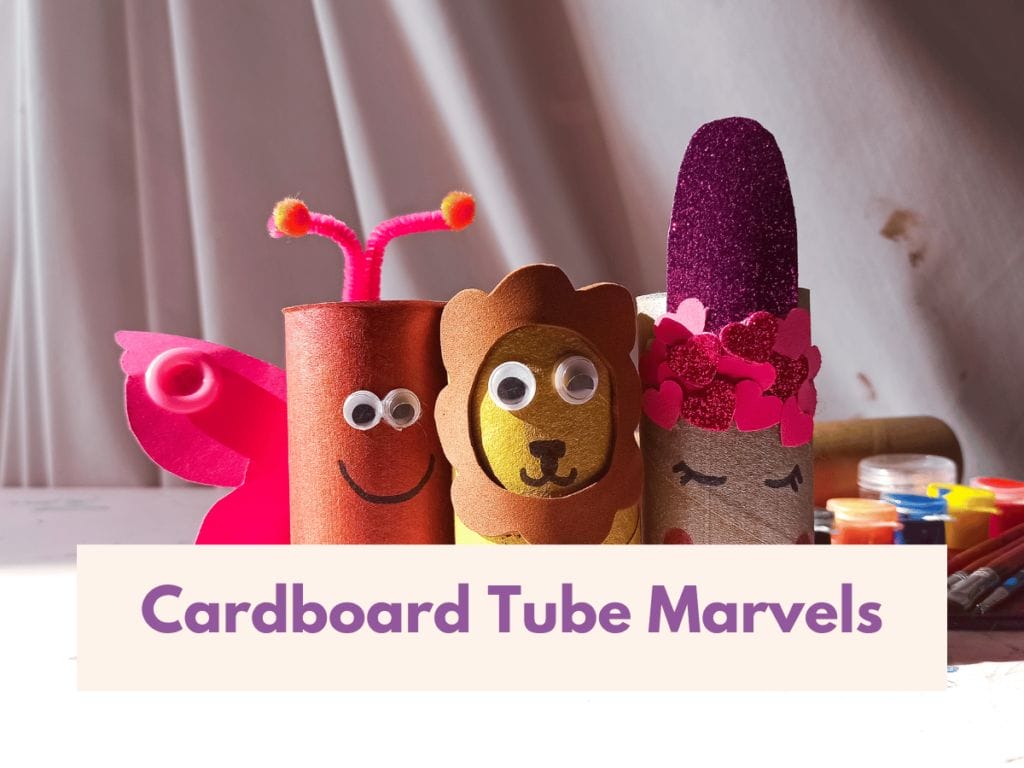
Creating Cardboard Tube Marvels: Easy Paper Crafts for Boys
Now it’s time to unleash your creativity and make some amazing cardboard tube marvels – these easy paper crafts are perfect for you!
All you need are some cardboard tubes, glue, scissors, and any other materials you want to use. These crafts are easy to follow and will keep little hands busy for hours.
Here are some ideas to get you started on your cardboard tube creations:
| Craft Ideas | Materials Needed |
|---|---|
| Superhero cuffs | Cardboard tubes, paint or markers, stickers or foam shapes |
| Binoculars | Two cardboard tubes, string or ribbon, paint or markers |
| Racecars | Cardboard tubes, bottle caps or buttons for wheels, paint |
| Rockets | Cardboard tubes, paper cones for the top, paint |
These projects not only provide fun making them but also help develop skills like hand-eye coordination and problem-solving. They make great gifts too!
And if you’re stuck inside on a rainy afternoon with nothing to do, these crafts will definitely make the day much simpler.
How to Make Cardboard Tube Marvels
Materials
- Cardboard tubes (toilet paper or paper towel rolls)
- Paint
- Craft glue
- Decorative items
Tools
Instructions
Step 1: Decide on a Design
Decide what you want to create with your cardboard tube. This could be a person, an animal, a building, etc.
Step 2: Paint the Tube
Paint the cardboard tube as desired.
Step 3: Add Decorations
Use craft glue to add any additional decorations to your tube.
Step 4: Let it Dry
Allow your project to dry completely before playing with or displaying.
Notes
Did you create this craft? If so, we would love to hear from you! Please feel free to leave a comment on the blog or share a photo of your creation on Pinterest.
Recommended Products
Thank you for supporting our family-owned business!
So grab those cardboard tubes and let your imagination run wild. But don’t stop there – next up is popsicle stick projects: craft ideas that stick around.
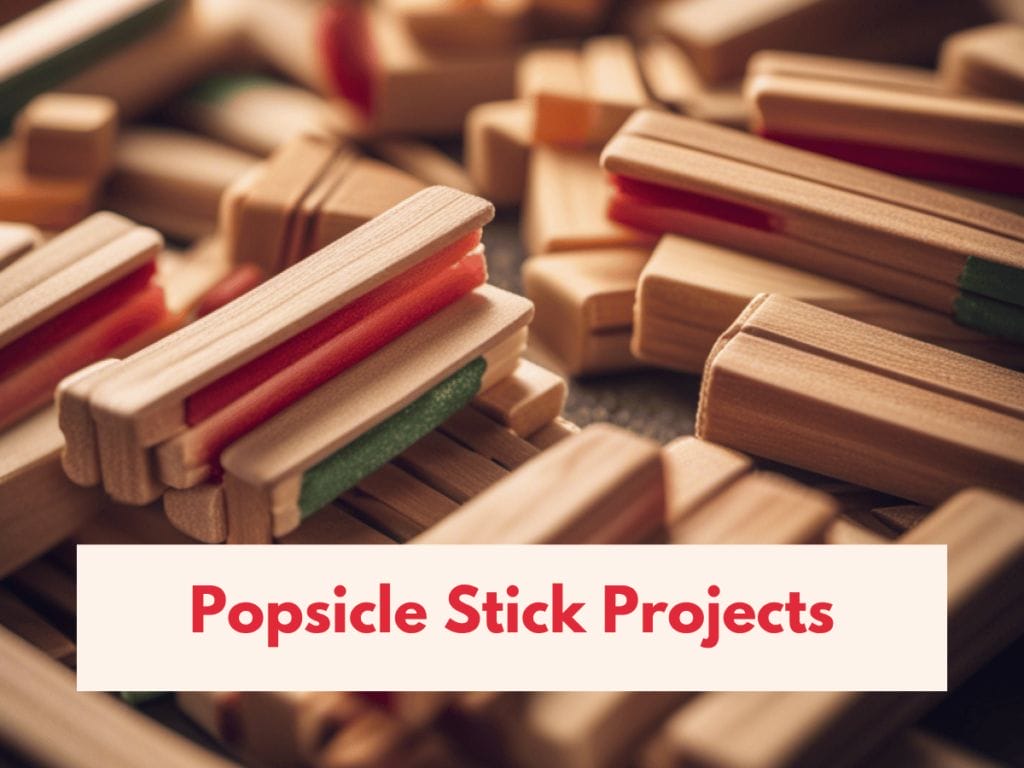
Popsicle Stick Projects: Craft Ideas That Stick Around
Let’s dive into popsicle stick projects – these craft ideas are perfect for 7-year-old boys who love to keep their little hands busy.
Not only are they a great way to spend time, but they also provide a fun and easy activity that’s engaging and simple to follow.
Popsicle sticks are a versatile material that can be transformed into endless creative possibilities.
Here are some nested bullet point lists to get you started on your popsicle stick creations:
Animals Popsicle Stick Projects
Create your favorite animals using different colored sticks and paint. This is a great way to work on hand-eye coordination while having fun making something cute.
- Lion
- Elephant
- Giraffe
Vehicles
Build your own cars, trucks, or even airplanes using popsicle sticks as the base. This is an excellent opportunity for boys who love all things transportation-related.
- Fire truck
- Race car
- Airplane
Games
Use popsicle sticks to create classic games like pick-up-sticks or tic-tac-toe. This not only provides entertainment but also helps improve critical thinking and problem-solving skills.
- Pick-up-sticks game board
- Tic-tac-toe game board
Popsicle stick projects are not only fun for 7-year-old boys, but they also provide an opportunity for creativity and imagination.
Creating different animals, vehicles, or games with just a few materials can bring hours of entertainment and satisfaction. Plus, it’s an excellent way to improve hand-eye coordination skills while learning new crafting techniques.
How to Make Popsicle Stick Projects
Materials
- Popsicle sticks
- Craft glue
- Paint
- Decorative items (glitter, beads, feathers, etc.)
Tools
Instructions
Step 1: Decide on a Design
Decide what you want to create with your popsicle sticks. This could be a house, a picture frame, a boat, etc.
Step 2: Arrange and Glue the Sticks
Arrange the popsicle sticks into your desired shape and glue them together. Allow the glue to dry.
Step 3: Paint and Decorate
Paint and decorate your popsicle stick creation as desired.
Step 4: Let it Dry
Allow your project to dry completely before playing with or displaying.
Notes
Did you create this craft? If so, we would love to hear from you! Please feel free to leave a comment on the blog or share a photo of your creation on Pinterest.
Recommended Products
Thank you for supporting our family-owned business!
Next up on our list of easy craft ideas for boys: finger puppet fun! Get ready to put those fingers to use in creating fun characters that’ll come alive before your very eyes!
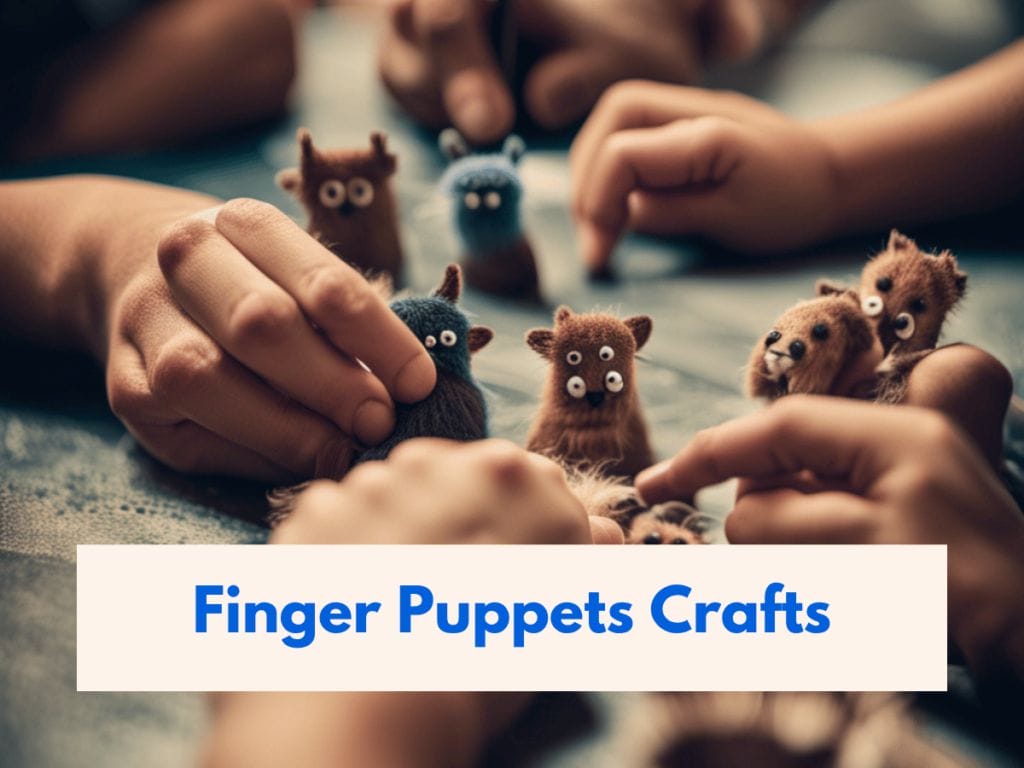
Finger Puppets Fun: Easy Craft Ideas for Boys
If you’re looking for a fun and interactive way to keep your child entertained, finger puppets are a great option!
These easy crafts ideas for 7-year-old boys can be made at home with just a few materials.
Finger puppets are not only enjoyable but also help develop skills like creativity, imagination, and fine motor skills.
- To make finger puppets, all you need is some felt or fabric scraps, scissors, glue or thread.
- You can create various characters like animals or superheroes by cutting out different shapes from the felt.
- Once you have all the pieces cut out, simply glue them together to form the puppet’s body and add any additional features like eyes or nose.
- Your little ones will love playing with their new finger puppets and using them to act out stories and scenes they come up with.
It’s an excellent way to engage their imaginations while keeping them occupied in a productive manner.

How to Make Finger Puppets
Materials
- Felt or colored paper
- Craft glue
- Decorative items (googly eyes, yarn for hair, etc.)
Tools
- Scissors
Instructions
Step 1: Cut Out the Puppet Shape
Cut out a rectangle from the felt or paper. This will form the body of the puppet.
Step 2: Glue the Edges
Fold the rectangle into a tube shape and glue the edges together. This will form the body of the puppet.
Step 3: Add Decorations
Use craft glue to add decorations to your puppet, such as googly eyes, yarn for hair, etc.
Step 4: Let it Dry
Allow your puppet to dry completely before playing with it.
Notes
Did you create this craft? If so, we would love to hear from you! Please feel free to leave a comment on the blog or share a photo of your creation on Pinterest.
Recommended Products
Thank you for supporting our family-owned business!
Plus, it’s an easy craft idea that doesn’t require much supervision from parents or caregivers!
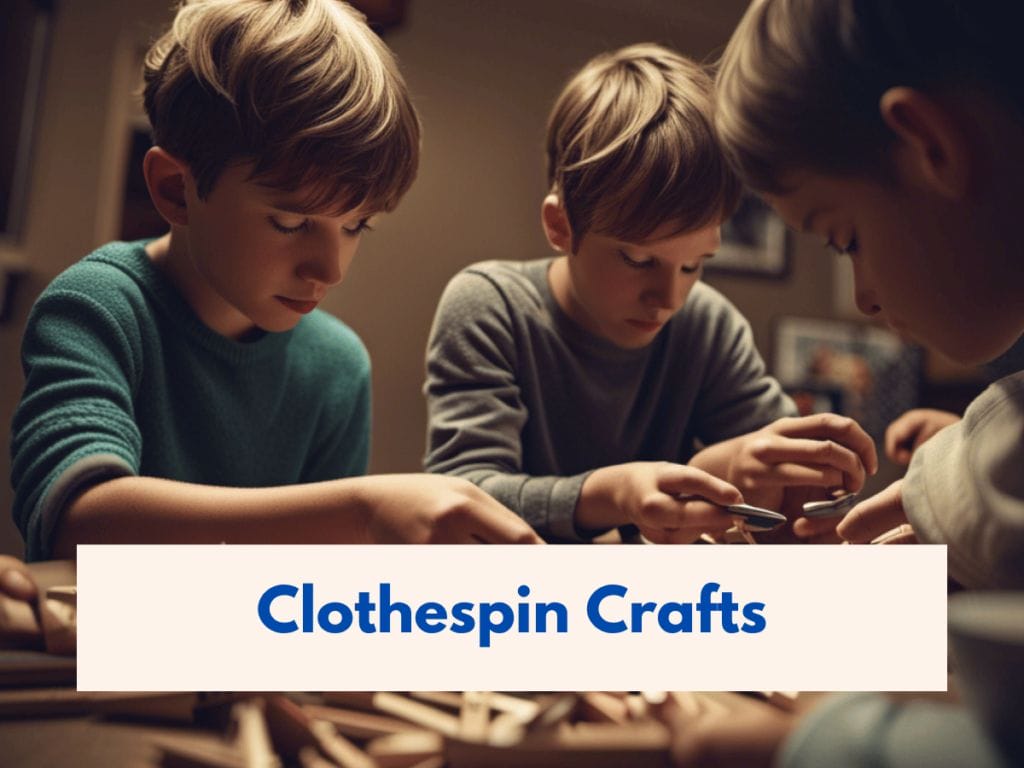
Clothespin Crafts: An Unexpected Material for Great Crafts
You may be surprised to learn that clothespins can make for great material in creating unique and fun crafts. These small wooden clips aren’t just for laundry anymore!
With a little creativity, you can turn them into charming decorations or toys that your little guy will love. One simple yet impressive craft is the clothespin airplane.
- All you need is a cardboard tube, construction paper, and, of course, clothespins.
- Cut out wings from paper and attach them to the tube with clothespins as the wheels.
- Your child can customize the plane with markers or stickers and have hours of flying fun indoors on a rainy afternoon.
- Another fun craft idea using clothespins is making cute animal puppets.
- Using different shapes and colors of construction paper, cut out ears, noses, eyes, and mouths to create animals like owls or foxes.
- Then glue these pieces onto wooden clothespins to bring your creations to life!
- You can even create a DIY tutorial for others to follow along with this easy and entertaining activity.
With these great craft ideas using clothespins, your child will have endless possibilities for creative playtime. But why stop at just crafts?
How to Make Clothespin Crafts
Materials
- Clothespins
- Paint
- Craft glue
- Decorative items (glitter, beads, feathers, etc.)
Instructions
Step 1: Decide on a Design
Decide what you want to create with your clothespins. This could be a butterfly, a person, a picture holder, etc.
Step 2: Paint the Clothespins
Paint the clothespins as desired.
Step 3: Add Decorations
Use craft glue to add any additional decorations to your clothespins.
Step 4: Let it Dry
Allow your project to dry completely before playing with or displaying.
Notes
Did you create this craft? If so, we would love to hear from you! Please feel free to leave a comment on the blog or share a photo of your creation on Pinterest.
Recommended Products
Thank you for supporting our family-owned business!
Keep reading to discover more DIY activities that’ll blow their minds – diy bubble makers!
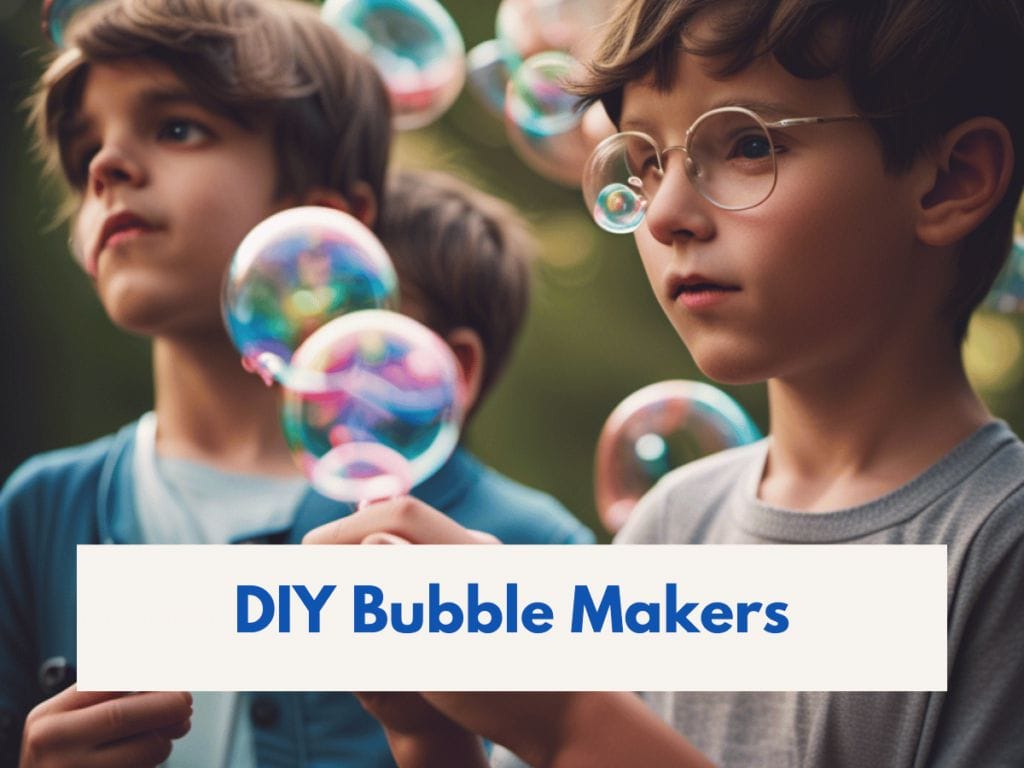
DIY Bubble Makers: Craft Ideas That Will Blow Their Minds
Get ready to take your child’s bubble game to the next level with these DIY bubble makers that are sure to impress.
Did you know that bubbles were first used as a form of entertainment in the 17th century?
Not only will this craft provide hours of fun, but it also has scientific benefits.
- With just a few simple materials like old newspaper, paper plates, and bubble solution from the dollar store, you can create unique and exciting DIY bubble makers.
- To start, cut out two circles from an old newspaper or any other thin and absorbent material.
- Then fold them in half twice to create four equal parts.
- Next, fold each corner of the triangles towards the center until you have a small square shape in your hands.
- Repeat this step with another sheet of paper so that you have two identical square shapes.
- Once you have both squares made, place them on top of each other with one corner pointing down towards you.
- Staple three sides together around the edges leaving one side open for pouring in bubble solution.
- Add some food coloring into your solution for added excitement and pour it into your new DIY bubble maker!
Use these easy steps to blow their minds with amazing bubbles!

How to Make DIY Bubble Makers
Materials
- Wire or pipe cleaners
- Dish soap
- Water
- Container
Instructions
Step 1: Make the Bubble Wand
Bend the wire or pipe cleaner into a loop to create a bubble wand.
Step 2: Make the Bubble Solution
Mix dish soap and water in a container to create a bubble solution.
Step 3: Blow Bubbles
Dip the bubble wand into the solution and gently blow to create bubbles. Enjoy!
Notes
Did you create this craft? If so, we would love to hear from you! Please feel free to leave a comment on the blog or share a photo of your creation on Pinterest.
Recommended Products
Thank you for supporting our family-owned business!
Tutorial Section: Step-By-Step Guide for These Crafts for Kids
Looking to keep your 7-year-old boy entertained and engaged with some fun craft ideas? In our previous subtopic, we talked about DIY bubble makers that’ll blow their minds.
Now, let’s dive into a tutorial section where we’ll give you step-by-step instructions for some amazing crafts for kids. First up are science experiments!
Science Experiments
Gather some household items like old newspaper, baking soda, and vinegar and get ready to make volcanoes erupt or create chemical reactions in a safe and controlled environment.
Another idea is origami!
Origami
Grab some colorful paper from the dollar store and teach your child how to fold animals or boats. Next on the list are paper plate crafts.
Paper Plate Crafts
These versatile objects can be turned into anything from masks to animal faces with just a few snips of scissors and some paint.
Tie-dye
Tie-dye is another great option for boys who love color – grab some white t-shirts or socks from the dollar store and have fun creating unique designs together.
With this tutorial section, there’s no shortage of creative ideas to explore with your little ones!
Crafts aren’t just about keeping kids occupied – they help develop important skills like creativity, problem-solving, and fine motor skills.
By encouraging boys to engage in crafting activities at an early age, you’re setting them up for success later in life. So why not spend quality time together while learning new things?
Let’s keep exploring more reasons why craft ideas for boys are so important…
Why Craft Ideas for Boys is important?
Crafting provides a unique opportunity for young boys to develop important skills and unleash their creativity, setting them up for success in the future.
- It’s not just about making something with your hands; it’s also about learning problem-solving skills, improving fine motor skills, and encouraging imagination.
- By introducing boys to craft ideas like science experiments or tie-dye projects, you’re giving them an outlet to explore new concepts and ideas.
- Crafting is also a great way to teach children about sustainability and reusing materials. Instead of throwing away old newspaper or paper plates, let your little ones turn them into works of art!
- DIY bubble wands made from recycled materials or painted rock gardens are just a few examples of crafts that will get kids thinking creatively while also being environmentally conscious.
- Finally, crafting can be a fun bonding experience for parents and children alike.
Whether you’re working on a project together or creating something as a surprise gift for someone else, crafting gives you the opportunity to spend quality time with your child while also teaching them valuable life skills.
So why not introduce your 7-year-old boy to the world of crafting today? Who knows – he may discover his passion for art or design at an early age!
Frequently Asked Questions
Explore craft ideas for 7 year old boys! Get answers to your questions about the best, most engaging crafts suitable for younger children.
-
What are some other types of crafts that could be suitable for 7 year old boys?
7-year-old boys may enjoy crafts like creating superhero masks from felt, assembling a homemade birdhouse, making a DIY robot from recycled materials, or crafting a personalized comic book.
They might also enjoy tie-dye projects, building models from kits, or creating their own board game with cardboard and markers.
-
What materials are needed for each of the crafts listed in the article?
Materials vary depending on each craft. Common materials include construction paper, glue, scissors, paint, markers, yarn, beads, popsicle sticks, clay or playdough, cardboard, and recycled materials.
Each craft in the article will have a detailed list of necessary materials.
-
How long does it typically take to complete each craft?
The time to complete a craft can vary greatly depending on its complexity and the pace of the child.
Simple crafts might take as little as 15 to 30 minutes, while more complex projects could take several hours or be spread over several days.
-
Are there any safety precautions that should be taken when doing these crafts?
Always supervise children when they are crafting, especially if they are using scissors, hot glue guns, or other potentially dangerous tools. Make sure materials are non-toxic and safe for kids to handle.
Be aware of choking hazards with small materials like beads, especially if there are younger children around.
-
How can parents encourage their 7 year old boys to develop their creativity and artistic abilities through crafting?
Parents can encourage creativity by providing a variety of materials and tools for their children to experiment with.
Give them the freedom to create what they want, even if it doesn’t match the “example” perfectly. Ask open-ended questions about their creations to encourage them to think creatively and critically.
Celebrate their efforts and display their crafts proudly. Most importantly, make crafting a fun, low-pressure activity.
-
What crafts do boys enjoy?
Boys typically enjoy a wide variety of crafts, including building models, creating origami, painting, sculpting with clay or playdough, and assembling LEGO projects.
Crafts that result in a toy or object they can play with, like DIY puppets or cardboard forts, are often particularly appealing.
-
What crafts do 7 year olds like?
At this age, children often enjoy more complex projects that allow them to express their creativity and build something they can be proud of.
This might include papier-mâché crafts, more advanced origami, DIY science experiments, beading, tie-dye projects, or even basic woodworking projects with adult supervision.
-
What are some fun craft ideas for kids?
There are countless fun craft ideas for kids, such as creating hand-painted flower pots, designing and making their own jewelry, building birdhouses, creating masks or costumes, making homemade slime, decorating tote bags, or creating artwork with mixed media.
-
What are fun crafts for kids with disabilities?
Crafts can be adapted to fit the abilities of any child. Sensory crafts, like playdough or slime, are great for children with visual impairments.
For children with mobility issues, painting, bead crafts, or other activities that can be done at a table can be a good choice. The key is to adapt the craft to the child’s abilities and preferences.
-
What common things do little boys like?
While every child is unique, many boys enjoy activities that allow them to be active, creative, and engaged. This might include sports, playing with toys, building with blocks or LEGO, drawing, painting, and other forms of creative expression.
-
What activities do boys like doing?
Boys, like all children, have diverse interests. Some may enjoy physical activities like sports, while others may prefer more cerebral activities like reading, drawing, or playing with puzzles.
Building models, playing with action figures or toy cars, or exploring the outdoors are also popular activities.
-
How to make toys for boys at home?
There are many ways to make toys at home! You can create simple puppets with socks or paper bags, build a fort out of cardboard boxes, or make a DIY kite with sticks and paper.
Older children might enjoy making a homemade board game, building a model car out of popsicle sticks, or crafting a toy boat out of recycled materials.
-
How do you get a boy interested in art?
The key to getting a boy interested in art is to make it fun and relevant to his interests. If he loves dinosaurs, for example, try doing a dinosaur-themed painting project.
Let him experiment with different materials and styles, and make sure to provide plenty of positive feedback. Encourage his creativity and let him know there’s no right or wrong way to create art.
Wrapping Up Craft Ideas for 7 Year Old Boys
Congratulations! You’ve just explored some amazing craft ideas that’ll keep your 7-year-old boy entertained for hours on end.
From pom-pom caterpillars to DIY origami dinosaurs, glitter and bead art to balloon crafts, playdough creations to clothespin crafts, and even DIY bubble makers – the options are endless.
Crafting is an essential activity that helps children develop their creativity and imagination while also improving their motor skills. By encouraging them to explore different materials and techniques, you’re not only keeping them engaged but also helping them learn new things.
So why wait? Start crafting today with your little one and watch as they create beautiful masterpieces with their own hands. Who knows? Maybe this could be the start of a lifelong passion for arts and crafts!
If you enjoyed this article about the Best DIY Craft Ideas for 7 Year Old Boys and would like to learn more, please leave a comment below.