Fun Easter Bunny Puppets (Spring Crafts for Kids)
This tutorial will teach you how to create Spring Easter Bunny Puppets Craft, a fun and educational activity.
Spring is a beloved season known for its beautiful colors and pleasant weather. With the arrival of Easter, this season becomes even more delightful and exciting.
In our household, we enjoy making cookies and organizing an Easter egg hunt for the children in our garden, making this holiday truly special.
According to legend, the Easter bunny lays, decorates, and hides eggs as a symbol of new life.
Check out these amazing art projects 👇
- Daycare Art Projects
- Preschool Art Projects
- Kindergarten Art Projects
- 1st Grade Art Projects
- 2nd Grade Art Projects
- 3rd Grade Art Projects
- 4th Grade Art Projects
- 5th Grade Art Projects
- 6th Grade Art Projects
- 7th Grade Art Projects
- Ice Cream Art Project
- Fun Craft Projects for Kids

How to make Easter Bunny Puppets
This explains that bunnies have great importance in this special event and season, so why not we make it. To upgrade this tradition, even more, we can make cute Easter bunny puppets, wouldn’t that be wonderful. If you are a teacher you can make your student perform this activity and make it for Easter decorations.
You can also provide them with pictures of the steps and they can make these puppets for fun on Easter day.
Let’s begin making bunny paper craft puppets!
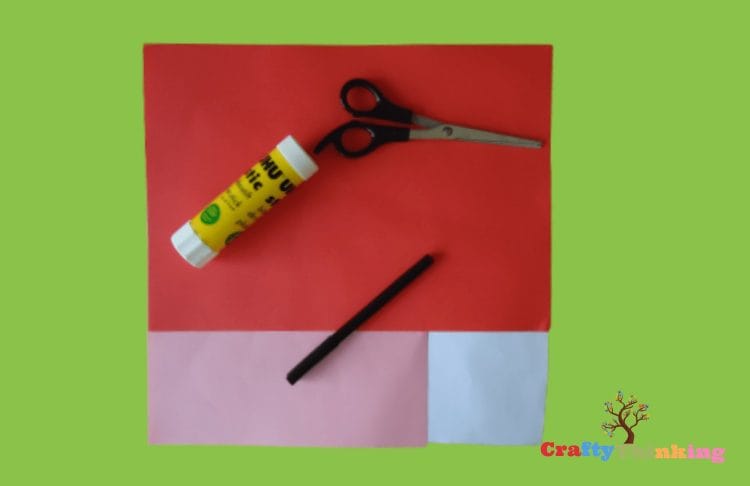
Supplies Needed:
- Red, pink, and white sheet
- Scissor
- Glue
- Black marker
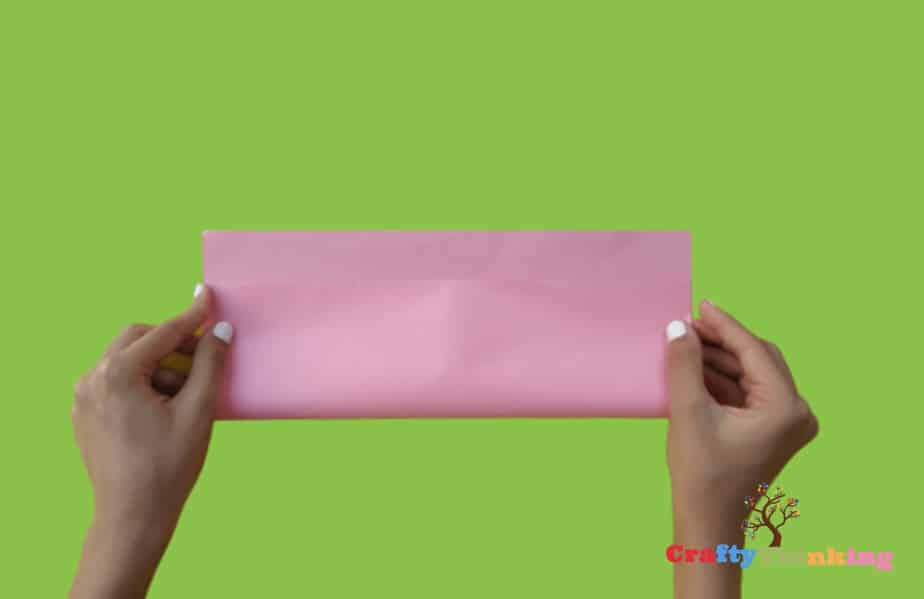
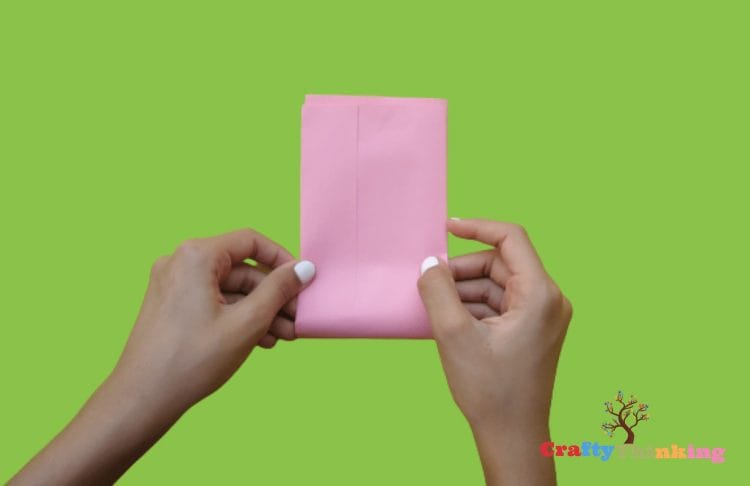
Step 1:
Grab your pink sheet of paper, horizontally and make a rectangle, but the bottom and top sides of the paper shouldn’t meet. There should be a little space left on the top once you make the rectangle as shown in the illustration.
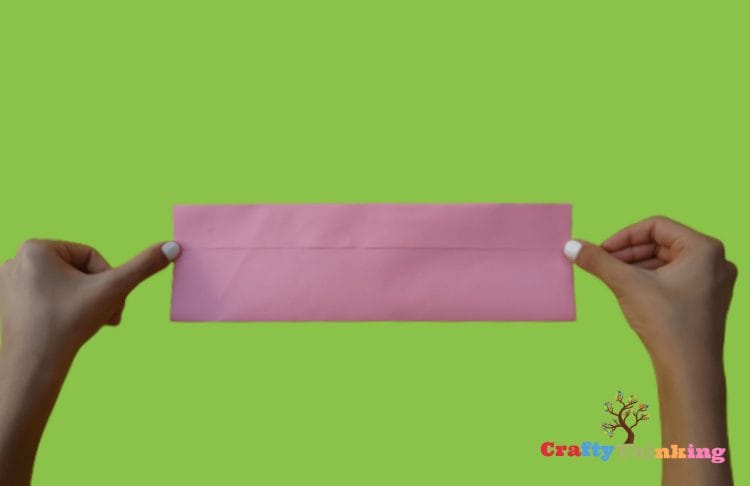
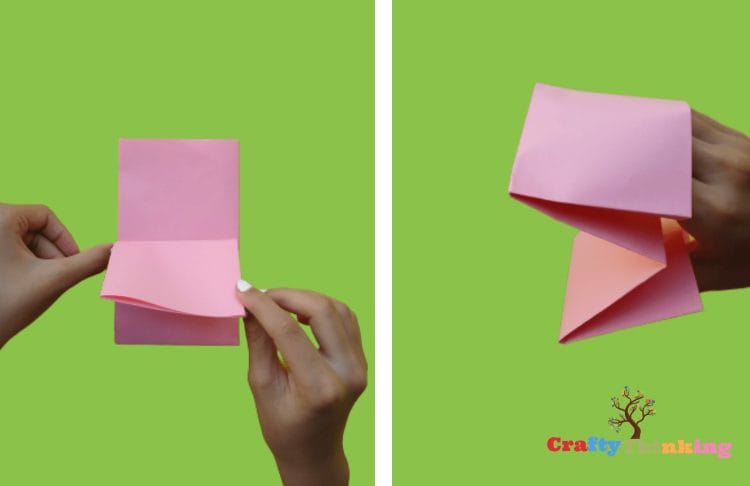
Step 2:
Now add glue to the space left on the top. It might not look like a puppet at the moment, but it will later. Now stick the glued part to the rectangle you folded in Step 1.
Step 3:
Now hold the paper vertically and fold it to form an even smaller rectangle.
Step 4:
Now rotate the paper and grab one of the bottom sides and fold it pointing upwards. Turn the paper upside down and do the same on the other side.
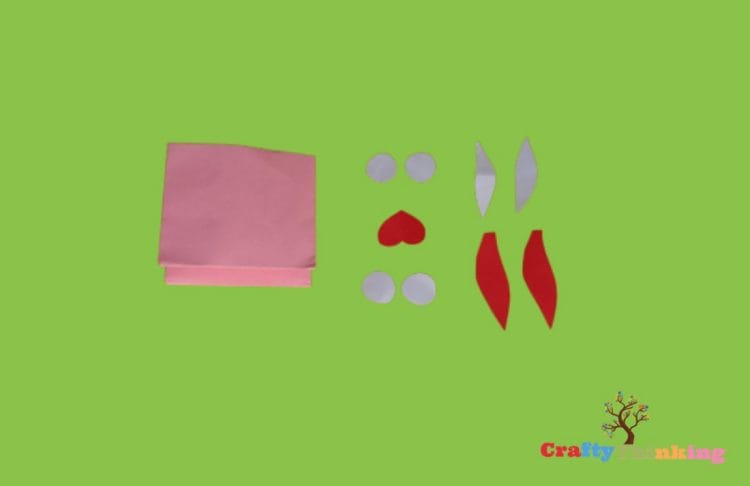
Step 5:
Now cut four circles on white paper, a heart shape on red sheet. Also, cut two bunny ear shapes on a red paper.
On white paper, cut similar-shaped bunny ears but they should be slightly smaller.
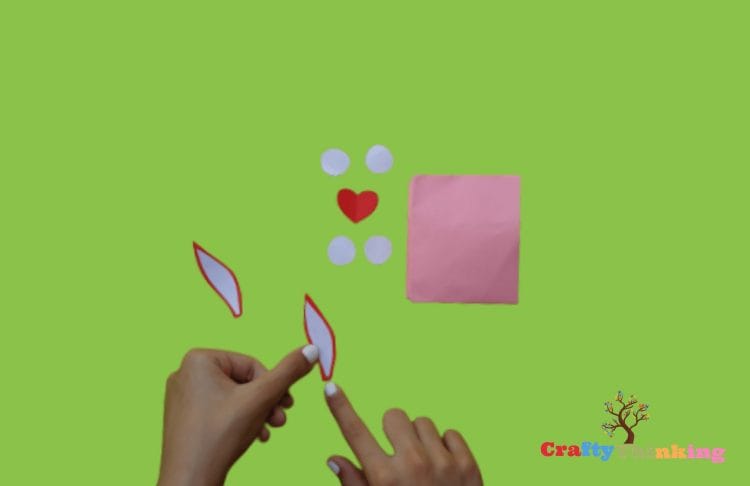
Step 6:
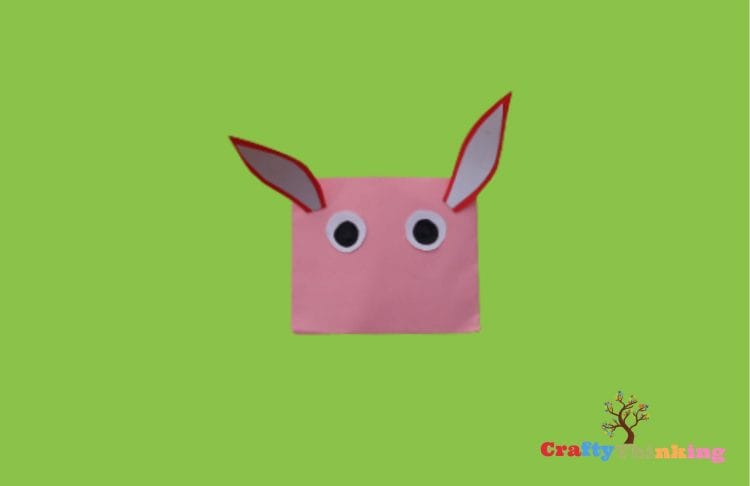
Now stick the white ears inside the red ears using glue like done in the figure below.
Step 7:
Draw a pupil in two of the circles using a black marker to represent the eyes and stick it to the pink puppet.
Take the prepared bunny ears and fold them from the bottom to create a small turn and add glue to it. Stick the ears near the bunny on the top corners.
Step 8:
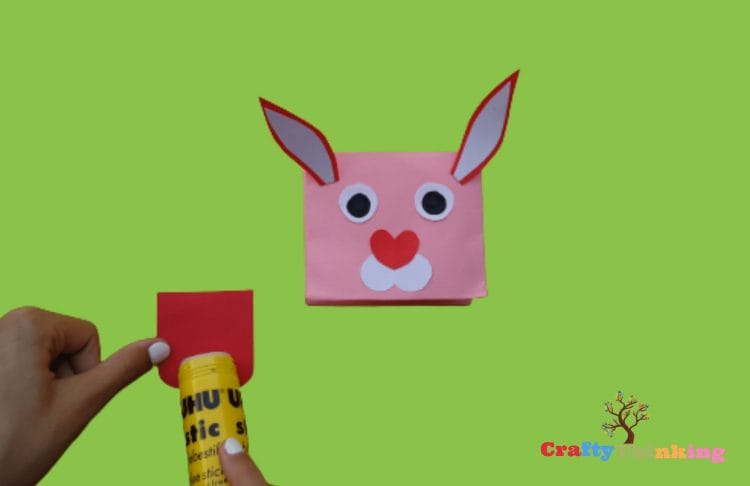
Take the leftover two white circles and stick them together, overlapping each other, and glue them near the bottom of the puppet.
Use the heart and glue it on the top of the circles as done in the illustration below. Take a U shape piece of paper for the tongue of the bunny.
Step 9:
We are now at the last step, just paste the tongue as mentioned in the illustration.
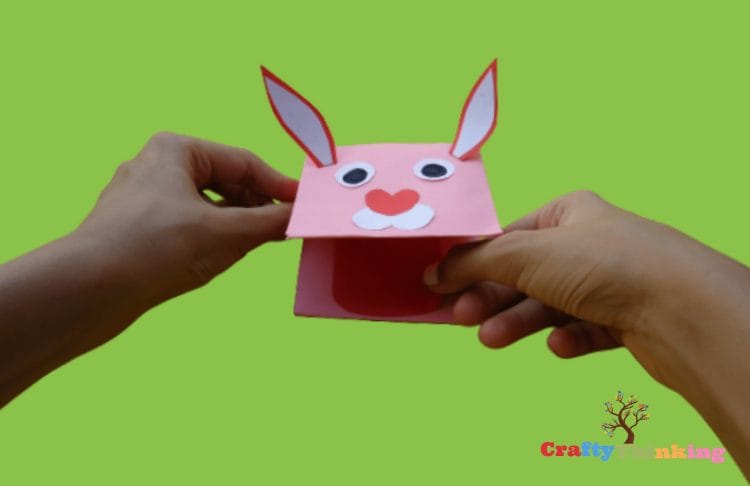
Wow! You have learned completely how to craft a bunny.
Isn’t this puppet wonderful? You can now play with it and make it on Easter day as well with your family and friends.
You have learned a new tutorial on how to make spring crafts for toddlers! You can look at the final result and appreciate this masterpiece mainly made for spring!
If you like this article and would like to know more, please comment below.