How to Draw an Airplane Step by Step with Free Airplane Template
In this tutorial we will learn How to draw an Airplane in an easy way. You must have seen many of the kids, especially the boys playing with the vehicles.
Young boy toddlers opt to play with a lot of vehicles like airplanes, cycles, cars, buses, vans and trucks. This choice of boys makes them more creative and sharper than the girls.
You might also like:
- 86 Fun Things to Draw for Kids
- What to Draw When Bored?
- Painting Name Ideas
- Drawing With Sharpies
- Best Art Resources
- Different Types of Art Markers
Supplies Needed for the Airplane Drawing
1. Free Printable Airplane Template
How to Draw an Airplane Step by Step
Let’s start drawing an airplane step by step to make it easy for you.
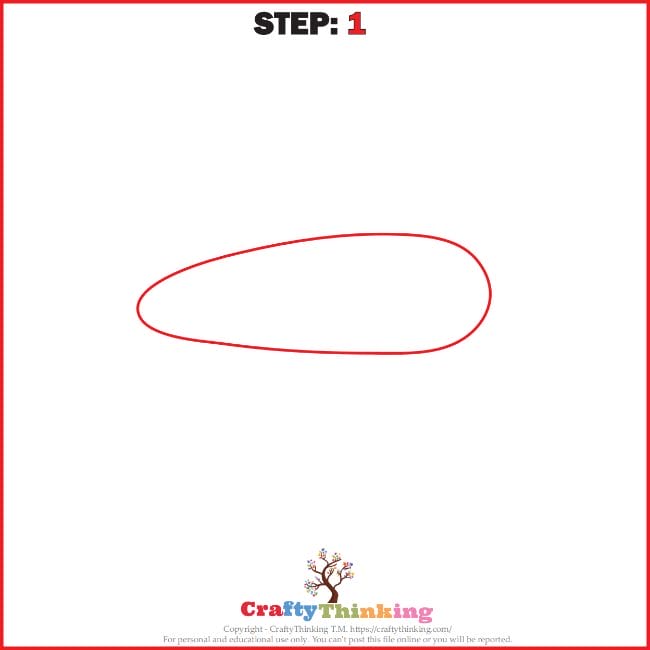
STEP 1:
First draw two curved lines parallel to each other. The curve of one line projects upwards and the curve of other line projects downwards.
Join these lines by another larger curved line on the right side and a smaller curved line on the left side. This figure will become the body of an airplane.
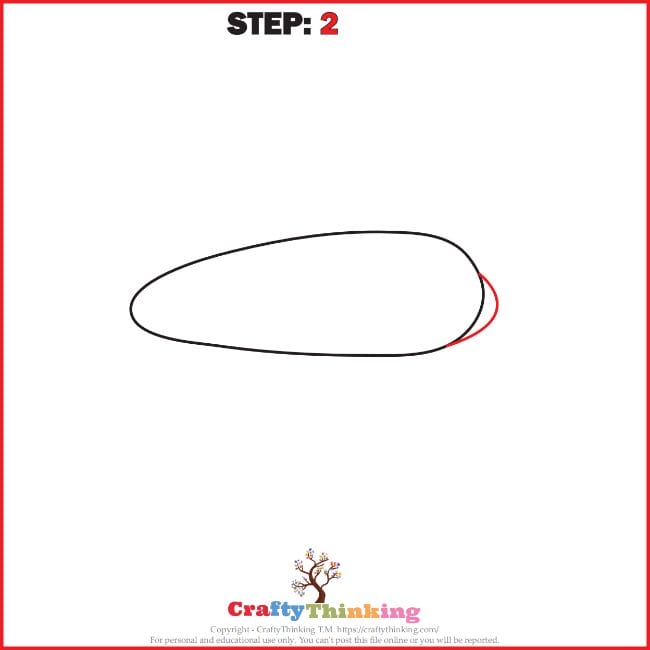
STEP 2:
On the left of the body of the airplane, draw another small, curved line. This will become the anterior most hump of the airplane.
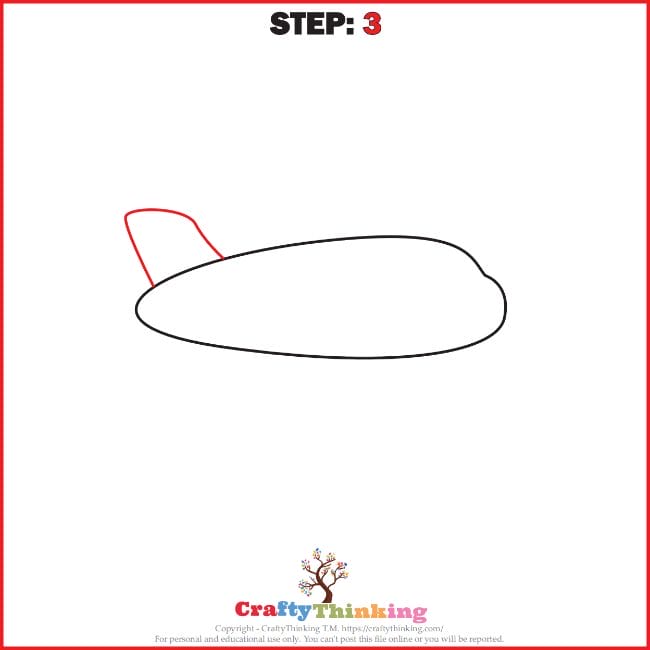
STEP 3:
Now, erase the curved lining of an airplane that comes inside the front hump of an airplane.
Also, draw the wing of the airplane. For this purpose, draw a square shaped figure on the back side of the body of an airplane. The sides and top of this square are made wavy.
Here we have drawn the beautiful and accurate wing of the airplane.
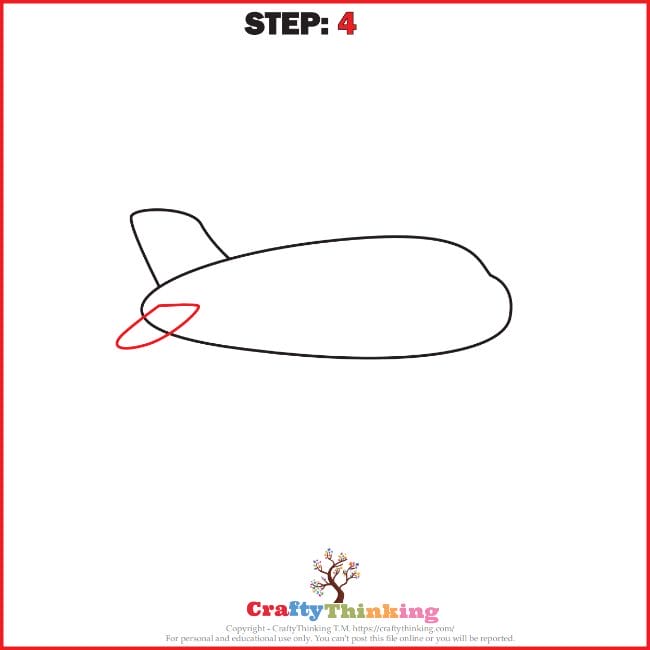
STEP 4:
Now, draw one more wing in the lower portion of the back side. Draw it in a similar manner as the previous wing.
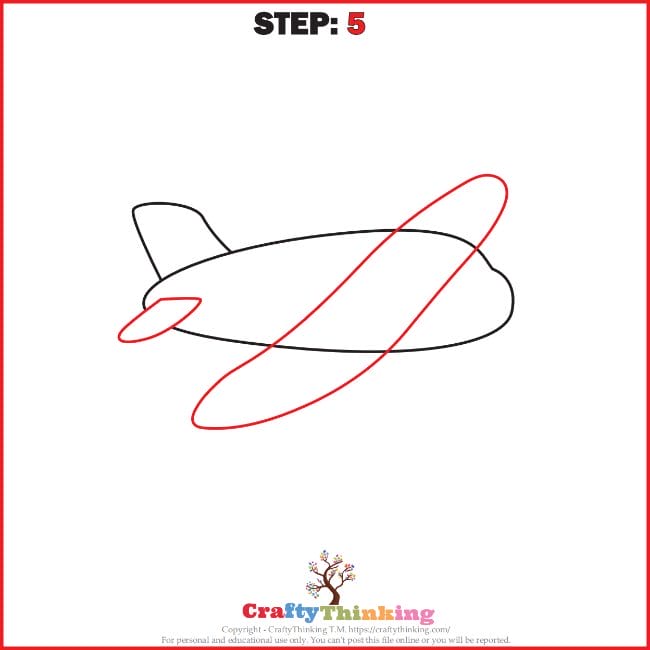
STEP 5:
Let’s draw the front wings of an airplane. For this purpose, draw an oval shaped with stretched margins across the front side of the body of the airplane.
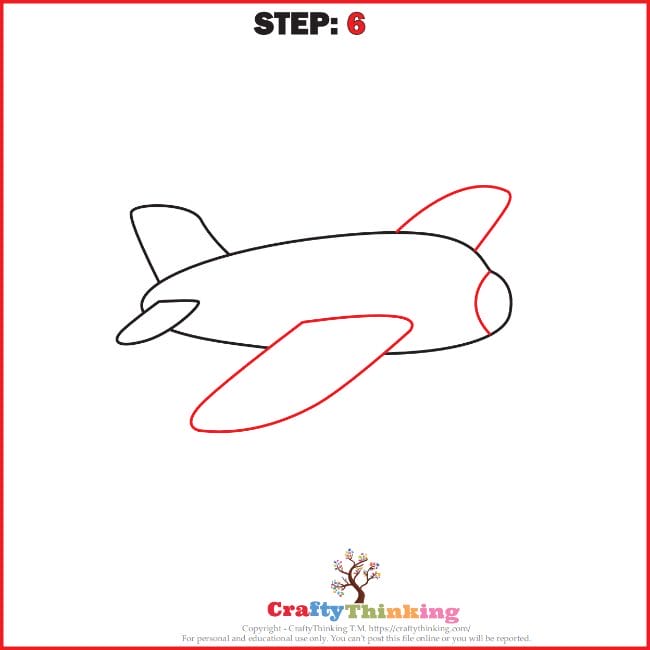
STEP 6:
Erase the portion of front wings that interrupts the linings of the body of an airplane.
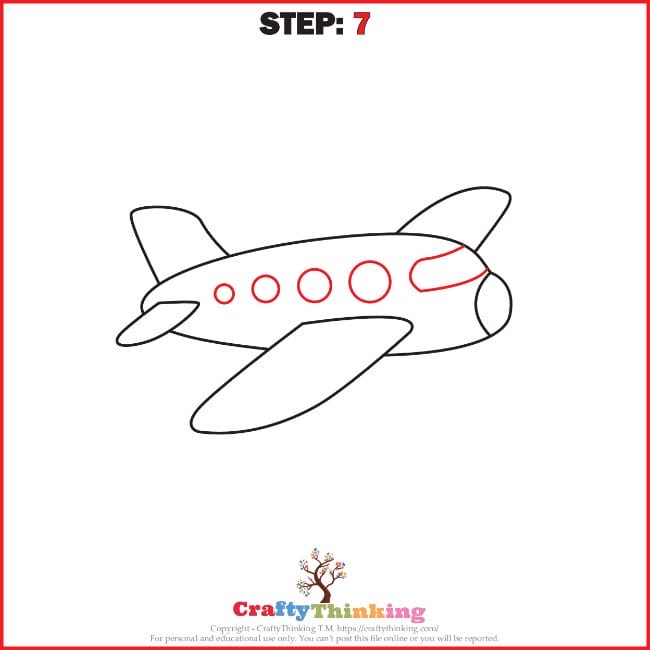
STEP 7:
Let’s draw the windows of an airplane. For this purpose, draw small circles across the whole length of the airplane.
We need to draw the front mirror of an airplane. To draw this, trace a rectangular shaped figure starting from one side of the plane body to the middle of the body.
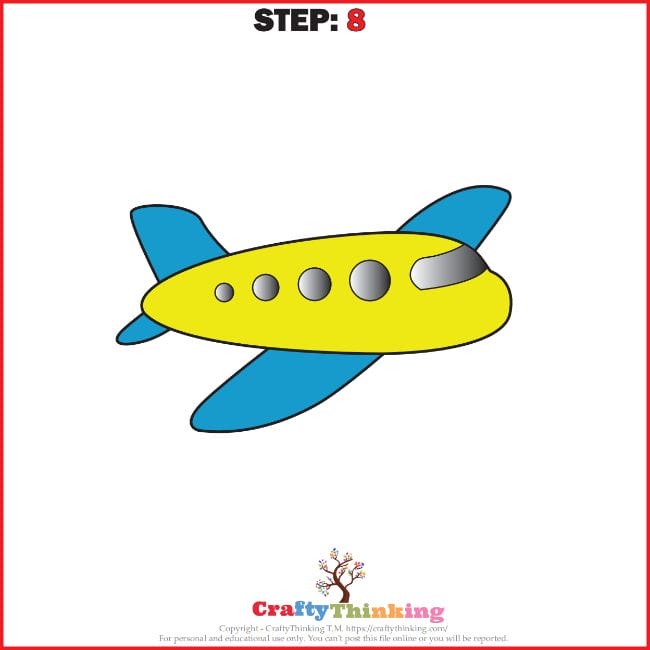
STEP 8:
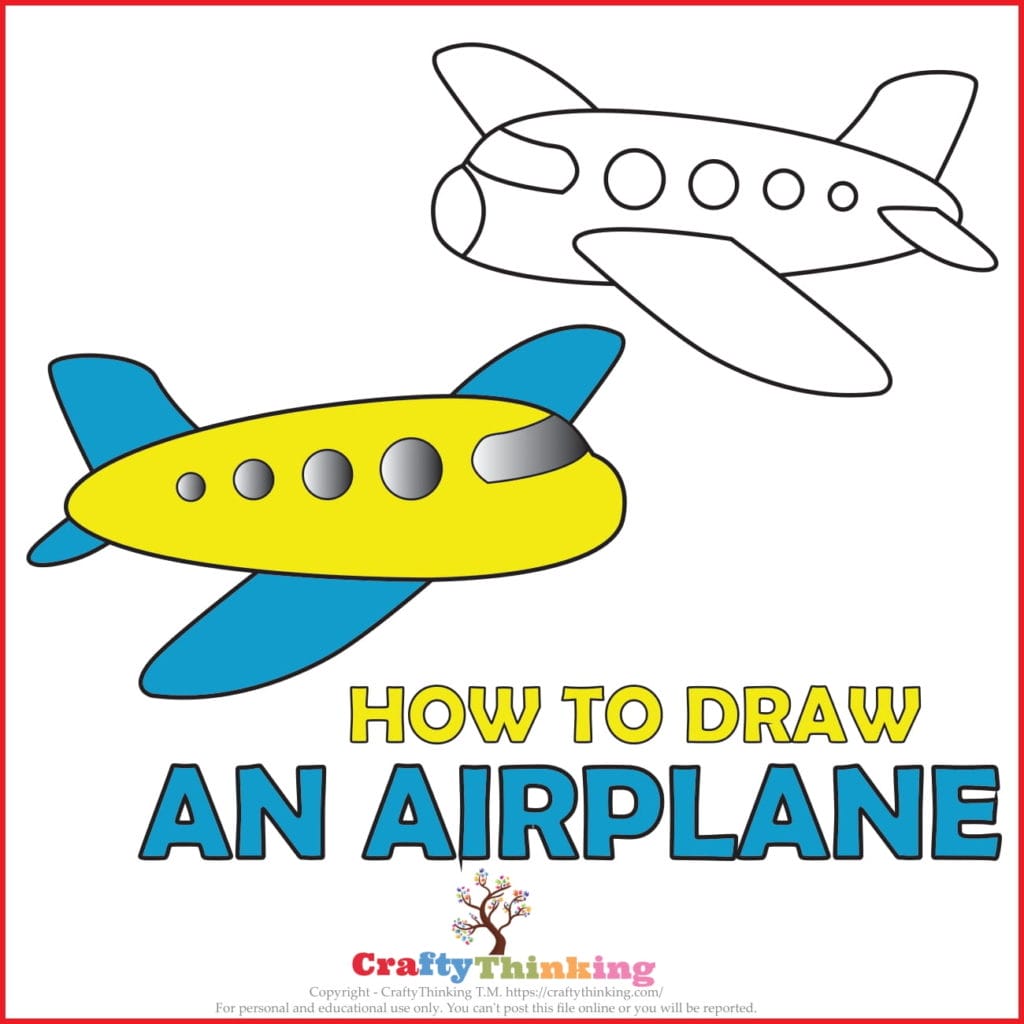
Color the airplane so that it looks presentable and wonderful. We have chosen bright colors to give it an attractive look. You can also use the soft colors.
Congratulations! You have successfully learned How to draw an Airplane. We hope this was a fun-filled experience for you all.
What is an airplane?
An airplane is a powered flying vehicle with fixed wings and a weight greater than that of the air it displaces.
It is propelled forward by thrust from jet engines or propellers and uses wings to lift it off the ground by exploiting the wind’s aerodynamic properties.
If you like this article about How to draw an Airplane and would like to know more, please comment below.
Free Printable Airplane Template
Enter your email below to get your
Free Airplane Printable and join our Newsletter.