How To Draw a Rose (Step by Step)
How To Draw A Rose! What’s your favorite flower? Let me guess, is it a rose?
Roses
Well, we all have to agree upon the fact that roses are alluring and classic flowers that have captivated and inspired artists and many others for centuries. Starting with their glittering red color to the smooth texture that is cool to the touch and their heavenly fragrance, roses are the complete manifestation of love and that is the reason why they are adored throughout the world.
However, roses also exist in many other colors. Do you know that a yellow rose is the symbol of friendship and caring?
Draw a Rose
Despite its simplicity and the powerful significance it holds, it can be quite challenging to draw it but by following this how to draw a rose step by step, with just a few unchallenging strokes and touches, in no time, you will be successful in drawing a beautiful rose.
There will be more steps as compared to our previous guides because we have kept the steps as simple and detail-oriented as we could do so that you could easily capture the essence of this mystical flower.
How To Draw a Rose
Our how to draw a rose easy tutorial is good enough for both beginners and grown-ups. Also as previously stated that always make sure to keep your imagination your guideline.
What You Need:
- Our rose directed drawing template (grab it at the end of the tutorial)
- A sheet of paper and printer
- Your favorite drawing marker or pencil
- Coloring supplies if you want to color in your picture
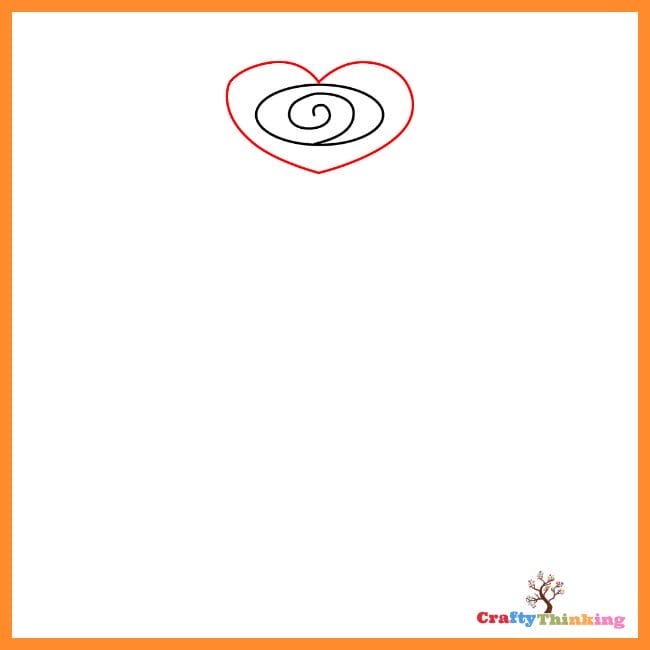
Step 1:
You will begin by drawing an oval shape just like an egg laid on its side. Don’t worry if you are unable to draw it perfectly because there is a saying that in nature nothing is perfect and everything is perfect. This is also the same for human beings.

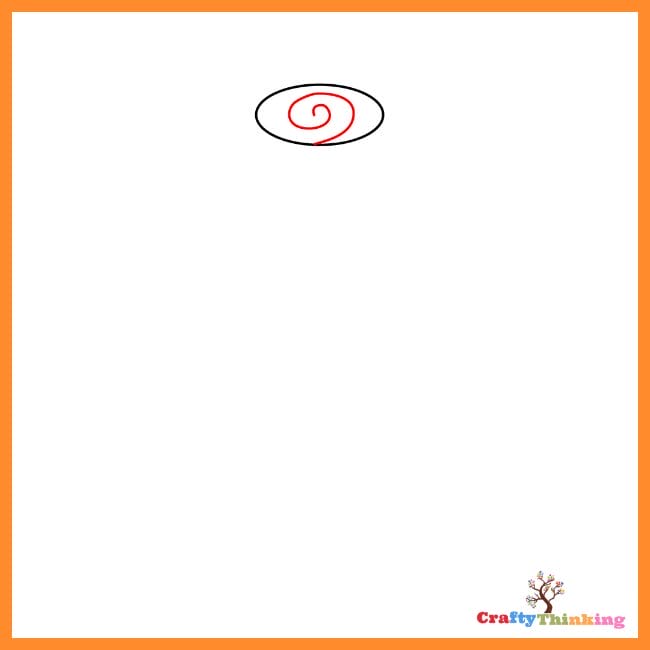
Step 2:
Now, you will draw a spiral-shaped line inside the oval you just drew. The turns of the spiral do not matter and you can draw it in the direction you want to.
Step 3:
It is easy until now, isn’t it? Next, we will draw a heart around the oval making sure that the midpoint of the heart connects with the top of the oval. As stated before, the shape of the heart does not need to be flawless and freehand drawing just gives its charm to the portrait. Try not to touch the sides of the heart with the oval. However, even if it does, it’s okay.
Step 4:
Now start from the left side of the heart and draw a curve coming downwards to form a pointy shape. Then connect this to the bottom of the heart. It may somewhat resemble a loose letter “S”.
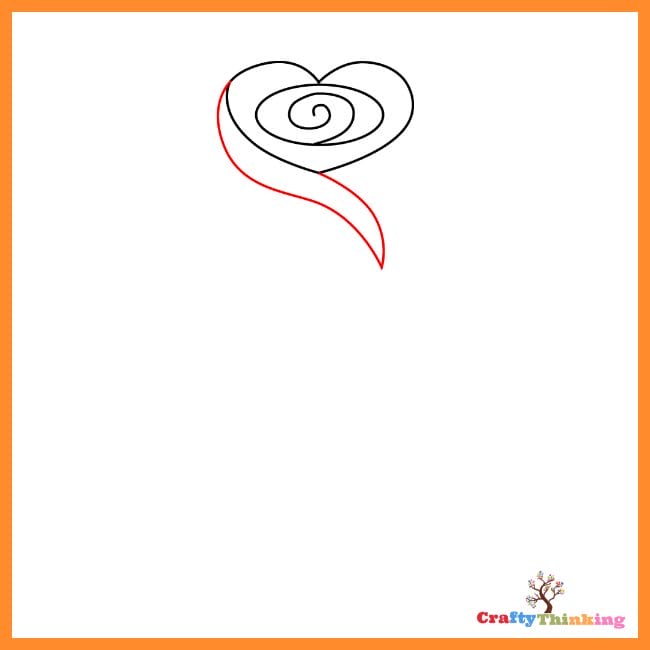
Step 5:
Also, on the right side, you will draw a similar shape with a curvy start, sloping downward in such a way that its bottom meets the previous shape drawn on the left side. However, you have to draw this shape without a pointy edge. Superb! You’re doing excellent!

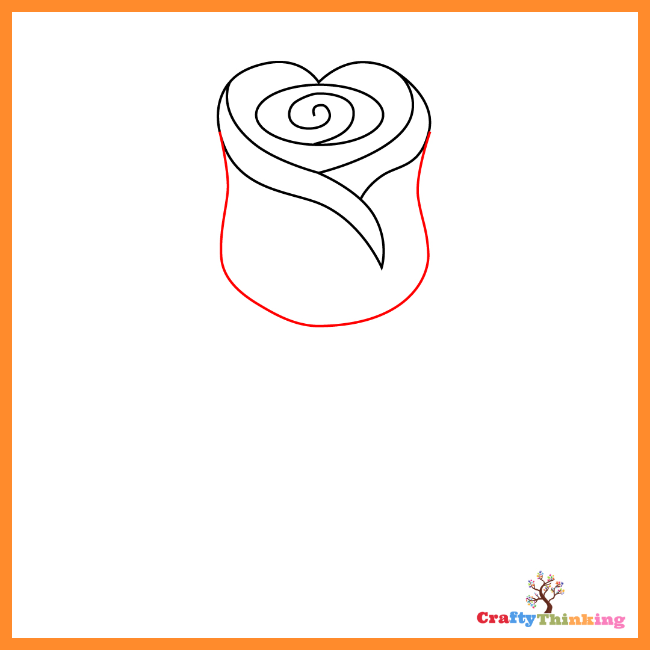
Step 6:
Beginning from the loose letter “S” shape that you just drew in the previous step; you will make a U shape which is curvy at the top and widens as it goes down. It will also form a curve at the base. Can you guess what you have just drawn? Yes, it’s the blossom of the rose.
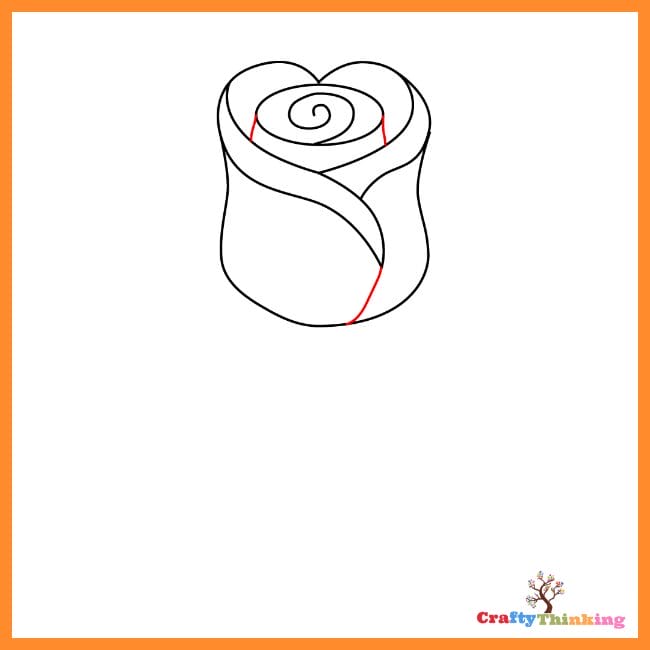
Step 7:
We will now add some further details to the already gorgeous drawing to enhance its beauty. Draw two lines on the right and the left sides of the oval which you drew in the initial steps, and connect those to the side of the heart which is drawn around the oval. Furthermore, draw a curved line starting from the bottom of the pointy “S” shape you drew first and connect it to the bottom of the blossom.
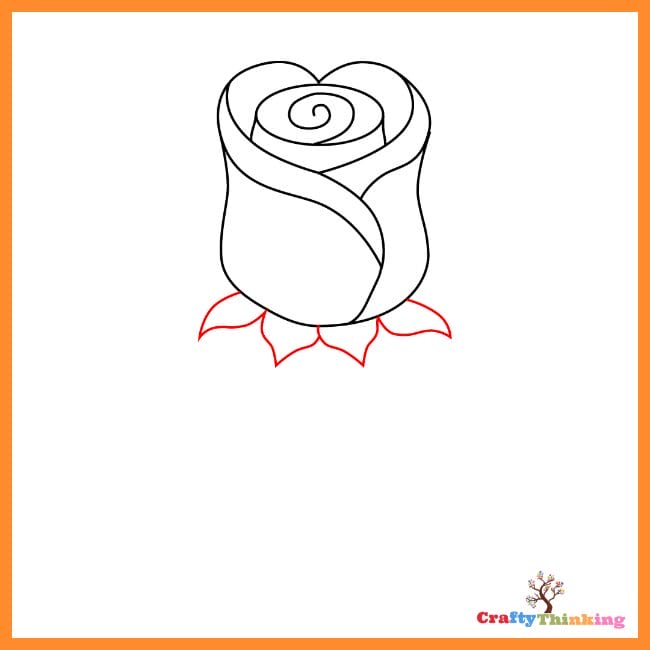
Step 8:
Great job! Can you guess something that is still missing? Yes! It’s the sepal. You will draw it underneath the blossom of the rose. They would kind of look like upside-down flames of a candle or even somewhat like tiny leaves. Do you know that sepal is a vital component of the flower as it provides support to the petals?
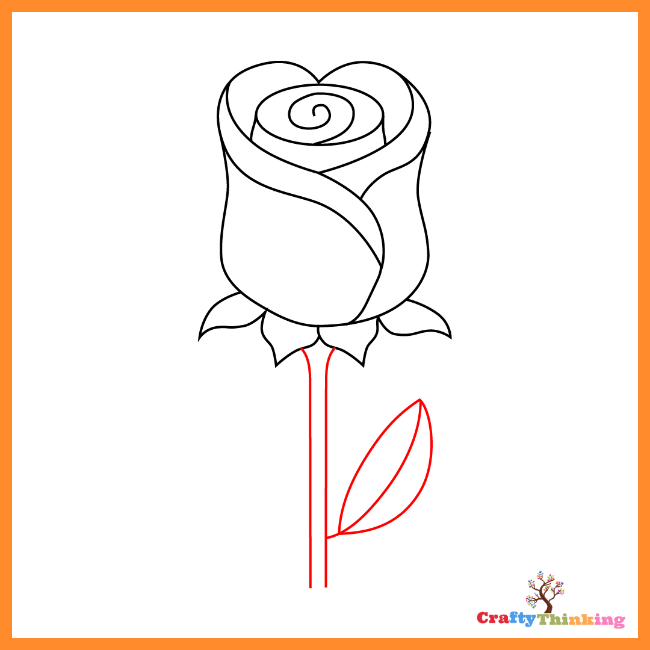
Step 9:
We are not still done yet and there are two final components of a rose that are still missing. Can you guess what they are? Yes, you are right! They are the hard, green, and thorny stem accompanied by fresh and dewy leaves. Well, do you know that roses are known as ‘the king of the flowers’?
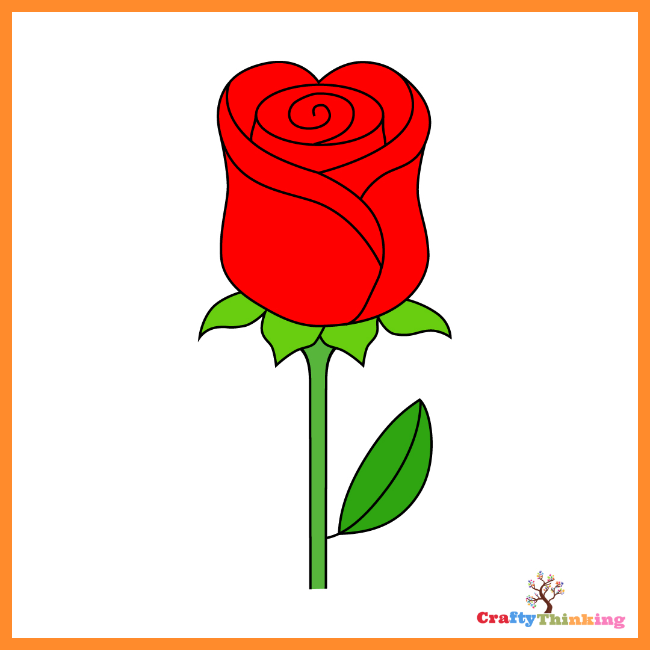
Step 10:
Finally, we arrive at the concluding step of this how to draw a simple rose tutorial. This step is the most creative one and it is the coloring part.
Coloring is an extremely essential step in art and is also really powerful as it helps to express the emotion and mood that both the artist, his imagination and the portrait itself are denoting. Coloring the rose holds great significance because as mentioned earlier, the different colors of the rose indicate various spiritual messages, and the way you color it is totally up to you. You can color it white if you want to portray purity and innocent, blue if you want to convey mystery, or just the common red that symbolizes the emotion of love.
Congratulations! You have mastered how to draw an easy rose step-by-step tutorial.
If you like this article about how to draw a rose and would like to know more, please comment below.
Check Out These Drawing Tutorials
Grab the complete printable here: