How to Draw Clam Step by Step with Free Clam Template
Want to know How to draw clam? It’s really easy! Just follow these simple steps and you’ll be able to create a beautiful clam shell in no time.
Plus, it’s a fun project the whole family can enjoy. Get started now and you’ll have your masterpiece finished in no time.
You might also like:
- 86 Fun Things to Draw for Kids
- What to Draw When Bored?
- Painting Name Ideas
- Drawing With Sharpies
- Best Art Resources
- Different Types of Art Markers
Supplies Needed for the Clam Drawing
1. Free Printable Clam Template
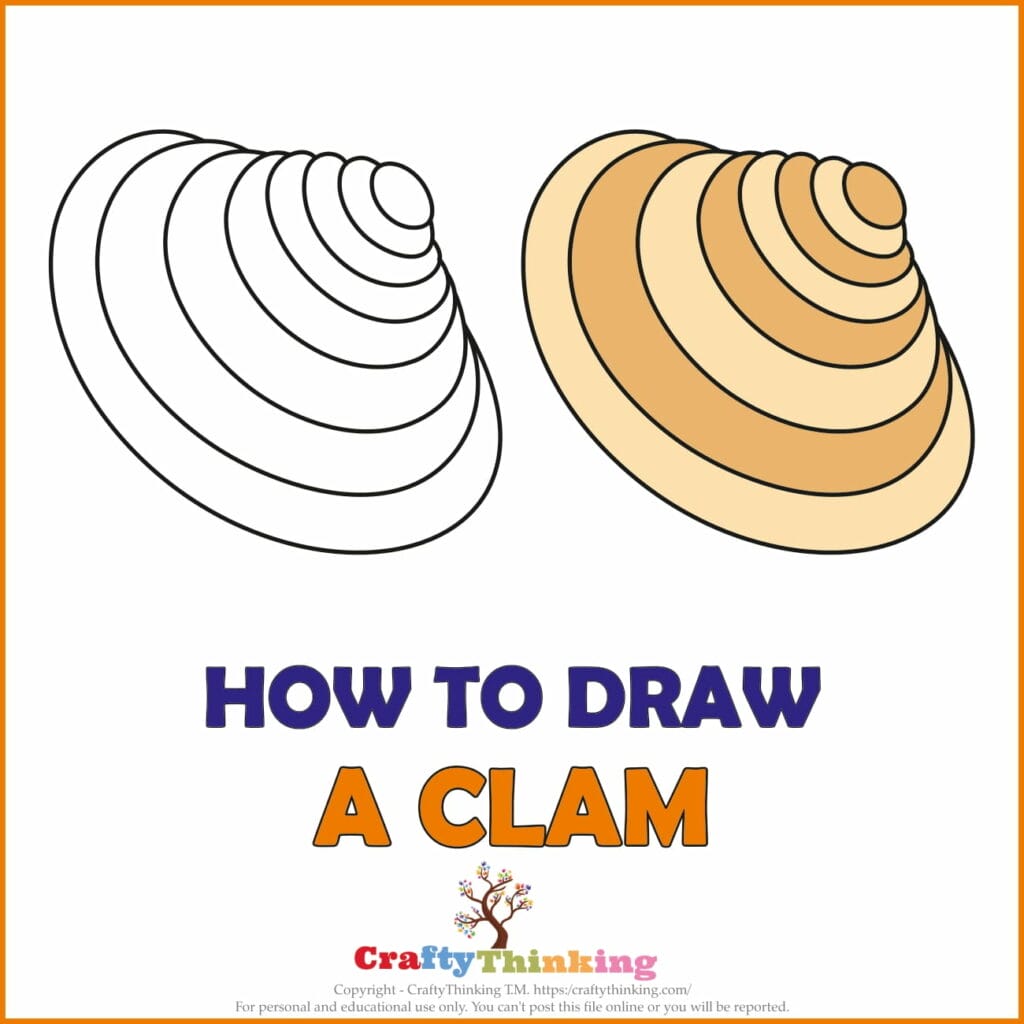
How to Draw Clam Step by Step
Lets get started with The Step-By-Step Instructions for How to Draw a Clam. Follow the steps to draw this clam that you can color with your kids.
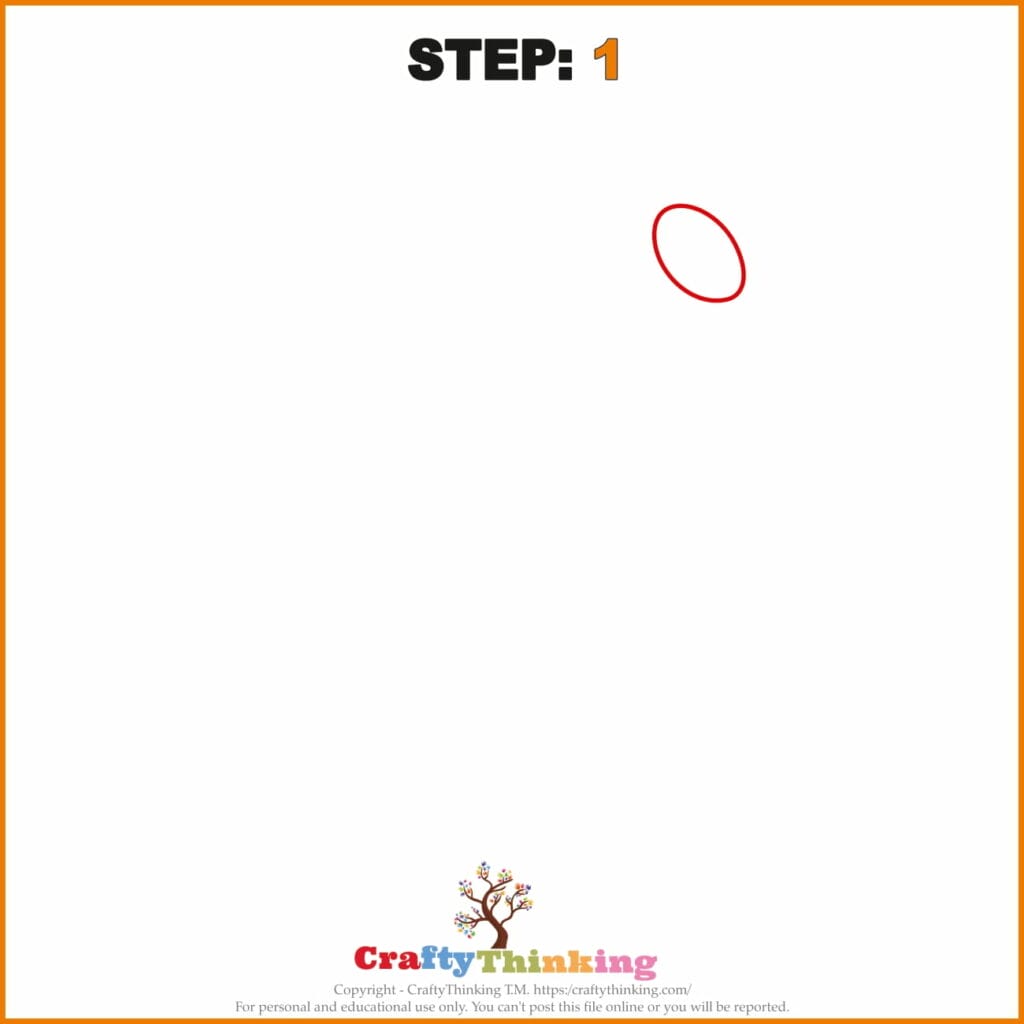
Step: 1
On white construction paper, draw the shape of the clam with a thick-tipped black marker. Use this line to form the base of the clam.
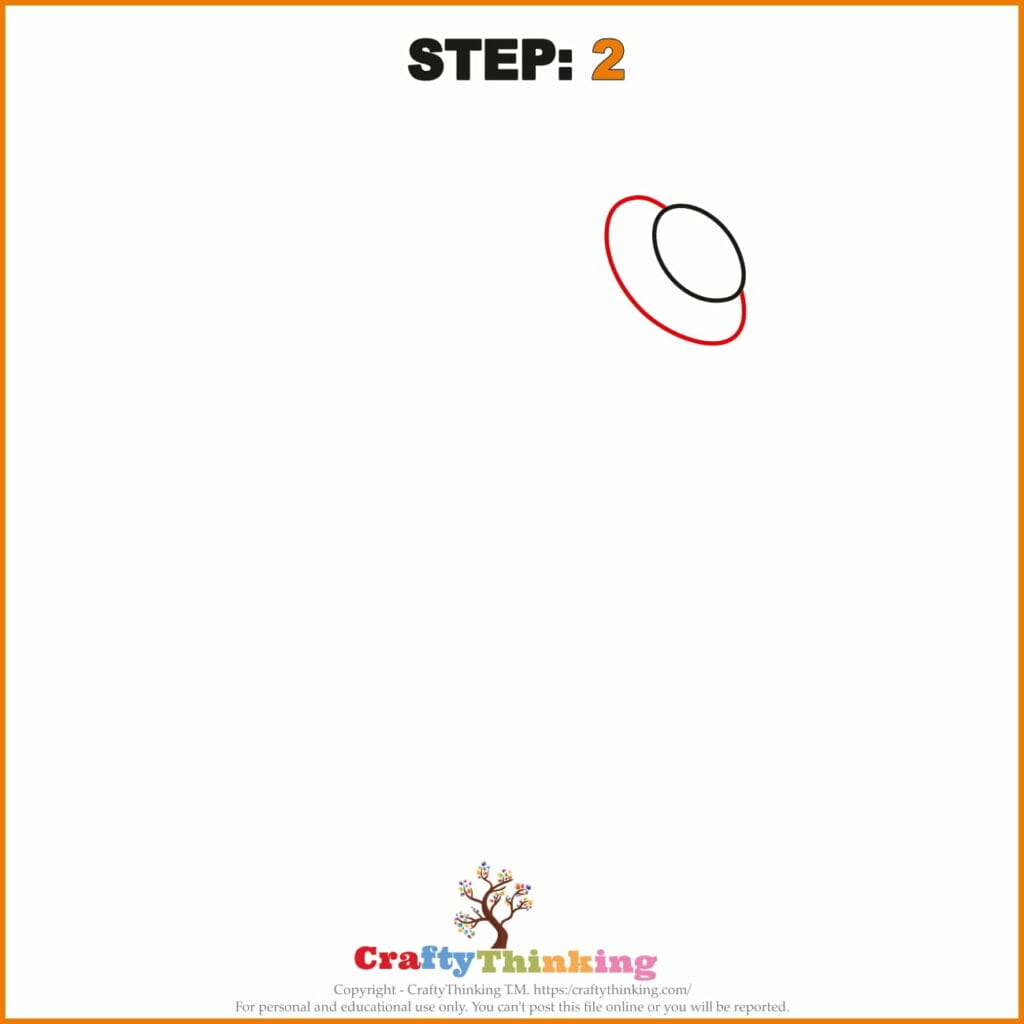
Step: 2
Draw another vertical line extending up from the right corner of your first line. Repeat this line in the left corner. These two lines complete the base of the shell.
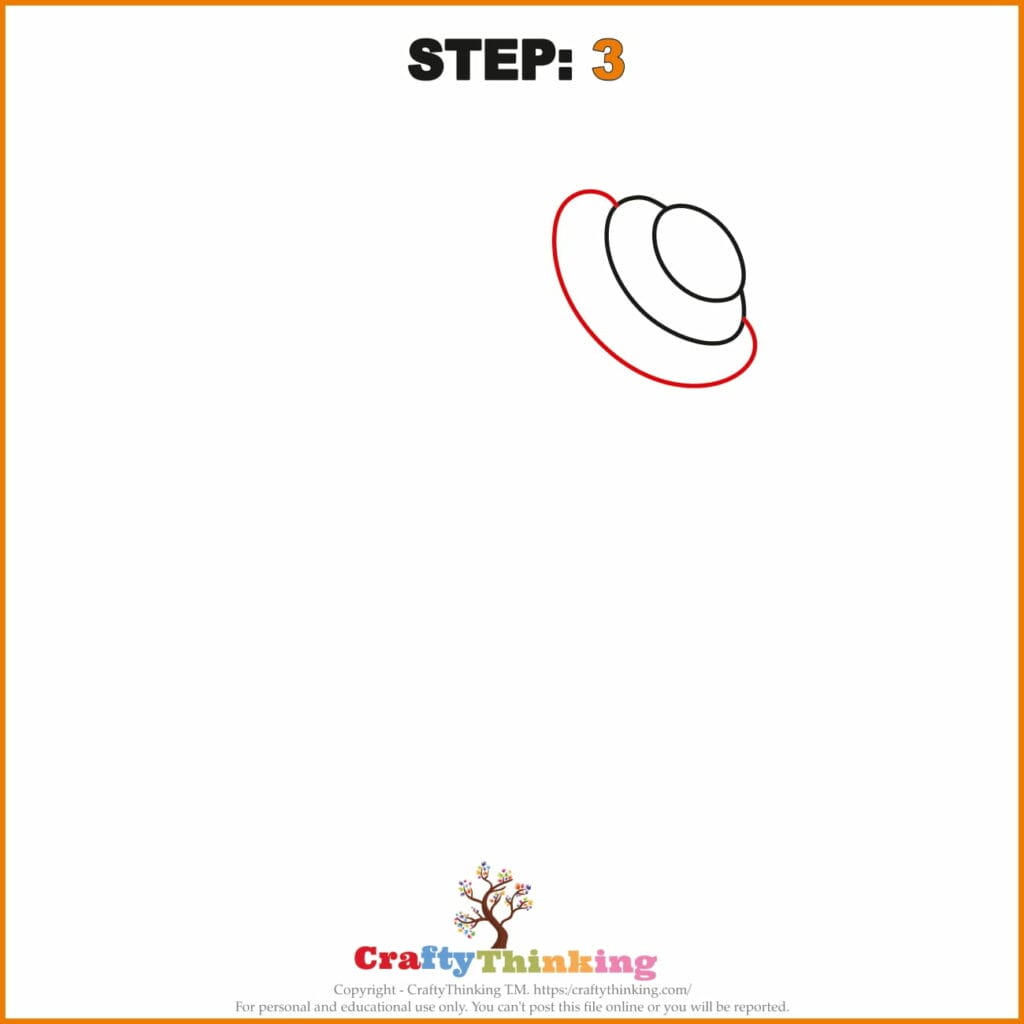
Step: 3
Draw 3rd curved line that fans out from this center point on the left and right sides. Make sure each line touches the vertical line at the base of the shell as it arcs away from the center point. These lines complete the sides of the clamshell.
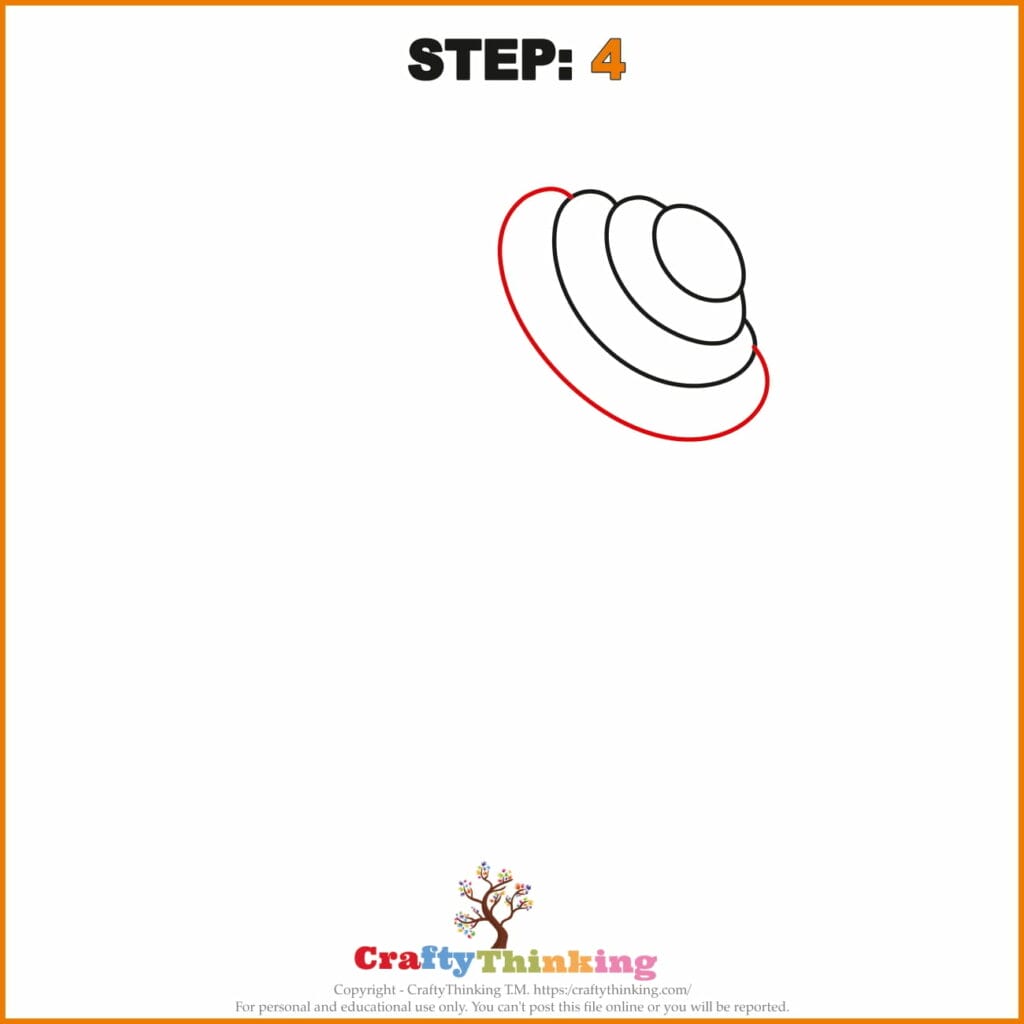
Step: 4
Place the pencil on the center point of the baseline again. Draw 4th line fanning out from this center point between the lines that form the sides of the clam. Make these lines progressively higher, moving closer to the center of the clam. Make sure the left and right halves of the surface remain symmetrical.
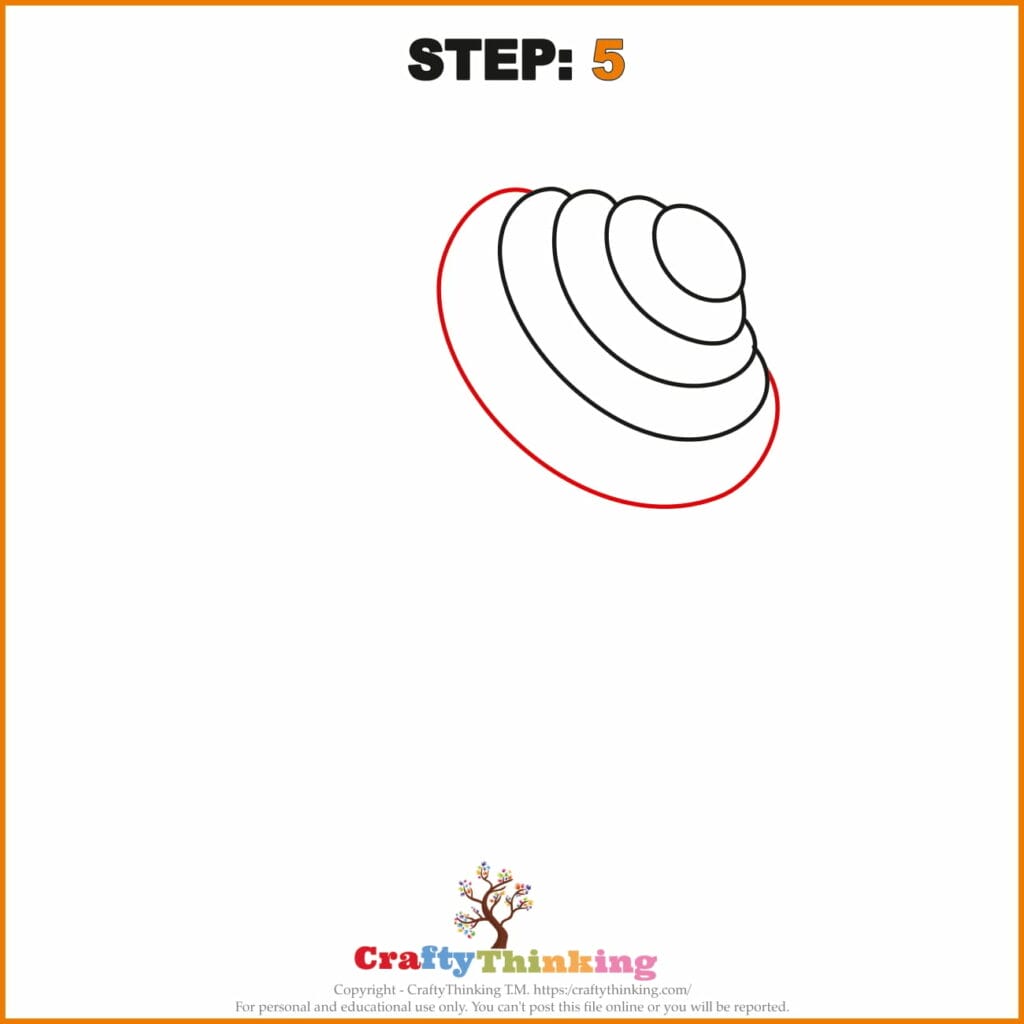
Step: 5
Draw the 5th line to connect the end of each of your venting lines to the bar directly next to it.
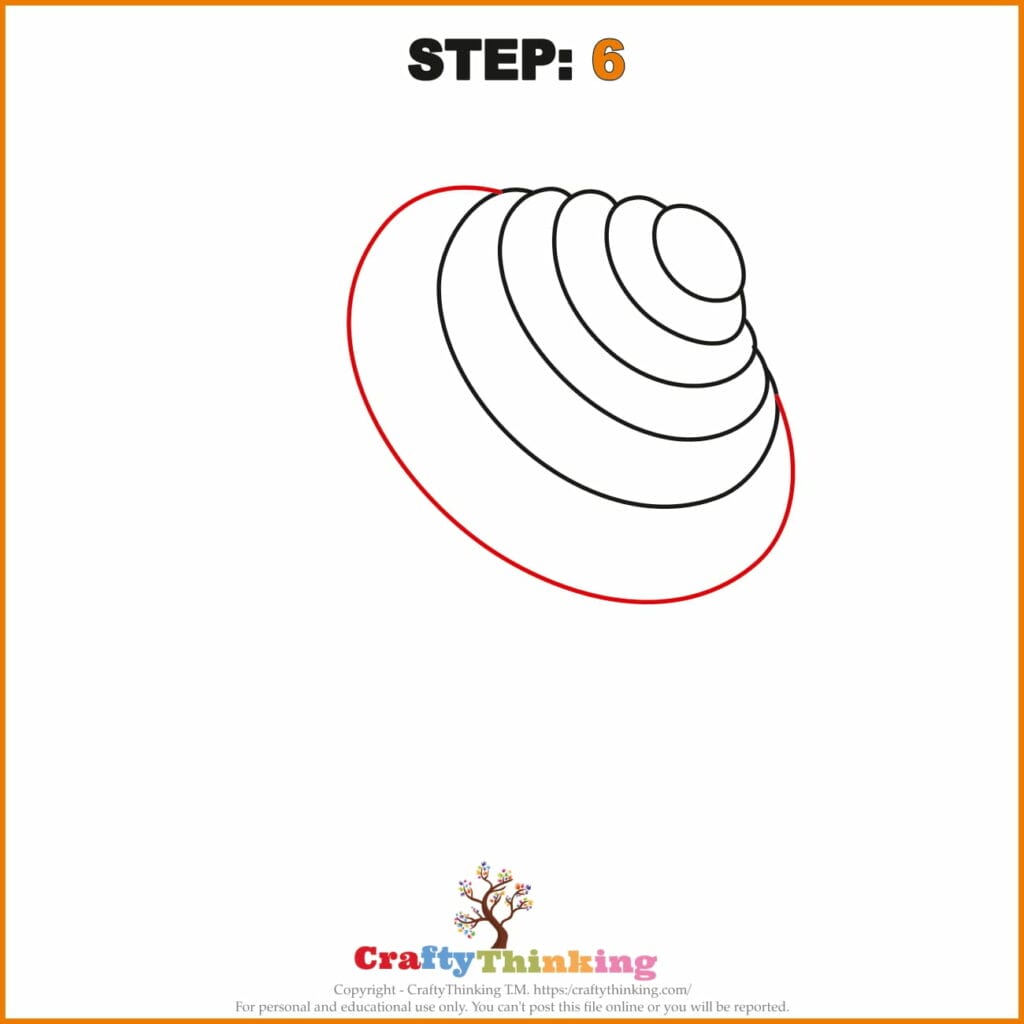
Step: 6
Draw another complex line around the shell parallel to the mainline. Connect it to the mainline at each end.
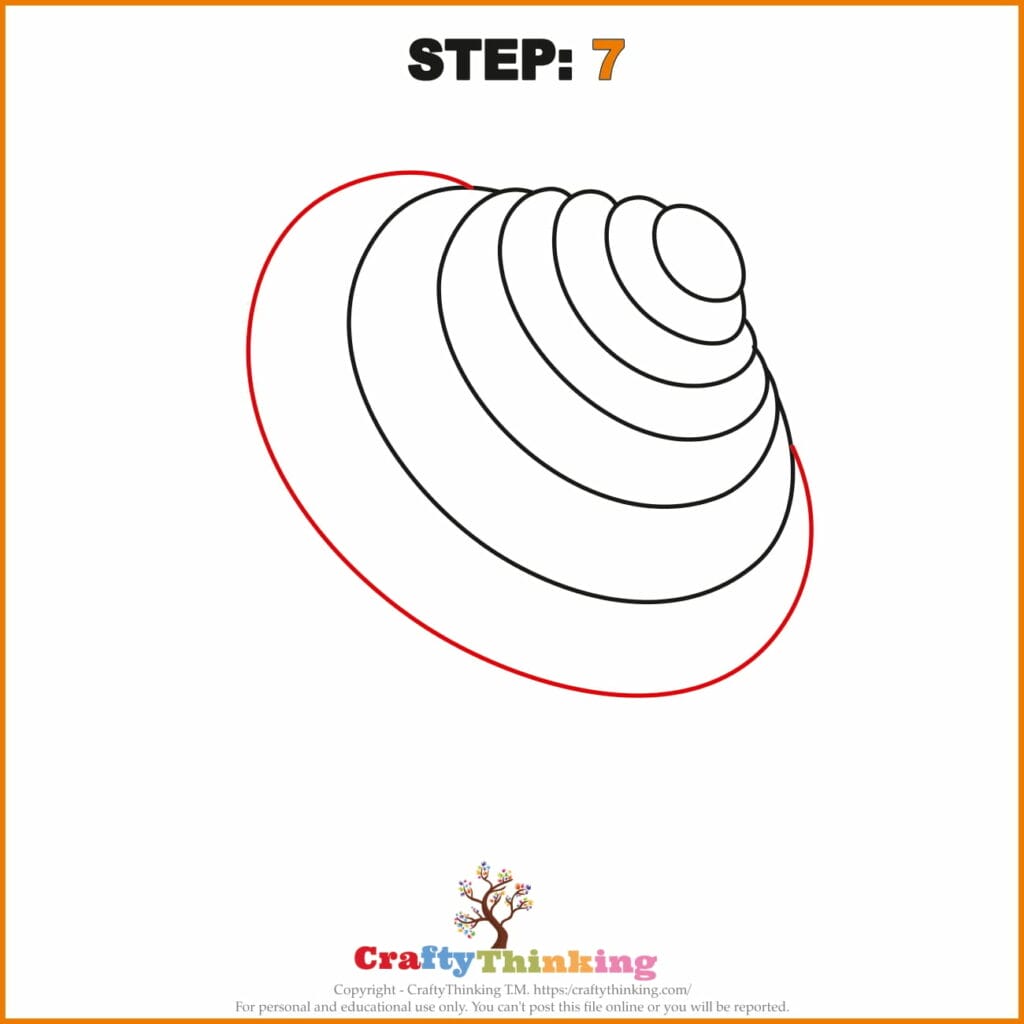
Step: 7
Now draw the 7th line and make sure these bows remain taller in the center and shorter as they go to the sides. These lines gradually complete your clam drawing.
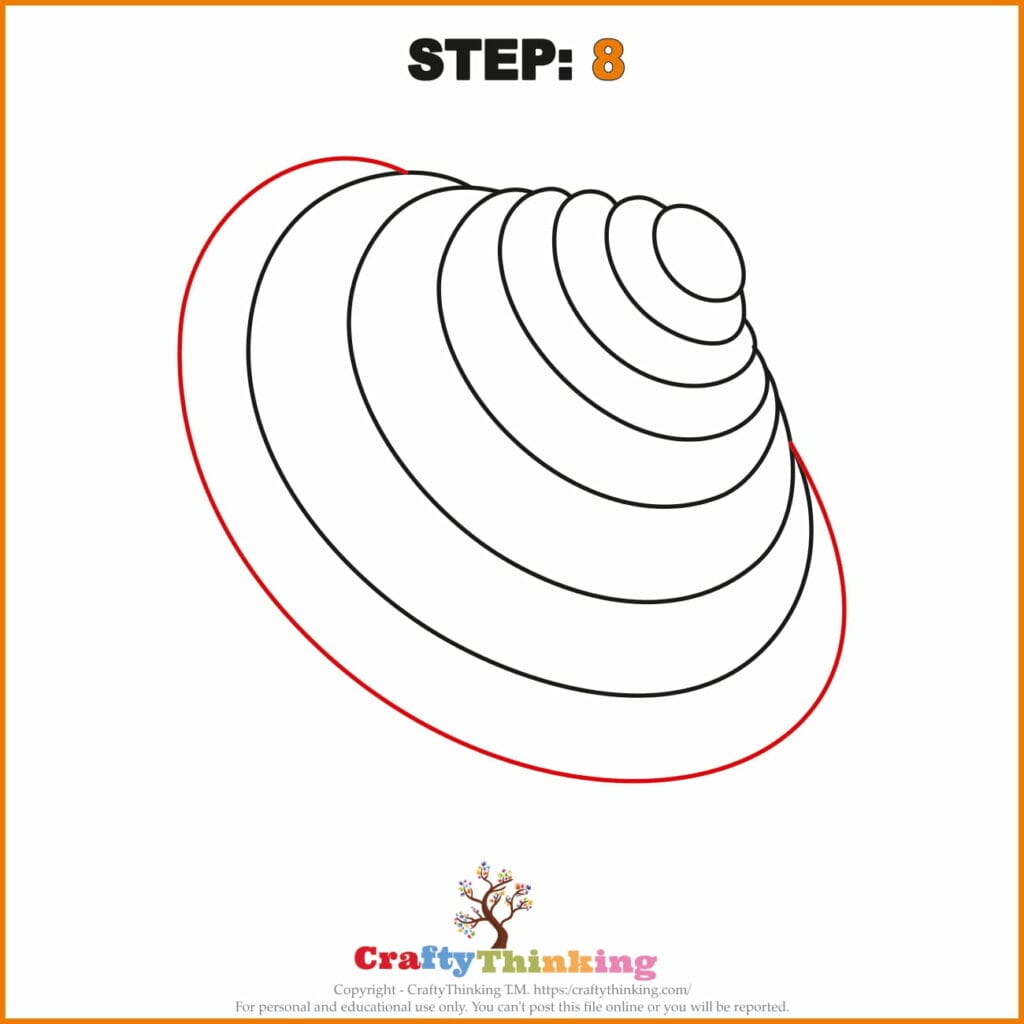
Step: 8
We are almost there! Now it’s time to draw the last line. Like the top clam, the bottom of the clam will also take on a ruffled/curved appearance. Draw the rest of the lower clam similar to how it was drawn here. 🙂
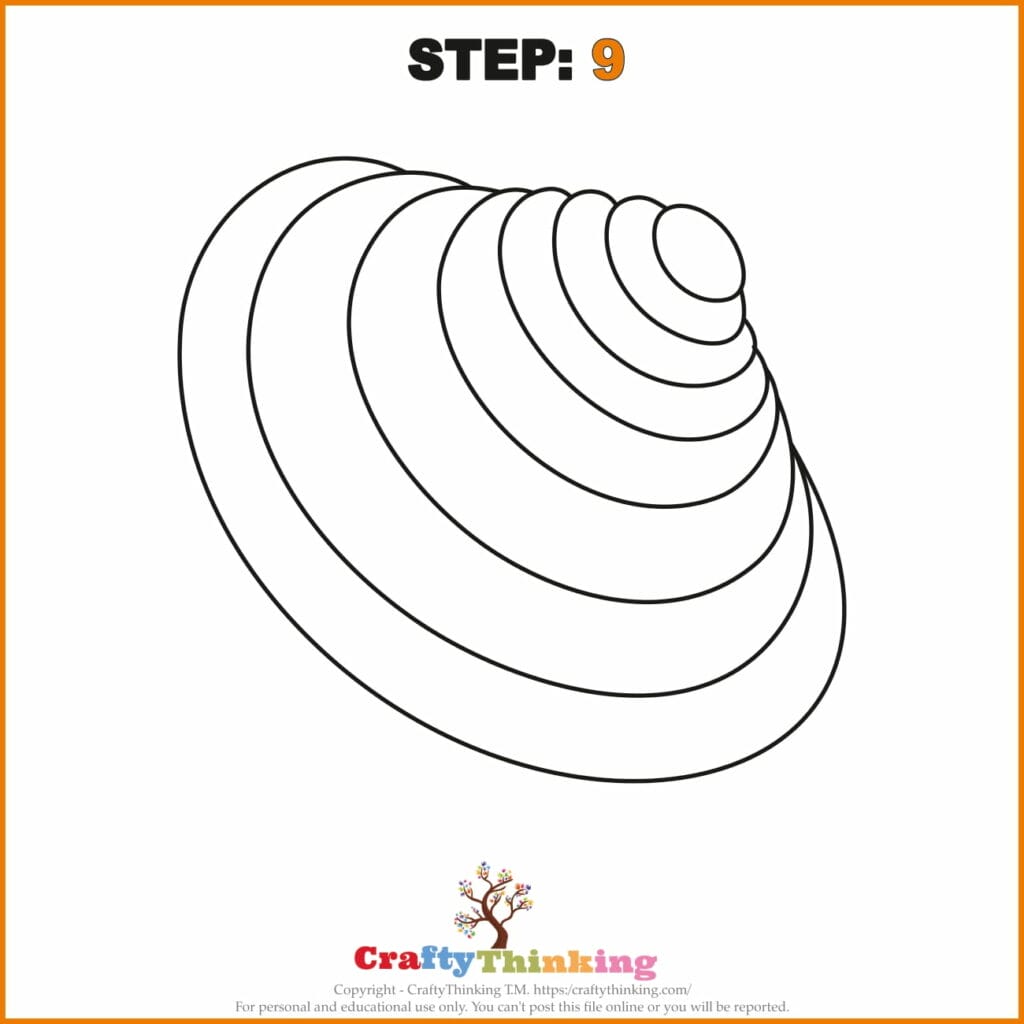
Step: 9
Now clam drawing is almost completed. All parts of the clam have been drawn.
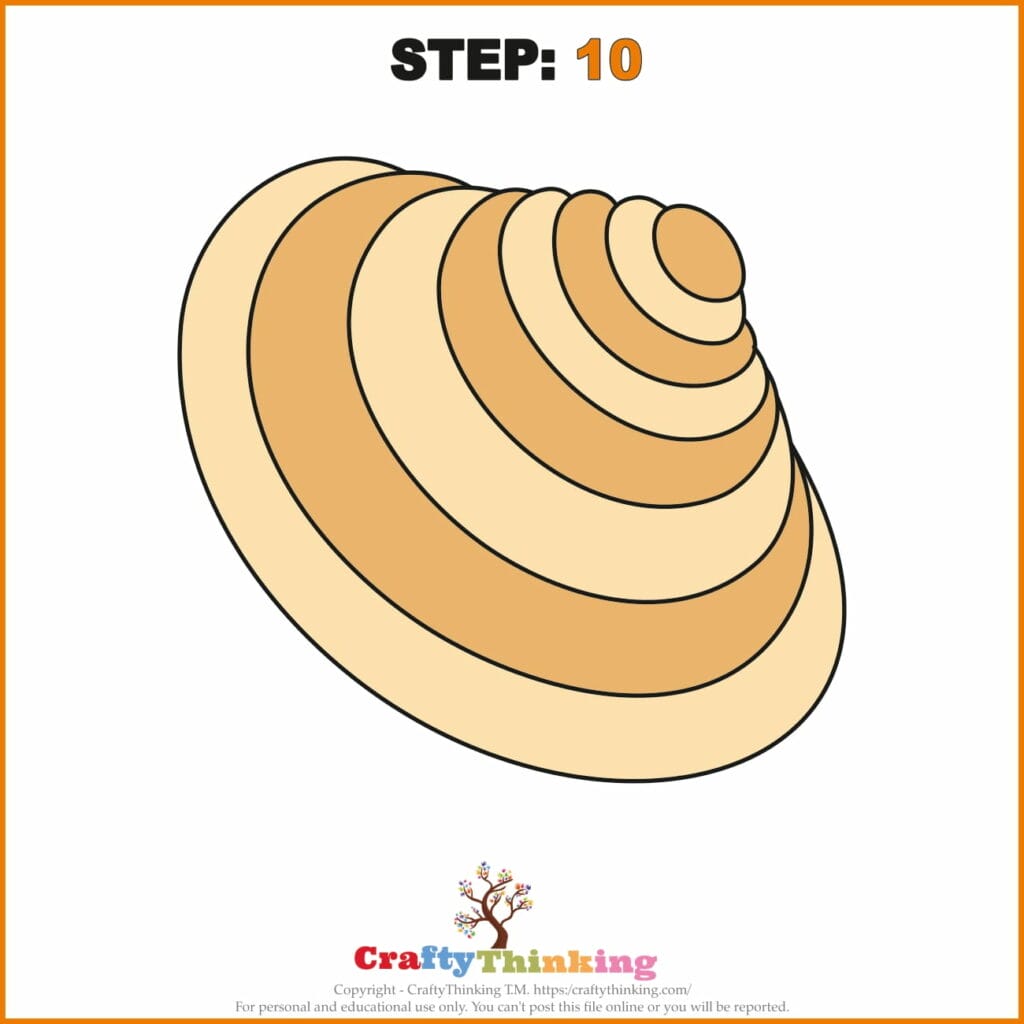
Step: 10
In this last step, now it’s time to color. We will focus only on the details. You’ll see above all the extra lines I included around the mainline of clam.
After this last step, that’s all there is to it! Congratulations! Here you have got complete guidance on how to draw clam successfully.
What are Clams?
Clams are a type of shellfish that can be found in both fresh and salt water. Clams are distinguished from other shellfish by their two hard shells, which are connected by a hinge.
Clams vary in size, but most are about the size of a human fist. Clams are filter feeders and use their siphons to draw in water and filter out plankton and other small organisms.
Clams are a popular food source, and can be enjoyed raw, cooked, or as part of another dish. Clams are also a valuable source of pearls, which are formed when a foreign object becomes lodged inside the clam’s shell.
Pearls come in a variety of colors and are often used in jewelry.
If you like this article about how to draw clam and would like to know more, please comment below.
Free Printable Clam Template
Enter your email below to get your
Free Clam Printable and join our Newsletter.