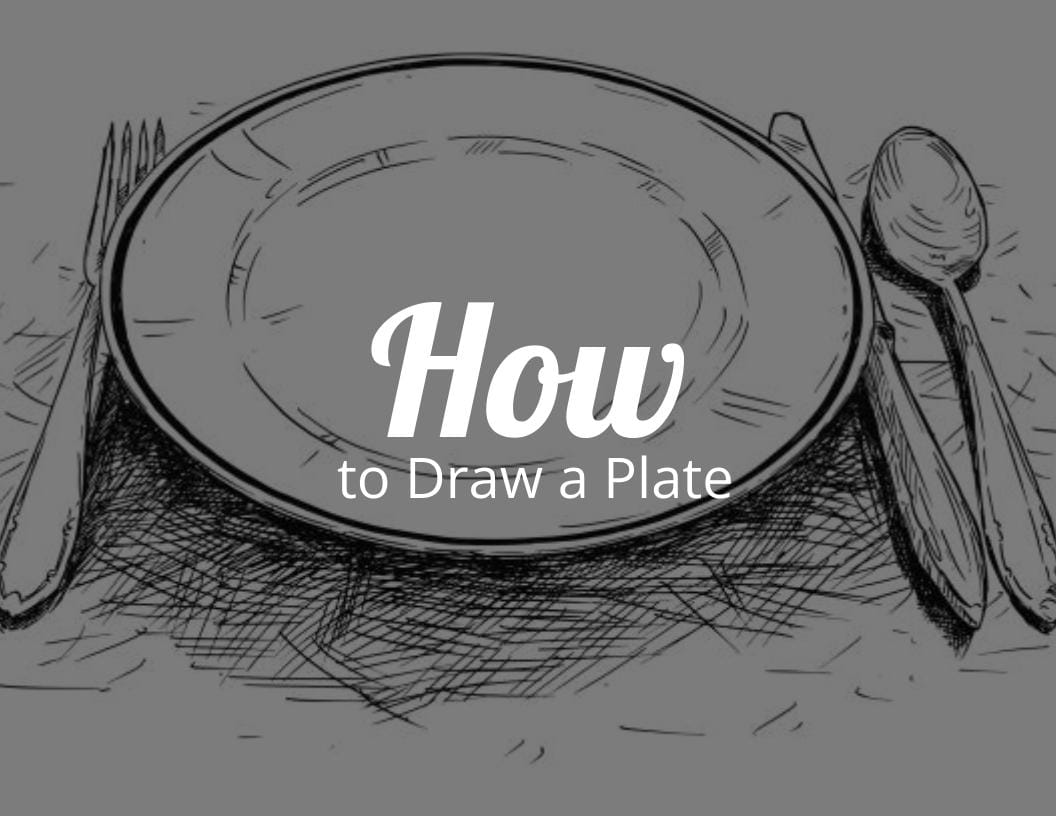
How to Draw a Plate with Free Plate Template
Do you want to learn how to draw a plate? It’s really easy, and it’s a great way to improve your artistic skills.
All you need is a pencil and some paper, and you’re ready to go! In this blog post, we’ll show you how to sketch out a basic plate shape, then add in the details. Let’s get started!
You might also like:
- 86 Fun Things to Draw for Kids
- What to Draw When Bored?
- Painting Name Ideas
- Drawing With Sharpies
- Best Art Resources
- Different Types of Art Markers
Supplies Needed for the Plate
- Free Plate Template
- Drawing Paper
- Crayola Markers
- or Colored Pencils
1. Free Printable Plate Template
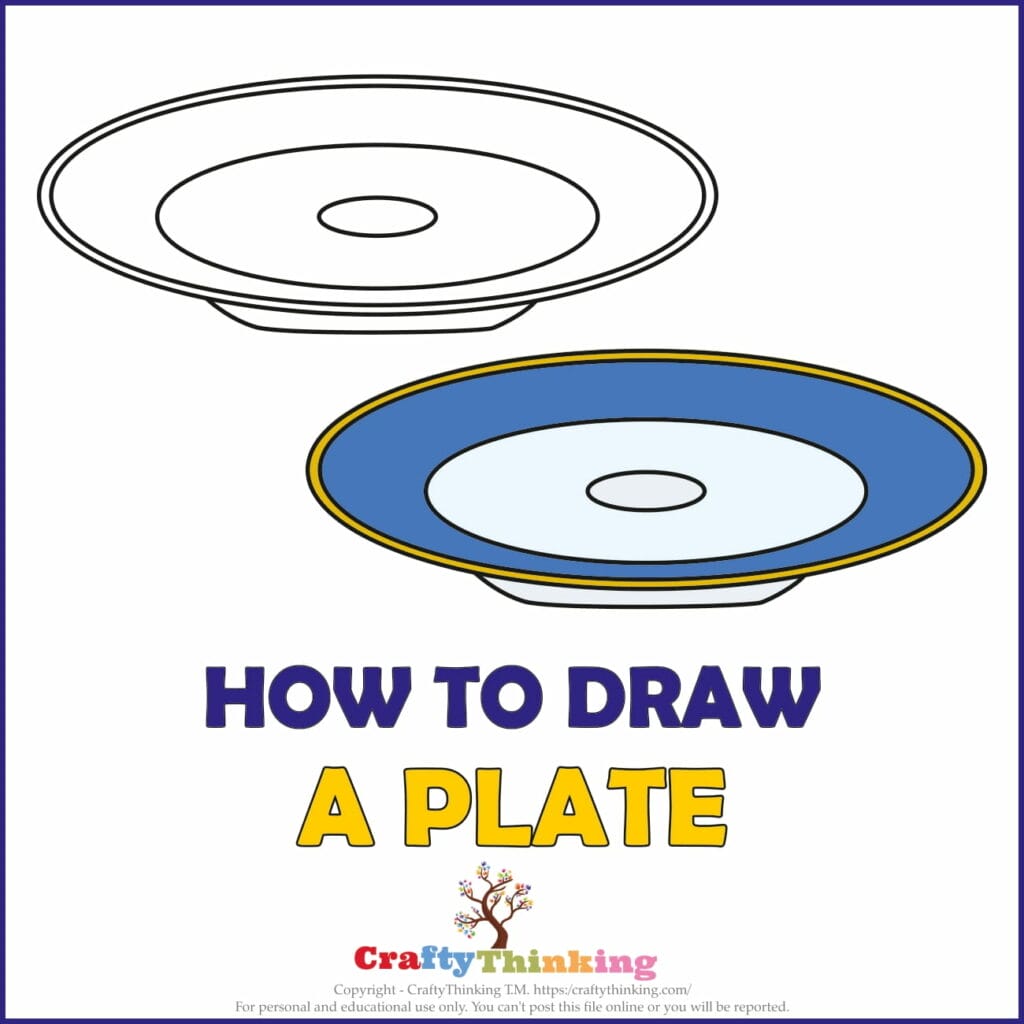


How to Draw a Plate Step by Step
Do you want to learn how to draw a plate step by step? I’m excited to show you how easy it is! This tutorial will guide you through every step of the process, from start to finish. You’ll be able to create a beautiful work of art in no time at all! So get ready and let’s get started…
Step: 1
First, we need to draw an oval. We sketch the height and width and then draw; this will be an elementary lesson covering simple geometric shapes. So, we will start our drawing with an oval.

Step: 2
Now draw another oval outer the oval from the first step, and for this, we will draw a half curve line. This oval should be slightly outer than the center of the first oval. A little above the middle of the oval, we mark the curve, the border where the bottom will pass.

Step: 3
Now complete the remaining half line to complete the second circle—the second a short distance from the edge of the previous one. For convenience, you can take a compass, change only the radius, circle something round with a different diameter, or draw by hand, and if you don’t know how, see how to draw a circle.

Step: 4
A little above the middle of the second oval, we mark the curve for the third circle and draw a half curve line.

Step: 5
Now complete the remaining half line to complete the circle, same as the previous process. And this will be drawn from the short distance of the edge of the previous one.

Step: 6
Now, it’s time to make the edge line of the plate. We will draw the edge of the plate with a long, curved line. So, we will draw it the same as the previous process, but the distance from the last line will be very short this time.

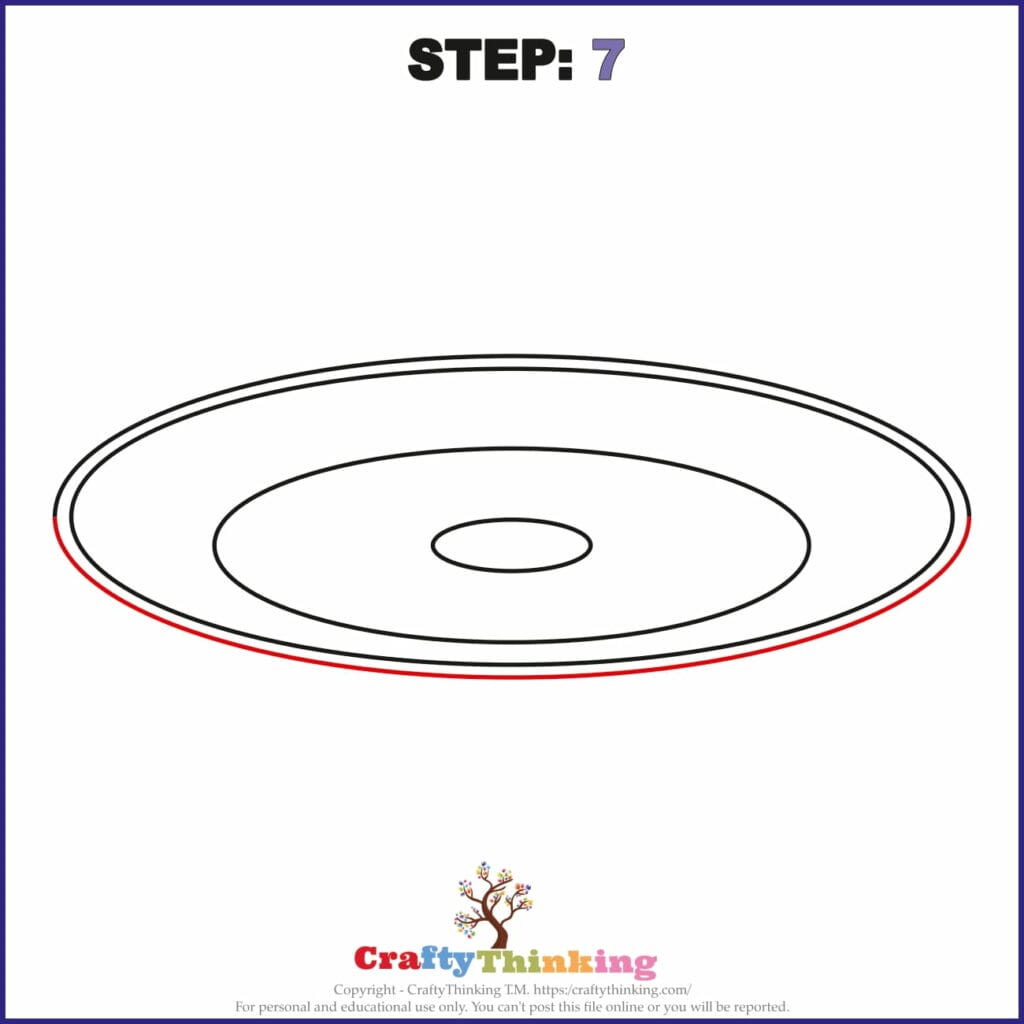
Step: 7
Draw a remaining half line to complete the edge line of the plate.
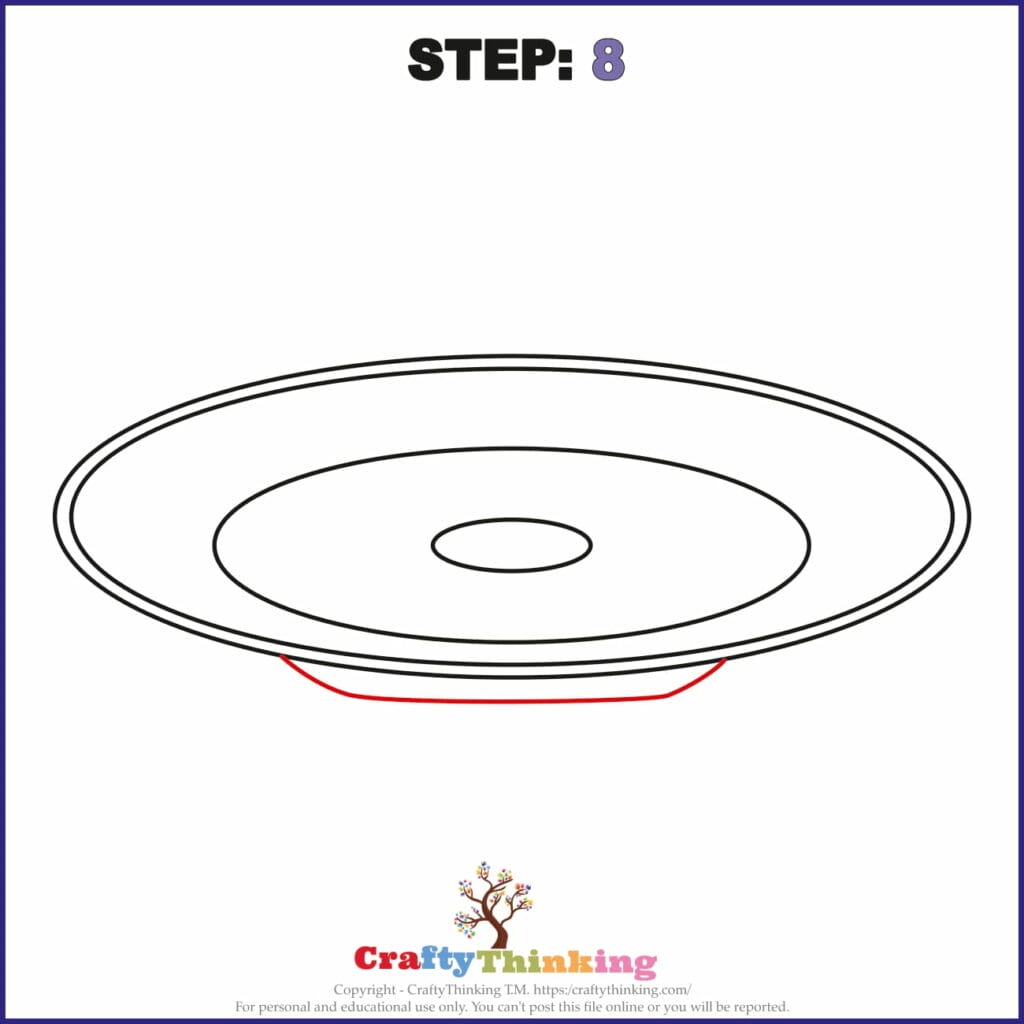
Step: 8
Next, draw the bottom and bottom of the plate. The base with very light lines shows the shape. Now let’s draw the bottom of the plate as shown in our example.
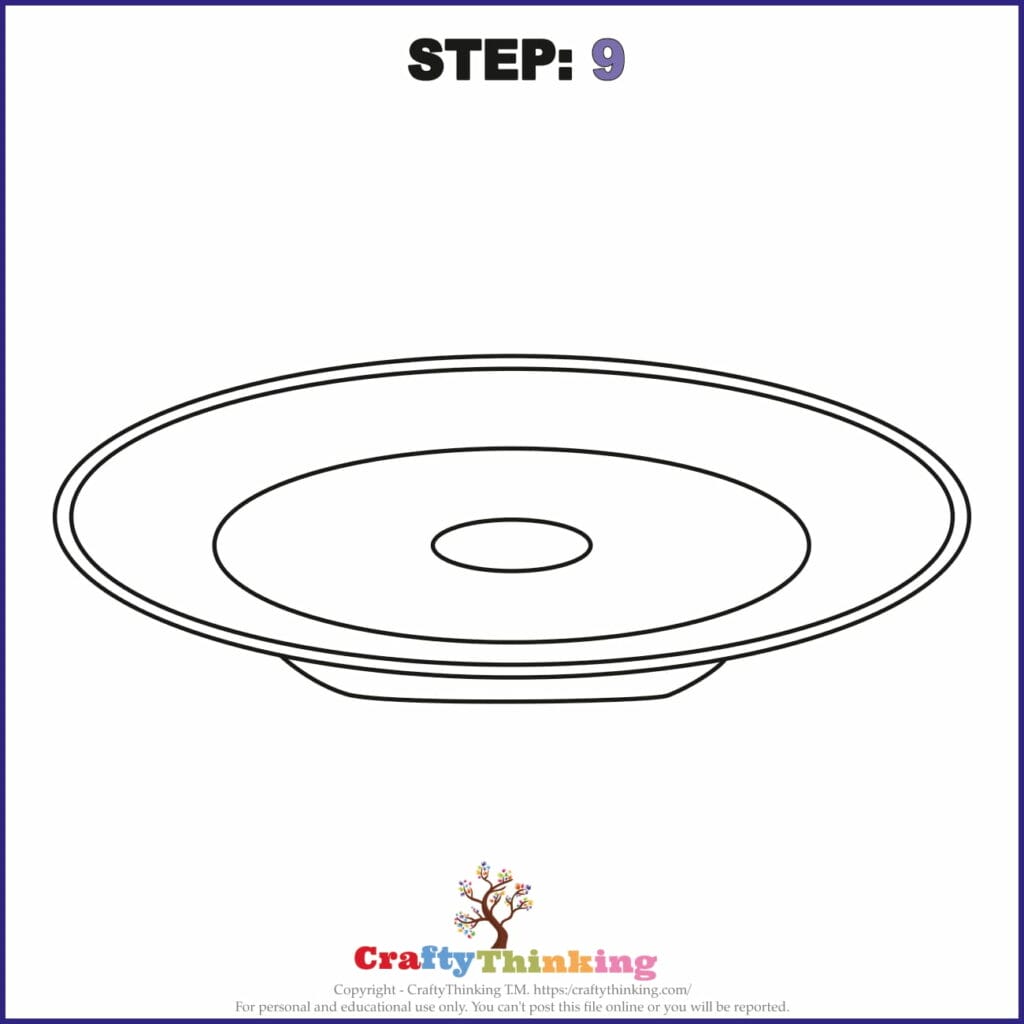
Step: 9
Wow! Our plate is completed.
Step: 10
In the last step of our drawing, we just fill the colors in this structure, and our drawing of the plate is ready.
Congratulations! You have completed the how to draw a plate tutorial.

What are plates?
A plate is aflat, disk-shaped object that is used for eating food. It can also be used as a base for other objects, such as candlesticks or vases.
Plates are usually made from ceramic, metal, or plastic. They come in a variety of sizes and colors and can be either plain or decorated.
Bottom Line on How to Draw a Plate
How to Draw a Plate may seem like a daunting task, but with the right instructions it can be easy and fun.
If you’re looking for more articles on how to draw different objects, please comment below or reach out to us on social media.
We love bringing helpful content like this to our readers, and we hope you enjoyed learning about how to draw a plate. Thanks for reading!
Free Printable Plate Template
Enter your email below to get your
Free Plate Printable and join our Newsletter.